6
Service Procedures
25
Blue Seal Evolution Series GT45 / GT46 / GT60
©
Moffat Ltd, January 2007
Revision 1/
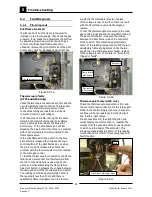
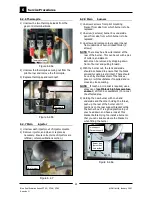
Figure 6.2.9a
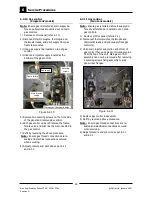
5) Unscrew thermostat. Replace with new ther-
mostat ensuring sealant suitable for 250
°
C is
used on threads (Loctite 567 recommended).
Avoid rotating shaft on thermostat as internal
damage may occur.
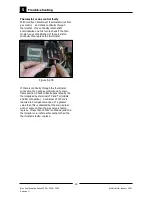
Figure 6.2.9b
Thermostat
IMPORTANT:
DO NOT OVER-TIGHTEN THERMOSTAT OR
INTERNAL DAMAGE MAY OCCUR.
IT IS RECOMMENDED THAT A MAXIMUM
TORQUE OF 47.5 Nm (35ftlb) IS APPLIED TO
TIGHTEN.
6) Refit overtemp thermostat with the thread
connection being resealed. Re-assemble by
reversing the above procedure.
Ensure thermostat , overtemp, and H.T. leads
are not pinched when refitting control panel.
To calibrate thermostat refer 6.3.2.
Note:
On twin tank models both thermostat
knobs will need to be removed.
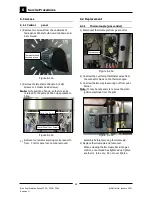
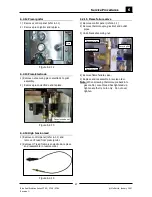
Thermostat leads
Figure 6.2.8b
6.2.9 Thermostat
1) Drain oil from fryer.
2) Remove control panel (refer 6.1.1).
3) Remove the overtemp thermostat (refer
6.3.4)
4) Disconnect thermostat leads from gas control
terminal block.
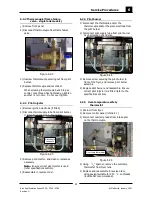
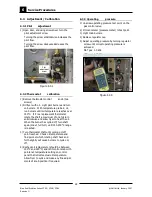
6) Once the rear is supported the front can be
pushed up into its location. The small notch in
each side of the venturi visible externally from
the burner body is for the front to back
location and should be located up into the top
corner panels when pushing up at the burner
at front. If correctly fitted the corner support
bracket securing holes. If not, check burner
fit.
7) Replace brackets and all connections to the
gas controls
8) Ensure underside burner box panel is refitted,
as failure to refit this panel will reduce
combustion and performance efficiency
Check the black
emissivity coating is
still intact.


