6
Service Procedures
23
Blue Seal Evolution Series GT45 / GT46 / GT60
©
Moffat Ltd, January 2007
Revision 1/
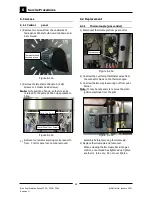
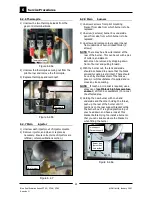
Figure 6.2.3
Figure 6.2.4
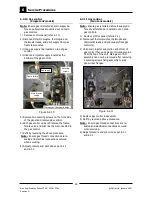
6.2.2 Thermocouple (flame failure
valve - single tank models)
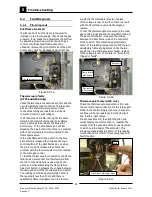
Figure 6.2.2
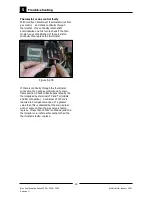
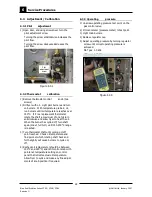
Figure 6.2.5
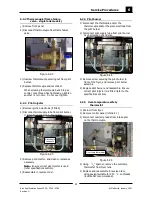
6.2.5 Over-temperature safety
thermostat
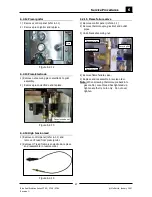
6.2.4 Pilot burner
6.2.3 Pilot injector
1) Remove ignition electrode (if fitted)
2) Disconnect pilot supply tube from pilot burner
and tee by unscrewing nuts and olive.
1) Disconnect the thermopile and/or the
thermocouple and/or the piezo electrode from
the pilot burner.
2) Disconnect pilot supply tube from pilot burner
by unscrewing nut and olive.
1
) Remove front panel.
2) Disconnect thermocouple from flame failure
valve.
3) Unscrew thermocouple securing nut from pilot
burner.
4) Replace thermocouple and reconnect.
When screwing thermocouple back into gas
control, once thread has tightened up tighten
another ¼ turn only. Do not over tighten.
3) Remove pilot injector, and clean or replace as
necessary.
Note:
Ensure correct size injector is used
(refer specifications section).
4) Reassemble in reverse order.
1) Drain oil from fryer.
2) Remove control panel (refer 6.2.1 )
3) Disconnect overtemp leads from interrupter
on the thermocouple.
3) Remove screw securing the pilot burner to
front of the fryer, and remove pilot burner
assembly.
4) Replace pilot burner and reassemble. Ensure
correct pilot injector is refitted (refer to the
specifications section).
4) Using
7
/
8
” spanner, remove the overtemp
thermostat from fryer tank.
5) Replace and reassemble in reverse order,
using sealant suitable for 250
°
C on threads
(locktite 567 recommended).
Over temp thermostat
Pilot supply
tube nuts


