25
OPERATION
Using Advanced Rack Timing
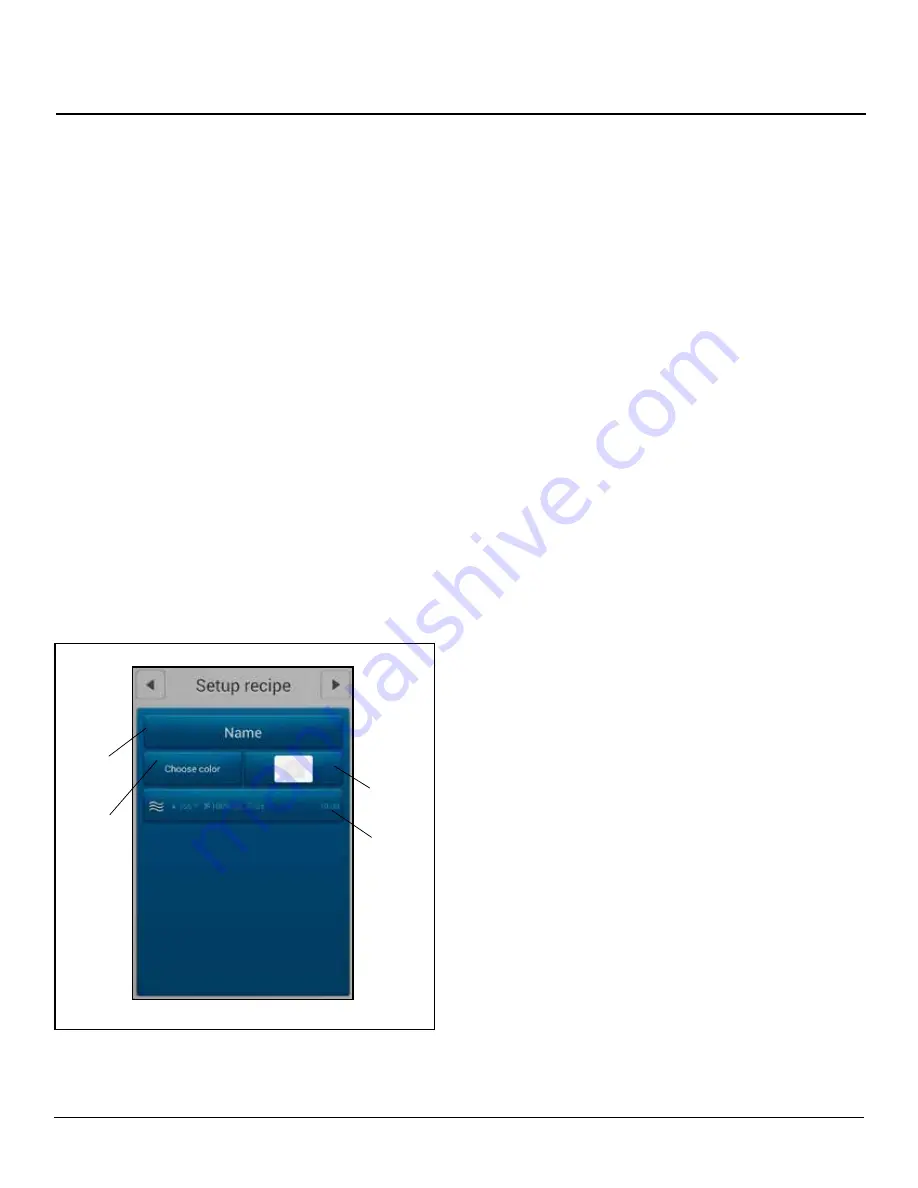
Creating a Recipe
1. Select the + key from the bottom of the SETUP
GROUP screen.
2. Select the NAME BAR to edit the group name. Use
the keypad to enter a recipe name. Press the right
arrow ► key in the upper right hand corner of the
screen to save and return to the SETUP RECIPE
screen.
3. Select the COLOR BAR to associate a color with the
recipe. Press OK to save the selection and return to
the SETUP RECIPE screen.
4. Select the camera icon in the IMAGE BAR to asso-
ciate a picture with the recip. Press OK to save the
selection and return to the SETUP RECIPE screen.
Select the SETTINGS BAR below the image bar to edit
the temperature, cook mode, fan speed, vent state, and
cook time of the recipe. Press the right arrow ► key in the
upper right hand corner of the screen to save the recipe
settings and return to the SETUP RECIPE screen.
Editing a Recipe
In SETUP GROUP screen, press and hold the recipes’
icon. A box will appear allowing you to edit or delete the
recipe.
Name
Bar
Color
Bar
Image
Bar
Settings
Bar
Figure 20
Selecting a Group
1. From the RACK TIMER MENU screen, select the
number of racks you’d like to use and the group with
recipes you wish to use. Then select the right arrow
► key in the upper right hand corner to enter the
RACK TIMER COOK screen.
2. To select a new group, return to the RACK TIMER
MENU screen from the RACK TIMER COOK screen
by selecting the left arrow◄ key in the top left of the
screen.


