USER GUIDE
7
EDID Learn:
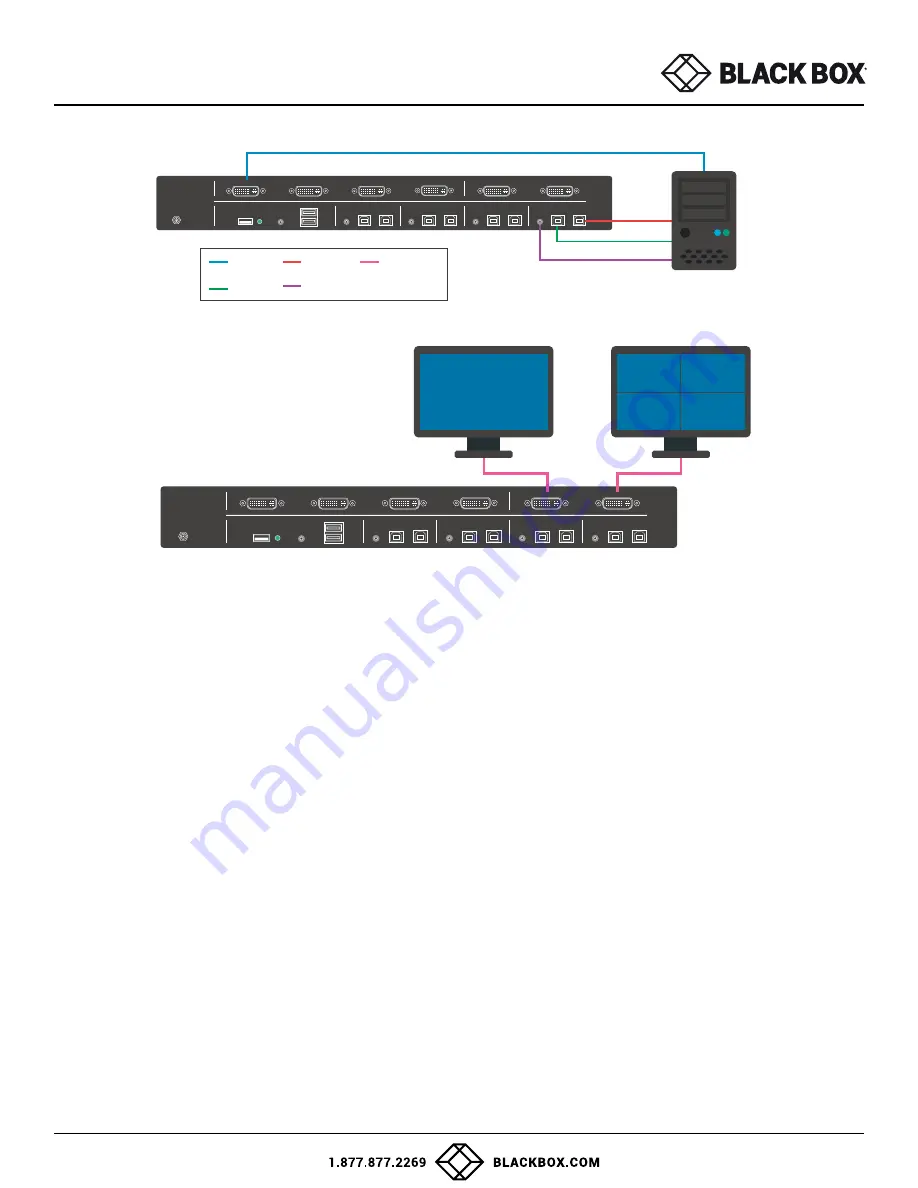
The monitors must be connected to the video output connectors located on the console at the back
of the KVM during the EDID learn process.
There are one way to get the EDID on the SDMN-4S-P.
Note:
Only the display connected to the “PREVIEW” connector can get its local EDID.
Through the buttons of the front panel:
Hold down Button #1 and Button #8 at the same time for about 5 seconds and then let go. The entire top row of LEDs
will blink while waiting for any of the following three commands for EDID:
• Hold Button #1 and let go after both the top and bottom rows of LEDs are blinking. This will load the onboard
EDID FHX2300 to the “DVI OUT” display.
• Hold Button #2 and let go after both the top and bottom rows of LEDs are blinking. This will load the onboard
EDID H213H to the “DVI OUT” display.
• Hold Button #3 and let go after both the top and bottom rows of LEDs are blinking. This will get and load the local
EDID of the monitor connected to the “PREVIEW” connector.
Figure 7-1:
SS4P-SH-DVI-UCAC-P
Figure 7-2:
SS4P-SH-DVI-UCAC-P
12VDC3.0A
DVI-D IN 1
Audio
K/M
DVI-D IN 2
DVI-D IN 3
DVI-D IN 4
DVI-D OUT
PREVIEW
IN-1
IN-2
OUT
IN
IN-3
IN-4
OUT
CAC
Audio
K/M
CAC
Audio
K/M
CAC
Audio
K/M
CAC
Audio
K/M
CAC
PC Workstation
SS4P-SH-DVI-UCAC-P
CAC IN
AUDIO IN
DVI-D OUT
DVI-D IN
USB IN
12VDC3.0A
DVI-D IN 1
Audio
K/M
DVI-D IN 2
DVI-D IN 3
DVI-D IN 4
DVI-D OUT
PREVIEW
IN-1
IN-2
OUT
IN
IN-3
IN-4
OUT
CAC
Audio
K/M
CAC
Audio
K/M
CAC
Audio
K/M
CAC
Audio
K/M
CAC
SS4P-SH-DVI-UCAC-P
1
2
3
4


