42
1.877.877.2269
BLACKBOX.COM
NEED HELP?
LEAVE THE TECH TO US
LIVE 24/7
TECHNICAL
SUPPORT
1.877.877.2269
CHAPTER 6: OPERATION
6.3.5 APPLICATION TOOLS
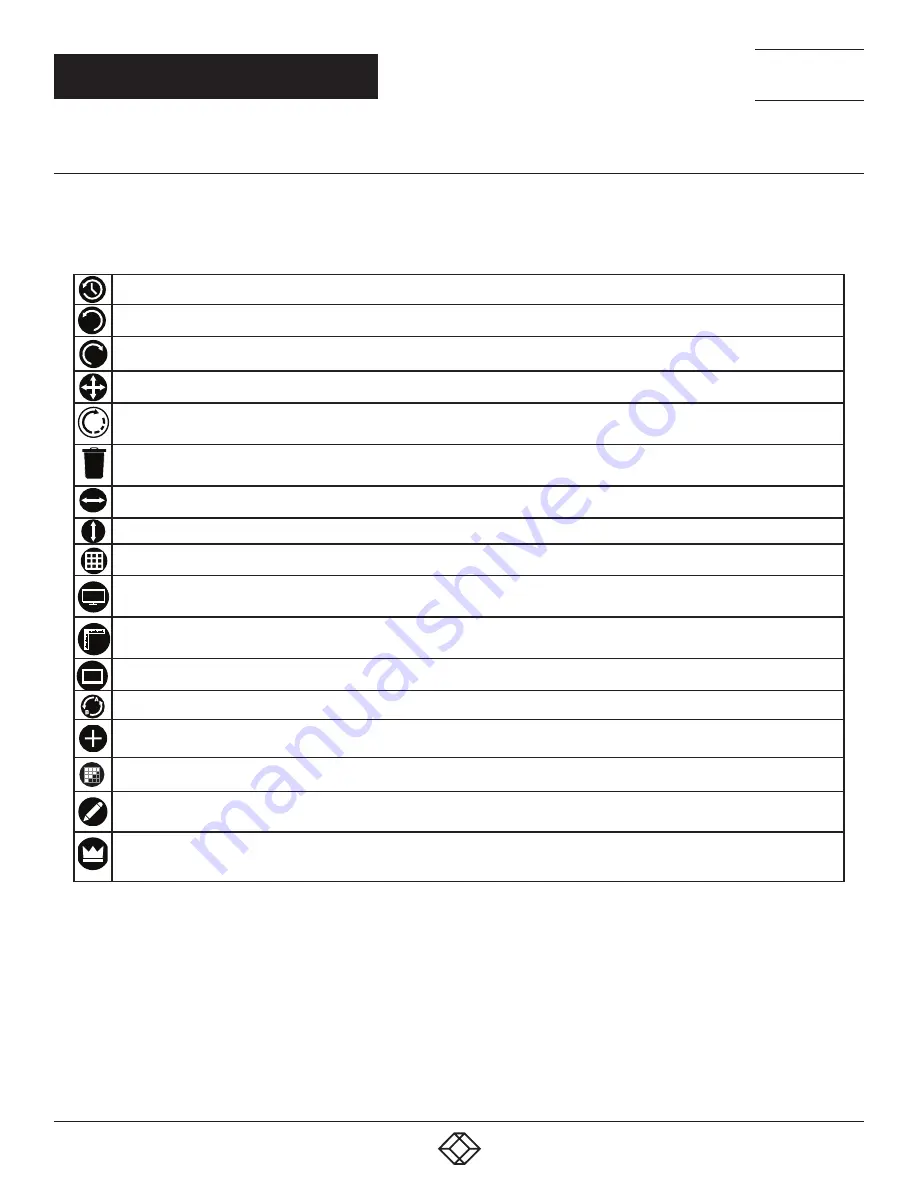
The application tools enable the user to manipulate the design of the wall. The table below describes the tool functions.
TABLE 6-1. APPLICATION TOOLS
Undo All – Undo all commands made on this page.
Undo – Undo the last command.
Redo – Redo the last command.
Move displays – When selected, move the displays by clicking on and dragging the displays around the representation.
Rotate displays – When selected, click on a display and drag the cursor up or down, left or right to rotate the display.
The display can be rotated 90, 180 or 270 degrees.
Delete displays/Display Groups – Select the displays you wish to remove from the layout then click on the delete button
to delete all those selected.
Enable X Axis – Enables the display to be moved from left to right, and right to left.
Enable Y Axis – Enables the display to be moved up and down.
Snap to Grid – When selected, if a display is dragged and released it will snap and position itself to the nearest grid line.
Snap to displays – When selected, if a display is dragged close to another display and released, it will snap and position
itself to the display.
Snap to Guides – When selected, if the display is dragged and released near to the axis of another display, it will position
itself on the same axis.
Show Display Bezels – Select to show or hide the bezels on all the displays in the representation.
Configure Outputs - Available in the Manage Display Group dialog. Select an output and configure its properties.
Add Button- Used to add displays to your group or to create a new group.
Layout Configuration - Used to add LED modules to your group or to create a new group.
Edit - Used to edit a selected Display Group.
Primary Display - Indicates which display within the display group is the primary display/boot screen. If more than one
group is available, the Primary Display can be assigned to either group.
Representation
The representation grid
(6)
displays the physical arrangement of the wall as it is being created. Displays can be arranged as required by
clicking and dragging them to their required positions using the application tools.
Wall Naming
Click on the edit box
(7)
to allocate a name to your wall (optional but recommended). This will be used if you choose to export your
layout in the future.


