


724-746-5500 | blackbox.com
Page 13
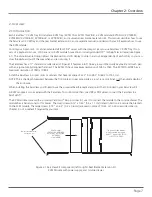
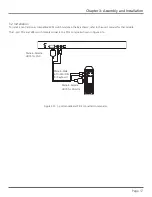
Chapter 3: Assembly and Installation
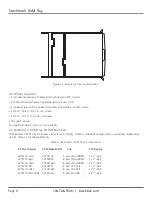
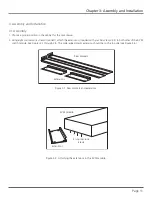
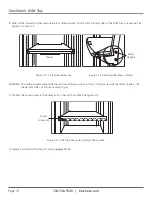
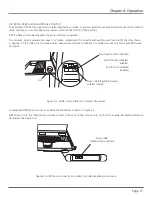
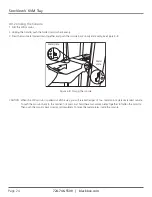
The wide-edged plastic
extension should be on
the top side.
Figure 3-5. Back view of module with extensions attached.
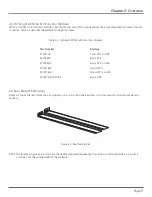
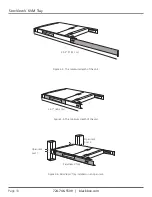
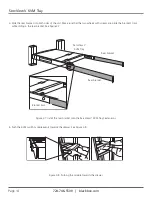
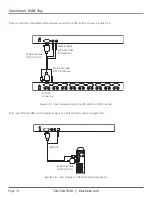
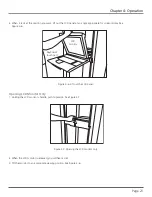
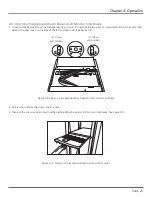
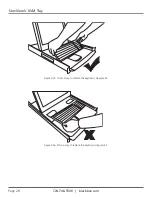
3. Using four cabinet screws (included), screw the unit onto the rack. See Figures 3-6 and 3-7.
WARNING: Do not remove the safety stopper until you complete the assembly.
+
+
+
+
+
+
+
+
(2) cabinet
screws
ServView
V Tray
Rack
Rack
(2) cabinet
screws
Figure 3-6. Securing the ServView V KVM Tray to the rack.


