Getting Started with Flex Focus 1202 • BB1911-H • January 2016
5
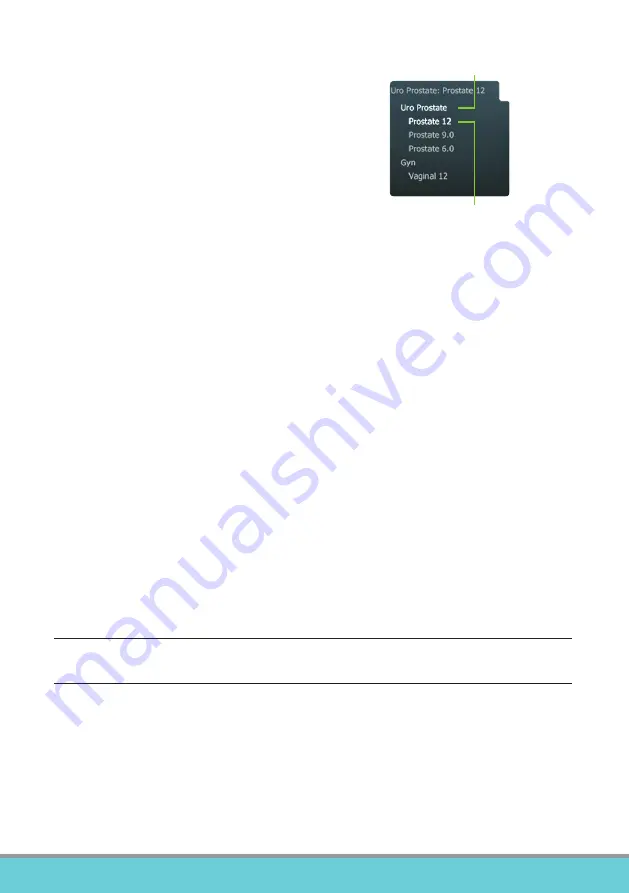
Exam Type
An examination type specifies both a
Pro Package and a Diagnostic Setup.
The Pro Package affects the system user
interface — which tabs and controls are
displayed, which measurements are allowed, etc.
The Diagnostic Setup affects the ultrasound
image — sets the gain, depth, frequency, etc.
selected Pro Package
selected Diagnostic Setup
Viewing and Copying Images
To select captured images to view them or copy them to another device, use the docu-
ment pane at the top of the monitor (described on pages 8 and 9).
View
Double-click thumbnail in document pane. Document is displayed in image area.
Copy to USB or CD/DVD
To Copy Captured Images:
1. Insert USB device or CD/DVD.
2. Click each image to be copied. Frame turns blue.
3. Click
Copy
, then select destination (USB or CD/DVD). The options
without Patient ID
are recommended for patient security.
4. Images are copied to USB immediately. Click
USB Eject
to remove USB device.
When you select CD/DVD, images are copied to a staging area. To copy them to the
CD/DVD, click Burn CD and follow instructions.
System Busy
When the system is busy, a spinning disk appears on the lower right hand side of
the monitor.
Note:
Wait until the spinning disk disappears before using any controls, including buttons on the
transducer.
Power Save
Systems with battery support can go into power save mode and the monitor will turn off.
To Restore the System to Normal Power:
Press a key or press the transducer button
or
move the trackball or touch the touch pad.


