Chapter 3: UEFI BIOS & Software
| 21
H81MHV3 3.0
3.3 Software
Installing Software
1. Insert the Setup DVD to the optical drive. The driver installation program would appear if
the Auto-run function has been enabled.
2. Select Software Installation, and then click on the respective software title.
3. Follow the on-screen instructions to complete the installation.
Launching Software
After the installation process is completed, you will see the software icon showing on the
desktop. Double-click the icon to launch it.
Note
»
All the information and content about following software are subject to be changed without notice.
For better performance, the software is being continuously updated.
»
The information and pictures described below are for your reference only. The actual information
and settings on board may be slightly different from this manual.
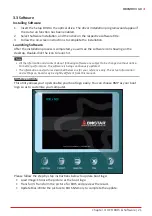
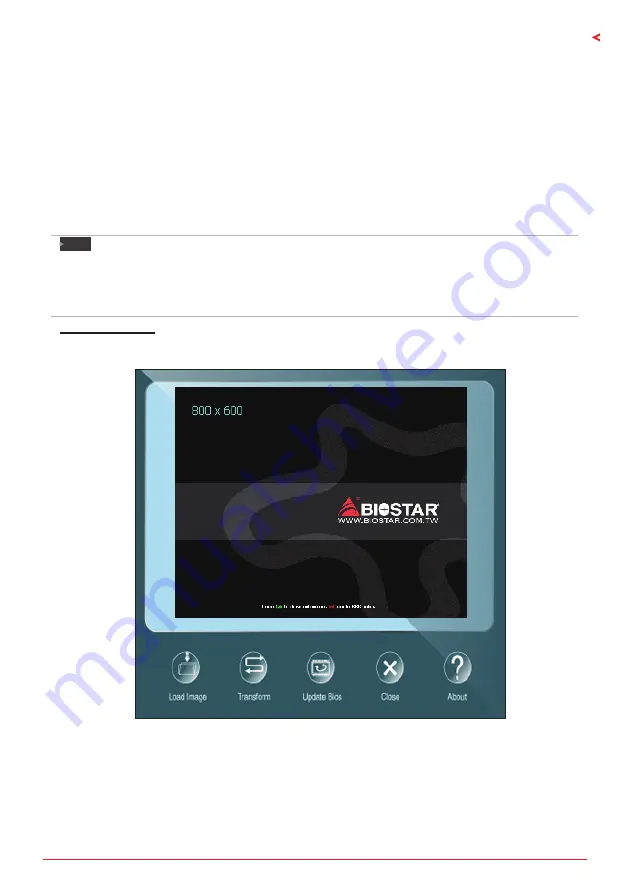
BIOScreen Utility
This utility allows you to personalize your boot logo easily. You can choose BMP as your boot
logo so as to customize your computer.
Please follow the step-by-step instructions below to update boot logo:
• Load Image: Choose the picture as the boot logo.
• Transform: Transform the picture for BIOS and preview the result.
• Update Bios: Write the picture to BIOS Memory to complete the update.
Summary of Contents for H81MHV3 3.0
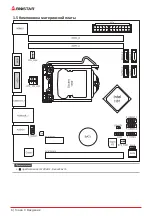
Page 6: ...6 Chapter 1 Introduction 1 5 Motherboard Layout Note represents the 1st pin ...
Page 36: ...6 Глава 1 Введение 1 5 Компоновка материнской платы представляет собой 1 й контакт ...
Page 63: ...챕터 1 들어가는 글 7 H81MHV3 3 0 1 5 마더보드 레이아웃 는 첫번째 핀을 표시합니다 ...
Page 84: ...28 챕터 4 유용한 도움말 이 페이지는 의도적으로 비워 둔 것입니다 ...
Page 90: ...6 第一章 主板介绍 1 5 主板結構圖 標示為針腳1 ...

