28
Installing Drivers and Utilities
4.1
Driver Setup
We provide an installation wizard, Driver CD Installation Utility (SETUP.EXE), located in the root of
Driver CD to let users install some common used drivers conveniently.
The Wizard can automatically detect OS and switch to the proper page, so you don't need to worry
about installing the wrong drivers. You can simply put Driver CD into the optical drive (CD-ROM, DVD
ROM, or Combo depends on your configuration) and the Installation Utility will auto run or you can
launch the Driver CD Installation Utility manually.
There are two kinds of Installation Procedure:
Automatically Install drivers from CD by using CD Installation
Utility:
1.Simply place Driver CD into optical drive.
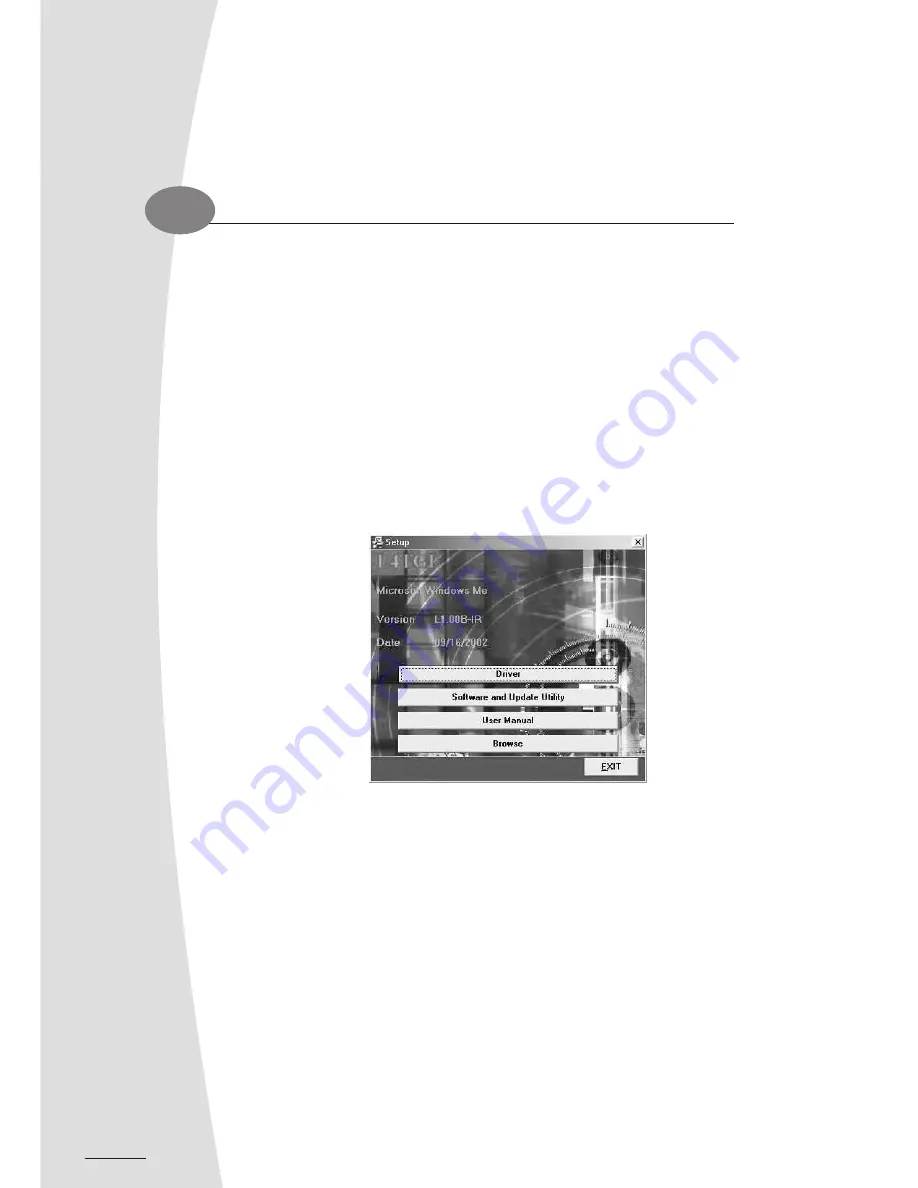
2.The Installation wizard will auto run and show the name of the main board on the upper left of the
menu. (See figure 4.1)
3.Use the mouse cursor to click the Driver option on the page.
4.Driver setup utility will search for the device you have.
5.The utility will start a page with the drivers you may need.
figure 4.1
29
6.Click on the driver you want to install.
7.The utility will invoke other applications to complete the rest of installation.
8.Follow the installing instructions to finish the installation.
9.Click on the next driver you want to install.
10.Repeat steps 6 to 8 until you have installed all the drivers the utility has for you.
If the Driver and utility installation CD does not auto run, please
follow the next steps after you place the CD into the optical
drive.
1.Place the Driver CD into the optical drive.
2.Double click on My Computer.
3.Double click on your optical drive to browse the CD.
4.Double click the Setup.exe file to run the utility manually.
5.Use the mouse cursor to click the Driver option on the page.
6.Driver setup utility will search for the device you have.
7.The utility will start a page with the drivers you may need.
8.Click on the driver you want to install.
9.The utility will invoke other applications to complete the rest of installation.
10.Follow the installing instructions to finish the installation.
11.Click on the next driver you want to install.
12.Repeat steps 8 to 10 until you have installed all the drivers the utility has for you.
Chapter 4
4
Summary of Contents for EDEQ 4000
Page 1: ...50 L4PVA 01...
Page 2: ...All in One LCD PC User s Manual...
Page 6: ...Section 1 duc o t r io t n n I...
Page 13: ...8...
Page 14: ...Section 2 Basic Operations...
Page 24: ...Section 3 Connections Section 3 Connections...
Page 32: ...Section 4 Drivers and Utility...
Page 36: ...Section 5...
Page 44: ...of yo e r u a r c LC g D n i P k C a T Section 6...
Page 48: ......
Page 49: ......
Page 50: ......


