background image

Binatone Help Line : 0845 345 9677 

20

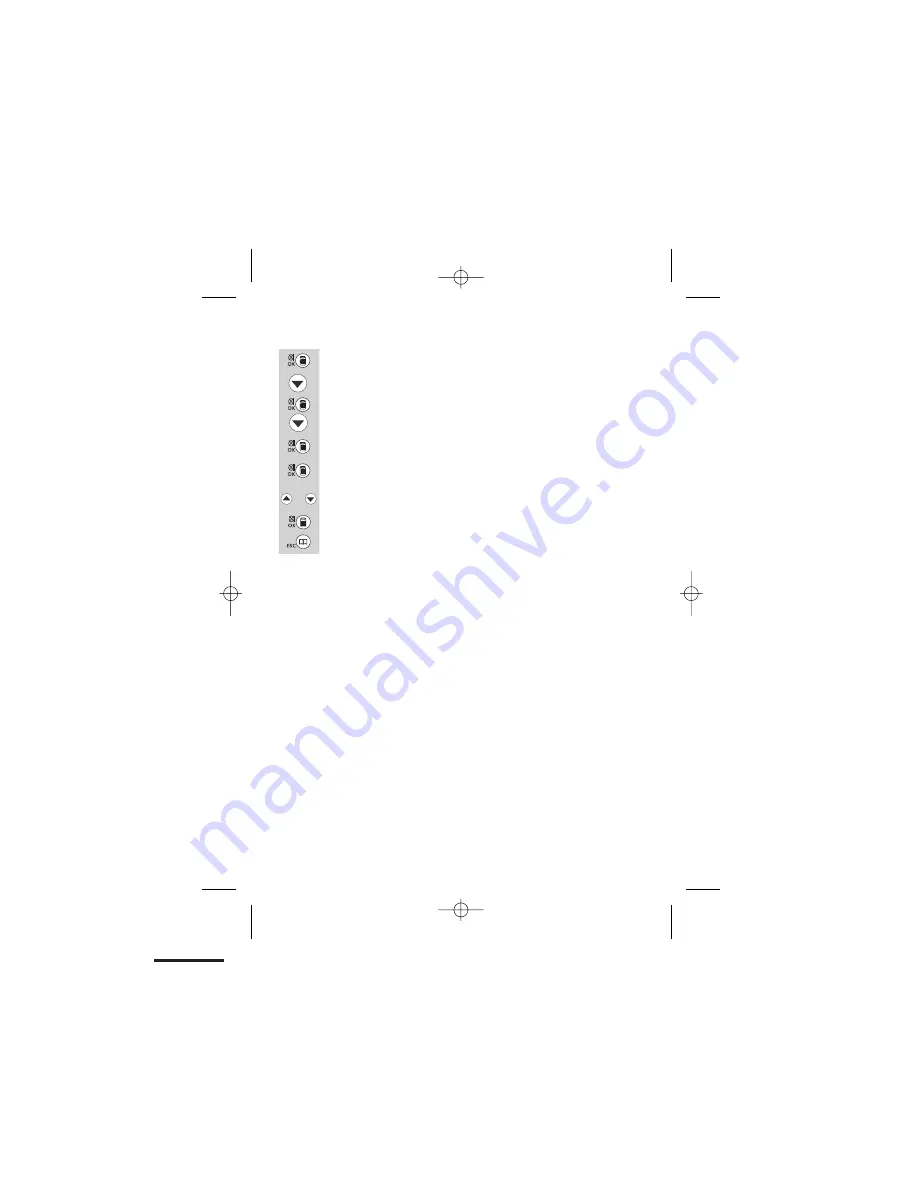
Press the 

UP

 or 

DOWN

 button to scroll

 through the Melody list (from 1 to 10).   

Then press 

the 

MENU/OK/MUTE 

button to confirm the setting. 

Press 

the 

PHONEBOOK/CANCEL 

button

to

 return to the previous menu. 

Then press 

the 

MENU/OK/MUTE 

button. 

Scroll 

DOWN 

until you see

“RING SETUP”.  

Press 

the 

MENU/OK/MUTE 

button. Then it will display 

“INT RING”

 or scroll 

DOWN

  to select 

“EXT RING”. 

Press 

the 

MENU/OK/MUTE 

button. The display will 

show


“MELODY”. 

 Then press 

the 

MENU/OK/MUTE 

button to 

select

 and the display will show 

“MELODY 1”.

or

Summary of Contents for CC2310

Page 1: ...ructions carefully Concept Combo 2310 CORDED AND DIGITAL CORDLESS TELEPHONE WITH ANSWERING MACHINE UK BTP Ver 4 Nov 07 Note This guide is for the corded part only For instructions on how to use the co...

Page 2: ...x you will find the base unit telephone a telephone line cable for the base unit a mains power adapter for the base unit the cordless handset up to five depending on which CC2310 system you ve bought...

Page 3: ...tant When the instruction simply say press a button this means you should press it briefly then release it When the instruction say press and hold a button this means you should keep it pressed until...

Page 4: ...being viewed Sequence x Indicates the sequence number of the CID record Hands free speakerphone x This will display when the speakerphone is in use A M x This will display if it is A M in the 12 hour...

Page 5: ...hout mains power 11 Memory Phonebook management 12 x To create a contact in your phonebook Page x To delete a contact in the phonebook 13 x To delete all contacts in your phonebook 14 x To edit a cont...

Page 6: ...s for use You can connect your Concept Combo 2310 to a direct exchange line DEL a line connected to a local exchange with its own phone number to an extension on an approved compatible PBX Do not conn...

Page 7: ...o dry it if you believe that the liquid has seeped into the unit do not reconnect the base station Contact the Binatone helpline x it is away from hot humid conditions and strong sunlight Mains power...

Page 8: ...the mains adaptor into your wall socket If you have one or more charger pods plug the mains adaptors accordingly Make sure that the 230VAC 50hz mains socket is switched OFF when you plug the mains ad...

Page 9: ...rigid clips of the stand into the slots on the bottom of the phone nearer the centre of the base Press down firmly until the flexible clips clicks into place To remove the stand 1 pinch the flexible c...

Page 10: ...ng centers as shown below BE CAREFULto check that there are no electrical wires hidden in the wall Fix two screws at the marked locations leaving approximately 7mm between the wall and the the screw h...

Page 11: ...o set the date Press the MENU OK MUTE to confirm The hour will be flashing Press the UP or DOWN button to set the hour including the AM PM setting Press the MENU OK MUTE to confirm The minutes will be...

Page 12: ...g sequence press the RD P button which will then show a P in the number Press the UP or DOWN button to show the first entry in the CID list Press the UP or DOWN button until you see the number of the...

Page 13: ...fter lifting the handset you will need to wait for several seconds to get dial tone before keying in the telephone number to make the call x When the mains power is off you can also answer an incoming...

Page 14: ...2 if you want to insert the letter B you press twice and for C three times etc If you want to insert AA then you will have to wait for the first A to stop flashing then insert the second A Press twice...

Page 15: ...Press the MENU OK MUTE button to confirm and the display will show MELODY 1 Use the UP or DOWN button to scroll through the melodies there are 10 melodies to choose from Press theMENU OK MUTE button...

Page 16: ...dit Then press the MENU OK MUTE button and a flashing bar will appear at the end of the name Use the keypad to enter characters or DELETE button to delete To delete all contacts in your phonebook To e...

Page 17: ...the MENU OK MUTE button to confirm the name Key in the name for this redial number into the phonebook Once you have finished press the MENU OK MUTE button to confirm and the display will show MELODY...

Page 18: ...mbers Press the MENU OK MUTE button to see PHONE BOOK Press the MENU OK MUTE button UP or DOWN and then press the buttons until you see MEM STATUS Press the MENU OK MUTE Then the display will show the...

Page 19: ...d their number e g by dialling 141 Press the MENU OK MUTE button to see PHONEBOOK Press the DOWN button to see CALL LOG Press the MENU OK MUTE button to see RECEIVED Press the MENU OK MUTE button to s...

Page 20: ...OK MUTE button to confirm and the display will show a To store a Caller ID contact in the phonebook Repeat the steps above to review the CID list To delete all Caller ID records Press the MENU OK MUTE...

Page 21: ...tton The display will show MELODY Scroll DOWN until you see VOLUME Then press the MENU OK MUTE button to select and the display will show VOLUME 2 Press the UP or DOWN button to scroll through the vol...

Page 22: ...ress the PHONEBOOK CANCEL buttonto return to the previous menu Then press the MENU OK MUTE button Scroll DOWN until you see RING SETUP Press the MENU OK MUTE button Then it will display INT RING or sc...

Page 23: ...s HS 1 CALLING you can answer the call by pressing the SPEAKERPHONE button or picking up the handset If you want to end the intercom press the SPEAKERPHONE button or replace the handset During a call...

Page 24: ...lay will show INTERCOM Either handset can just hang up to end the call and the other handset will still be connected To Set up a three way conference cordless handset will be connected to the external...

Page 25: ...handsets to the base The handset s supplied with your CC2310 system are already registered the first one as handset number 1 the second as number 2 etc You don t need to re register them unless you ha...

Page 26: ...ay will also go back to idle mode To de register a handset using the CC2310 base menu With the base in idle mode 1 Press the MENU OK button to see PHONEBOOK 2 Press the DOWN button twice to see SETTIN...

Page 27: ...et when OGM1 Out Going Message 1 is selected The Answer Only mode does not allow a caller to leave a message and is set when OGM2 Out Going Message 2 is selected The answering machine is supplied with...

Page 28: ...MENU OK MUTE button to select it and the display will Press the PHONEBOOK BACK button to return to the previous menus return to TAM ON OFF 2 If the TAM is already switched on either with OGM 1 or OGM...

Page 29: ...p tone the display will show RECORD and then you can start speaking When you want to end the recording press STOP ON OFF Then the unit will playback the OGM 1 announcement automatically The pre set an...

Page 30: ...e unit will playback the OGM announcement automatically or 1 By Hotkey Press the REWIND OGM briefly to listen to the current OGM OGM 1 or OGM 2 2 By MENU Press the MENU OK MUTE button to show PHONEBOO...

Page 31: ...ess the UP button to show TAM Press the MENU OK MUTE button to show MESSAGE Press the UP button to show TAM SETTINGS Press the DOWN button to show SET OGM Press the MENU OK MUTE button to show OGM1 Pr...

Page 32: ...the display will show 5 RINGS To Set Ring number Scroll UP or DOWN to select your choice Then press the MENU OK MUTE and the display will return the to previous menu Scroll UP or DOWN to select ALARM...

Page 33: ...to the caller directly This allows users to record amemo of up to 120 seconds Memos count as messages when played Press and hold MEMO SKIP key and the display will show MEMO and you will hear Please r...

Page 34: ...ng to delete them The security code is used to access the remote control or default the TAM and is a 4 digit code The default code is 0000 Press the MENU OK MUTE Scroll UP until TAM press the MENU OK...

Page 35: ...g remote control mode press twice to release the line If the TAM memory is full the Message Light will flash rapidly the TAM will answer the call after 15 rings and then announce Sorry we cannot answe...

Page 36: ...Press the MENU OK MUTE and you will see MESSAGE Scroll DOWN until the display shows TAM SETTINGS Then press the MENU OK MUTE and you will see TAM ON OFF Scroll the DOWN until the display shows TAM DEF...

Page 37: ...led out it will wait for 1 minute and then drop the call x Then it makes another call to the second SOS number if programmed and sends the announcement to line for another 1 min x Finally it will make...

Page 38: ...il you return to idle mode Press the MENU OK MUTE Scrtheoll DOWN until you see SOS SETTINGS Press MENU OK MUTE and you will see SOS NUMBER Scroll theDOWN until the display shows SOS VOICE then press t...

Page 39: ...ected to a PABX Press the MENU OK MUTE Scroll the DOWN until you see SETTINGS Press the MENU OK MUTE and then you will see DELETE HS Scroll the DOWN until you see FLASH TIME Press the MENU OK MUTE and...

Page 40: ...memories and TAM settings will remain unchanged However for some old telephone lines or PABX systems you may need to change Press the MENU OK MUTE Scroll DOWN until you see SETTINGS Press the MENU OK...

Page 41: ...the keypad if you haven t changed it the default PIN is 0000 Press the MENU OK MUTE button and the display will show NEW PIN Use the keypad to enter the new PIN 4 digits from 0 9 Press the MENU OK MUT...

Page 42: ...a few seconds and then switch back on This may solve the problem I cannot make a call x Only one handset or the base unit can be connected to the outside line at once If a cordless handset is already...

Page 43: ...ase unit from the telephone line and plug a different phone into the master telephone socket Try making a call If this works the line is OK x If the call does not work and you are using a two way sock...

Page 44: ...TTE Directive 1999 5 EC EC Low Voltage Directive 2006 95 EC EC EMC Directive 89 336 EEC And conforms to the following relevant harmonized standards Radio EN 301406 EMC EN 301489 Safety EN 60950 The c...

Page 45: ...ne line and the mains electricity supply 2 Pack up all parts of your CC2310 using the original packaging Remember to include the mains adapter 3 Return the unit to the shop where you bought it making...

Page 46: ...mA CHARGER POD input 230VAC 50Hz output 6VDC 200mA Port specification The port connect to the mains power supply is a SELV port with respect to EN41003 The port connected to the telephone line is a TN...

Reviews: