background image

InFormaZIonI DI sIcureZZa

Leggere attentamente il presente manuale prima di usare il


3

Prime.

aVVertenZa

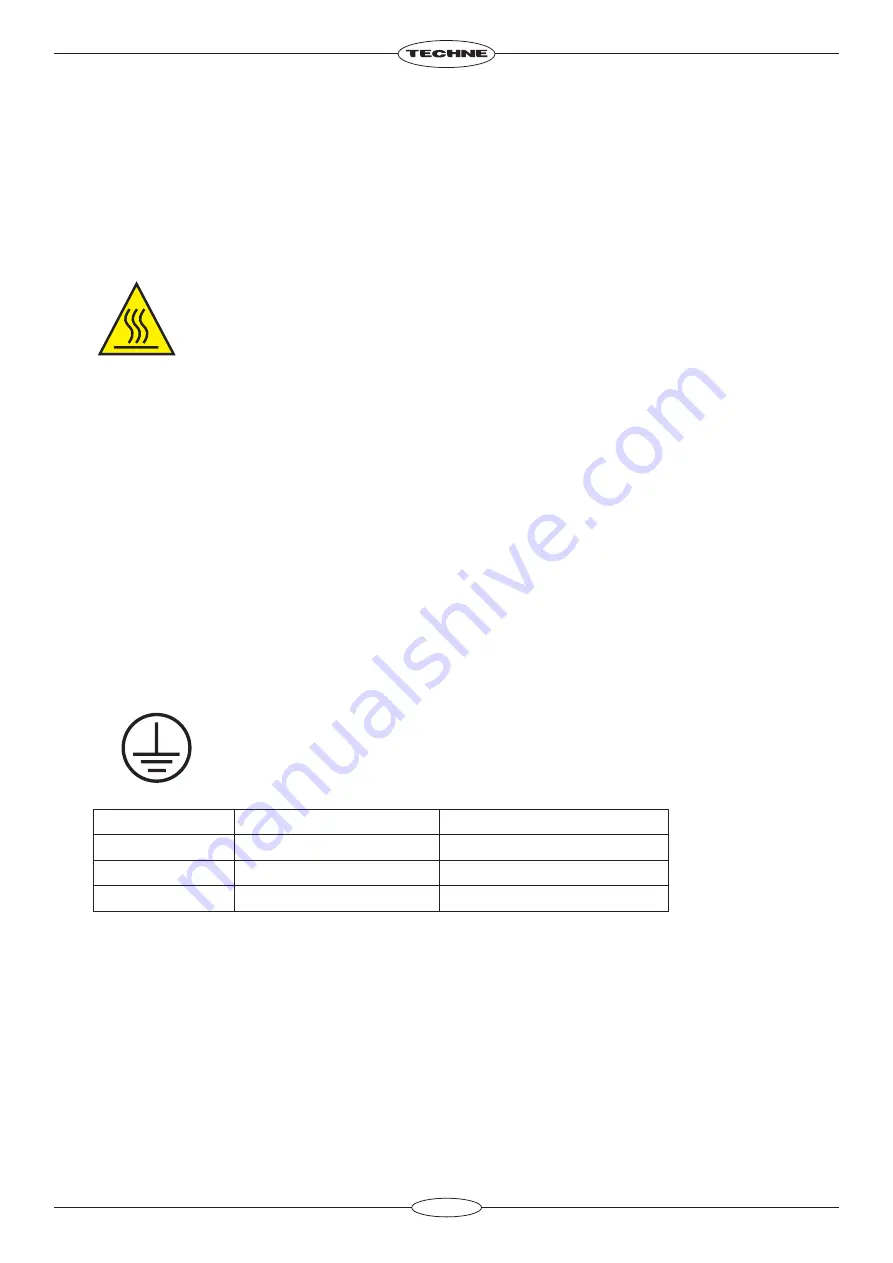
Le ALTE TEMPERATURE SONO PERICOLOSE in quanto possono provocare serie ustioni agli operatori e dare fuoco 
al materiale combustibile. Gli utenti devono conoscere i seguenti pericoli potenziali:


PRESTARE ATTENZIONE ED INDOSSARE GUANTI PROTETTIVI PER LE MANI


NON usare sostanze combustibili vicino ad oggetti caldi


NON mettere in funzione lo strumento nei pressi di liquidi o gas infiammabili


NON collocare alcun tipo di liquido direttamente nello strumento.

sIcureZZa Dell’oPeratore

Il personale che utilizza l’apparecchiatura Techne deve avere a disposizione la documentazione necessaria al fine 
di  assicurare  la  loro  incolumità.  È  importante  che  solo  personale  adeguatamente  addestrato  utilizzi  questo 
apparecchio, in conformità alle istruzioni contenute in questo manuale e nel rispetto delle normative e procedure 
generali di sicurezza. Se l’apparecchio è utilizzato in modo non specificato da Bibby Scientific Ltd., la protezione 
fornita dall’apparecchiatura all’utilizzatore potrebbe essere a rischio.

Tutte le unità Techne sono state progettate in conformità ai requisiti internazionali di sicurezza e sono
equipaggiate con un interruttore anti surriscaldamento. Se si dovesse verificare qualche problema di sicurezza, 
disconnettere l’apparecchio dalla rete. 

InstallaZIone

Occorre trasportare lo strumento usando entrambe le mani. Non spostare né trasportare lo strumento quando 
è in funzione o collegato all’alimentazione elettrica di rete.  

Tutti gli strumenti Techne sono forniti con un cavo di alimentazione; può essere integrale o plugin.

1. 

Prima  di  collegare  lo  strumento  all’alimentazione  elettrica  di  rete,  controllare  la  tensione 

2. 

confrontandola con la targhetta riportante i valori nominali (si trova sul retro dell’unità). 

notare 

che al fine di garantire la corretta sicurezza elettrica, occorre che l’unità sia messa a 
terra.

  Collegare  il  cavo  di  rete  ad  una  presa  idonea  secondo  la  tabella  riportata  alla  pagina 

successiva.

connessione

220/240V, 50/60Hz 

110V/120V, 50/60Hz

Sotto tensione

Marrone

Nero

Neutro

Blu

Bianco

Terra

Verde/giallo

Verde

SOLO REGNO UNITO: la spina con fusibile fornita con il cavo di rete è dotata di un fusibile da 5 Amp per 

3. 

proteggere lo strumento e l’utente.

Le unità sono stimate funzionare a 100-240V, 50/60Hz.

4. 

Collocare l’unità su un banco piano idoneo o in una cappa aspirante se necessario, assicurandosi che gli 

5. 

sfiati delle prese d’aria nella parte inferiore non siano ostruiti. 

Inserire il cavo di rete nella presa che si trova sul retro dello strumento.

6. 

Accendere lo strumento per mezzo dell’interruttore situato sulla parte anteriore dell’unità.

7. 

cavo di ricambio

Qualora  occorra  sostituire  il  cavo  di  rete,  si  dovrà  utilizzare  un  cavo  di  1mm

2

  codice  armonizzato  H05VV-F 

collegato ad una spina IEC 320. 

In caso DI DuBBIo, rIVolGersI a un elettrIcIsta QualIFIcato.

11

Summary of Contents for Techne 3Prime

Page 1: ...3 Prime 3 PrimeX and 3 PrimeG operator s manual Issue 1 1 03 12...

Page 2: ......

Page 3: ...d temperature 20 Gradient 3 PrimeG only 20 Oligonucleotide Tm calculator 21 PROGRAMMING TEXT TEMPERATURE AND TIME 22 Text entry 22 Temperature entry 22 Time entry 26 INSTRUMENT SETTINGS AND DEFAULTS 2...

Page 4: ...Search 46 UPDATING THE 3 PRIME SOFTWARE 47 UPGRADING FROM 3 PRIME TO 3 PRIMEG 48 FAQs 49 TECHNICAL SUPPORT AND SERVICING 50 ADDITIONAL INFORMATION 51 User Maintenance 51 Fault Finding 51 Fuses 51 Insu...

Page 5: ...and G also have a fully adjustable heated lid to accommodate a wide range of different consumables The 3 Prime units are programmed via a 3 5 colour VGA LCD touch screen using simple and intuitive sof...

Page 6: ...When unpacking the unit please ensure that the following have been removed from the packaging 3 Prime with block Mains cables UK EU and US Operator s manual Warranty card The user is advised to keep...

Page 7: ...ocket and remove the plug from the electricity supply Installation The instrument should be carried using both hands Never move or carry the instrument when in use or connected to the mains electricit...

Page 8: ...orkmanship for the period specified on the enclosed guarantee card This period is effective from the date of purchase within this period all defective parts will be replaced free of charge provided th...

Page 9: ...alimentation lectrique au niveau de la prise murale et enlevez la prise connect e l appareil Installation Porter l appareil deux mains Ne jamais d placer ou transporter l appareil lorsqu il est en fo...

Page 10: ...dant la p riode pr cis e sur la carte de garantie jointe Cette p riode s applique compter de la date d achat Au cours de cette p riode toutes les pi ces d fectueuses seront remplac es gratuitement dan...

Page 11: ...nahme Das Ger t mit beiden H nden tragen Das Ger t unter keinen Umst nden transportieren wenn es in Betrieb ist oder w hrend das Ger t noch am Netz angeschlossen ist Alle Ger te von Techne werden mit...

Page 12: ...e angegebenen Zeitraum keine Herstellungs und Materialm ngel aufweist Dieser Zeitraum tritt ab dem Verkaufsdatum in Kraft Innerhalb dieses Zeitraums werden alle defekten Teile kostenlos ausgetauscht s...

Page 13: ...alla rete Installazione Occorre trasportare lo strumento usando entrambe le mani Non spostare n trasportare lo strumento quando in funzione o collegato all alimentazione elettrica di rete Tutti gli st...

Page 14: ...li o nella lavorazione per il periodo specificato nella scheda di garanzia allegata Questo periodo valido dalla data di acquisto entro tale periodo tutte le parti difettose saranno sostituite gratuita...

Page 15: ...trumento cuando se utilice o est conectado al suministro el ctrico principal Todos los instrumentos Techne se suministran con un cable de alimentaci n que puede ser integrado o 1 enchufable Antes de c...

Page 16: ...a fabricaci n durante el per odo especificado en la tarjeta de garant a que se adjunta Este per odo entra en vigor a partir de la fecha de compra Durante este per odo se reemplazar n sin cargo alguno...

Page 17: ...East Ltd PO Box 27887 Engomi 2433 Nicosia Cyprus Tel 357 22 660 423 Fax 357 22 660 424 e mail sales bibby scientificme com 15 North and South America Bibby Scientific US Inc t a Techne Inc 3 Terri Lan...

Page 18: ...gram interface 3 5 colour VGA LCD touch screen Maximum number of programs 1000 Maximum number of stages per program 10 Maximum number of steps per stage 10 Maximum number of cycles per stage 99 Progra...

Page 19: ...des are free from obstruction Plug the mains cable into the socket on the back 2 of the instrument Connect to the mains electricity supply with the 3 plug provided or one wired correctly for the suppl...

Page 20: ...e down position b Adjust the orange rotating knob anticlockwise to give the least pressure then close the lid fully c Gently rotate the knob clockwise until you can feel pressure beginning to be appli...

Page 21: ...s Parameter 2 Step Template 3 Step Template RT PCR Template Heated Lid 105 C 105 C 105 C Heated lid before program On On On Sample cooling On On On Pause before program Off Off Off Initial denaturatio...

Page 22: ...emperature is the temperature in the middle columns of the block and the gradient is the variation at the two extremes of the block the left hand columns being the coolest and the right hand columns t...

Page 23: ...may result in reduced priming or prevent priming altogether The 3 Prime uses the Nearest Neighbour method for calculating the Tm of an oligonucleotide1 The Tm is calculated using the following equati...

Page 24: ...the left arrow Touch More for commonly used symbols Touch More again to return to characters and numerals Once the name is complete touch Back Temperature entry When touching a temperature parameter a...

Page 25: ...ameter being set Touch the white temperature area to open the temperature entry screen Enter the temperature using the numerical keys The resolution is one decimal place Use the arrow key to delete th...

Page 26: ...ements The increment decrement and gradient 3 PrimeG only screen will open Touch the button next to the required parameter to turn it ON Next touch the temperature button to set the increment or decre...

Page 27: ...Increments and Decrements The increment decrement and gradient screen will open Touch the button next to the gradient parameter to turn it ON Next touch the temperature button to set the gradient rang...

Page 28: ...the Time button A screen similar to that shown opposite is opened The maximum and minimum allowed values are indicated depending on the parameter being set Time entry When touching a time parameter a...

Page 29: ...irst ensure the number of cycles for the stage has been set then enter the required hold time as described above Note Increments and Decrements will be inactive unless the number of cycles set is grea...

Page 30: ...ble range Touch Accept to return to the previous screen Touch OK to accept the modification and return to the program Touch Cancel to return to the programming screen if no changes are required The ti...

Page 31: ...h Cancel to return to the Home Screen User Preferences Language Touch the language button to set the required language The options are English French Spanish Italian and German Temperature Display Tou...

Page 32: ...e the and keys to set the date values dd mm yy When the correct date has been set touch OK to return to the previous screen Touch Cancel to return to the previous screen if no changes are required Tim...

Page 33: ...h the file with the password to be removed Touch Remove Password The password will now be removed and the program can be deleted if required De select the program then touch Close to return to the Adm...

Page 34: ...ely 10 C higher than the hottest block temperature in the program Touch On Off to toggle between settings Touch the temperature button to set the required lid temperature 35 to 115 C Preheat lid Set t...

Page 35: ...gram will not continue until the unit is manually un paused Touch On Off to toggle between settings Touch the temperature button to set the required temperature Touch More Settings for further program...

Page 36: ...n and enter the required temperature Touch OK Touch the Temperature Gradient button and enter the required gradient range followed by OK Touch OK The calculated temperatures for each of the columns of...

Page 37: ...lt concentration of the PCR mix Touch Calculate to calculate the Tm of the primer To check the Tm of another primer with the same primer and salt concentrations touch Back and enter the new primer seq...

Page 38: ...new stage To insert a stage in a program touch Insert a new stage A stage with one step will be inserted Stage 1 Touch this to give the stage a name optional Enter the name using the text entry scree...

Page 39: ...p rate as required Delete a step To delete a step touch the area near to the step number to highlight it and then touch Delete More than one step can be selected at a time Insert delete a pause Insert...

Page 40: ...program and return to the Home Screen program options Program Name Touch Name the program to give the program a name Type in the required name using the text entry screen Once the name is complete tou...

Page 41: ...user attempts to edit or delete the program To create a password touch the None button next to Password Enter the required password then touch Back to return to the Program Options Note The password...

Page 42: ...the instrument defaults as set up in the instrument Settings module Any of these parameters can be edited by touching the appropriate button and will be saved for the current program only Touch Back t...

Page 43: ...ted a series of options are displayed across the bottom of the screen Touch Run to send the program to the unit and proceed to the pre run screen Touch Edit to open the program and allow editing Touch...

Page 44: ...art the program Touch Edit to edit the program Touch Back to return to the previous screen The Run Screen Once the program has been started the current step is shown by the central highlighted step ti...

Page 45: ...he required changes have been made touch Save Note this will overwrite the existing program Editing templates Editing templates can be a quick method of creating a program by just changing a few key p...

Page 46: ...New Program Name and enter a new name for the edited program followed by Save as a New Program The re named program will now be listed as a separate program in the program list copy Program files can...

Page 47: ...r button to save the file to the USB memory stick Touch the lower button to save a copy of the file on the 3 Prime unit Touch Cancel to return to the program list screen The file will be saved on the...

Page 48: ...ton on the Search screen Enter a search term using the Text Entry screen The first few characters of the program name are sufficient Touch Back to return to the previous screen followed by Search All...

Page 49: ...k on Support followed by Software Downloads Complete the short registration form and click on Submit You will now have access to all software and manual downloads Select the 3 Prime Update and choose...

Page 50: ...The upgrade consists of a custom USB stick which will only work in a specified unit based on the unit serial number 1 Turn on the 3 Prime then insert the upgrade USB stick into the port on the front...

Page 51: ...al denaturation step Heat activated Taq or Hot Start enzymes do not require this step Q5 What is the incremented time and temperature function for A5 Incremented decremented time and temperature are u...

Page 52: ...5 For servicing information please contact Service Department Bibby Scientific Ltd Beacon Road Stone Staffordshire ST15 0SA E mail service bibby scientific com Phone 44 0 1785 810475 Fax 44 0 1785 810...

Page 53: ...s no responsibility for damage to units which are not properly packed for shipping if in doubt contact your supplier giving the full serial number of the unit Fuses If the display on the front panel i...

Page 54: ...rom Bibby Scientific Ltd or your Techne distributor Product code Description 3PRIMEBASE 02 B 3 Prime block 24 x 0 2ml 3PRIMEBASE 05 B 3 Prime block 18 x 0 5ml 3PRIMEX 02 B 3 PrimeX block 48 x 0 2ml 3P...

Page 55: ......

Page 56: ...Cerro al Lambro Milano Italia Tel 39 0 2 98230679 Fax 39 0 2 98230211 e mail marketing bibby scientific it www bibby scientific it North South America Bibby Scientific US Inc t a Techne Inc 3 Terri L...

Reviews: