OPERATION DIGITAL THERMOSTAT
1. Verify that wheel brakes are in locked position (front two casters).
2. Inspect humidity pan for proper water level (1/2 to 3/4 full).
3. Make sure the polycarbonate water pan cover is properly in place with the holes over the pan.
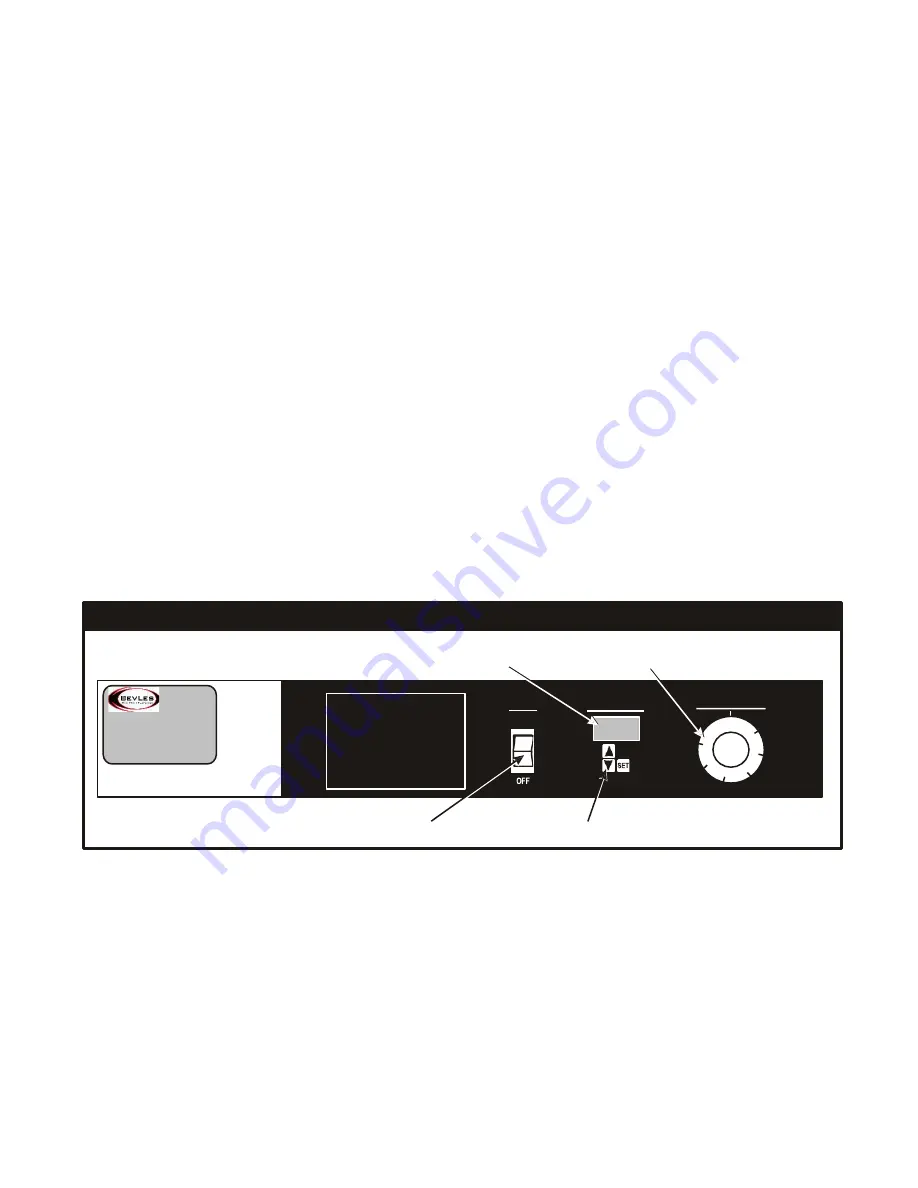
Refer to picture of Digital control panel below for the following steps.
4. Push the power switch to the "ON" Position. Always use this switch to turn the unit "ON" or "OFF".
5. Set the temperature control to the desired cabinet temperature. 90°F to 110°F is recommended as a
starting position for proofing. Increase or decrease the cabinet temperature as needed to best suit
your application.
a. To select desired cabinet temperature:
b. Press SET key under cabinet temperature display.
.
c. Press INCREASE key or DECREASE key to adjust cabinet temperature.
d. Press SET key to lock-in desired cabinet temperature. (If you don't press the SET key the
temperature setting will revert back to previous setting).
6. Set the humidity control to the #3 or #4 position. This can be increased if necessary to suit your
specific application.
7. Make certain that the 18" x 26" sheet pan (not provided) that has been inserted in the slides on the
bottom of the base is under the square hole to catch any condensation.
8. Verify that the door(s) is closed and latched.
9. Allow approximately 45-60 minutes for the cabinet to achieve the necessary temperature and
humidity that you desire.
10. The cabinet is now ready for product placement and the start of the proofing process.
DIGITAL CONTROL PANEL
Cabinet Temperature Display
Humidity Control
OPERATING INSTRUCTIONS
xxxxxxxx xxx xxx xxxxx xxxxx xxxxxxxx
xx xxxxxxxxx xxxxxxxx xx x xxxxxxxx xxxxx
xxxxxxxxxxxxxxxxxxxx xxxxxxxxxxx xxx xx
x x xxx xxxxxxxx xxxxx x xxxxx xx xxxxxxxx
xxxxxxxxxxxxxxxxx xxxxxxxxxxxxx xxxxxxx
xxxx xxxxxxxxxx xxxxxxxxx xxxxxxxxxxx xx
xxx xxxxxxxx xxxxxxxx xxxxxxxxxxxx xxxxx
POWER
ON
CABINET TEMP.
CABINET HUMIDITY
Power Switch
Temperature Control


