10
Bentone
172 515 72 2018-02-19
2.7
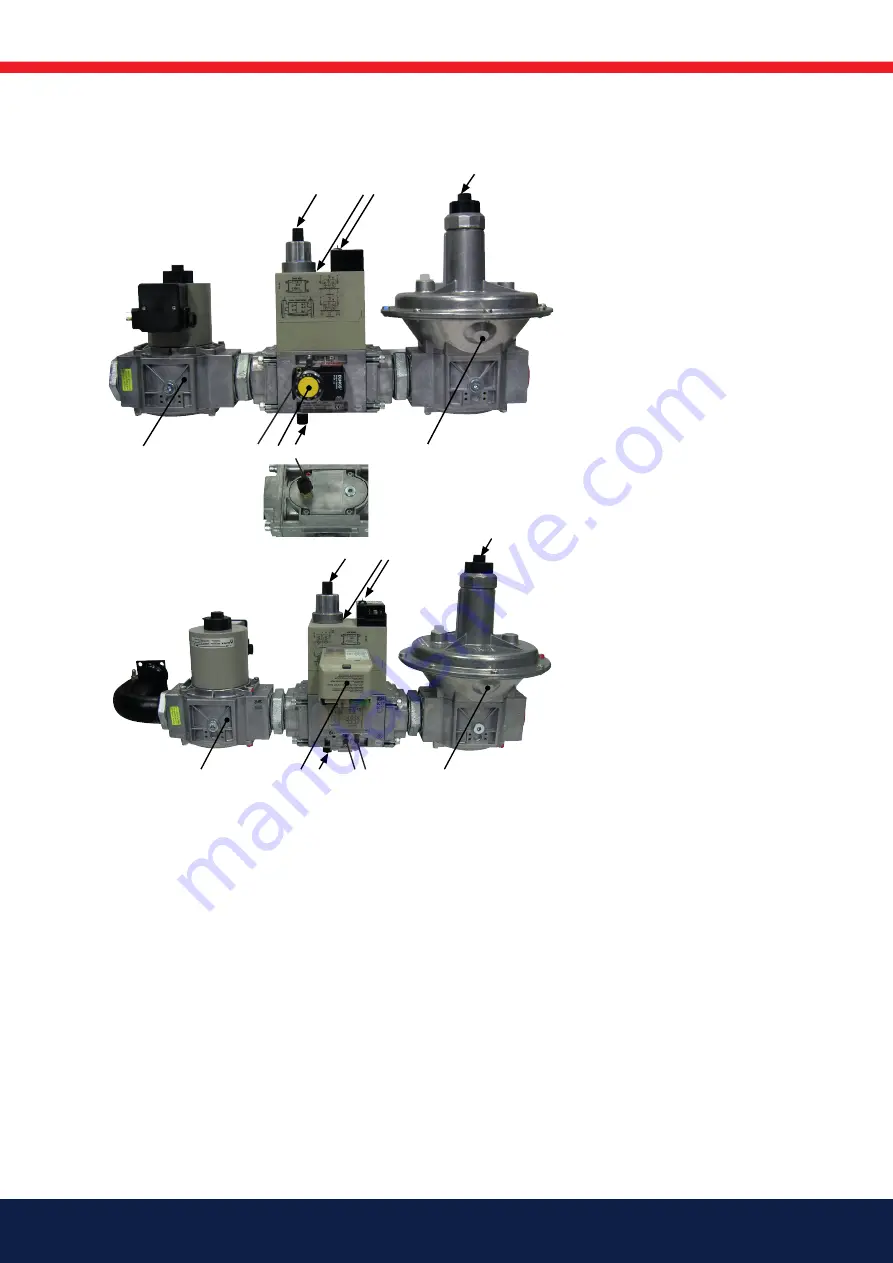
Skeleton diagram, biogas 2-stage burner
VPS: Standard on burners with an output ≥ 1200 kW. Optional on burners with an output < 1200 kW.
1.
Safety valve on-off
2.
Gas pressure switch
3.
Governor FRS shall be be
fitted with separate filter
4.
Twin solenoid valve
5.
Governor pressure
6.
Valve proving system (VPS)
Pe
Pressure before valve
Pa
Pressure between valves
Adjusting points:
a.
Main flow restrictor stage 2
(max load)
b.
Gas pressure adjustment
c.
Main flow restrictor stage
1(min load)
d.
Hydraulic brake stage 1 to 2
2.8
Adjusting the gas train
The burner is test-run with propane prior to delivery.
During operation, the safety valve (1) must be fully open.
When adjusting Stage 1
on the burner, valve 2 must
be opened using the adjustment screw (c). When this is
screwed in, the flow of gas to the burner increases by
lifting the valve. During initial setting, the valve must have
been lifted by the adjustment screw after 1-2 turns. This
valve is always open and this opening is what determines
the minimum load.
When adjusting Stage 2
is done using the adjustment
screw (a) which controls the opening of valve 1.
At start-up, the safety valve opens and valve 1 gas flows
through valve 2, which was opened using adjustment
screw C. The burner now receives gas for the minimum
load. Increase the load to Stage 2 and set the output on
the burner.
Output is adjusted at Stage 2 by opening valve 1 using
adjustment screw A and adjusting the gas pressure on
pressure regulator screw B. The air damper must also
be adjusted to ensure that the correct volume of air is
obtained. Once the correct output and pressure are set in
Stage 2, move on to Stage 1. Stage 1 is now adjusted using
adjustment screw C to ensure that the correct volume
of gas is obtained. Adjust the air damper for correct
combustion.
a
b
4
1
c
2
3
5
d
6
a
b
4
1
c
3
Pa Pe
d


