background image

Aspect Ratio
Color Temp

Noise Reduction

Select picture scale 
Select color temperature mode 
of the picture
Select model of 3D NR

"Full, "4:3", "Subtitle","Film" four modes
There are three Color Temperature modes, "Standard",
"Warm",  "Cool ".
"Middle", "High", "Off", "Low". 

Option

Function

Description

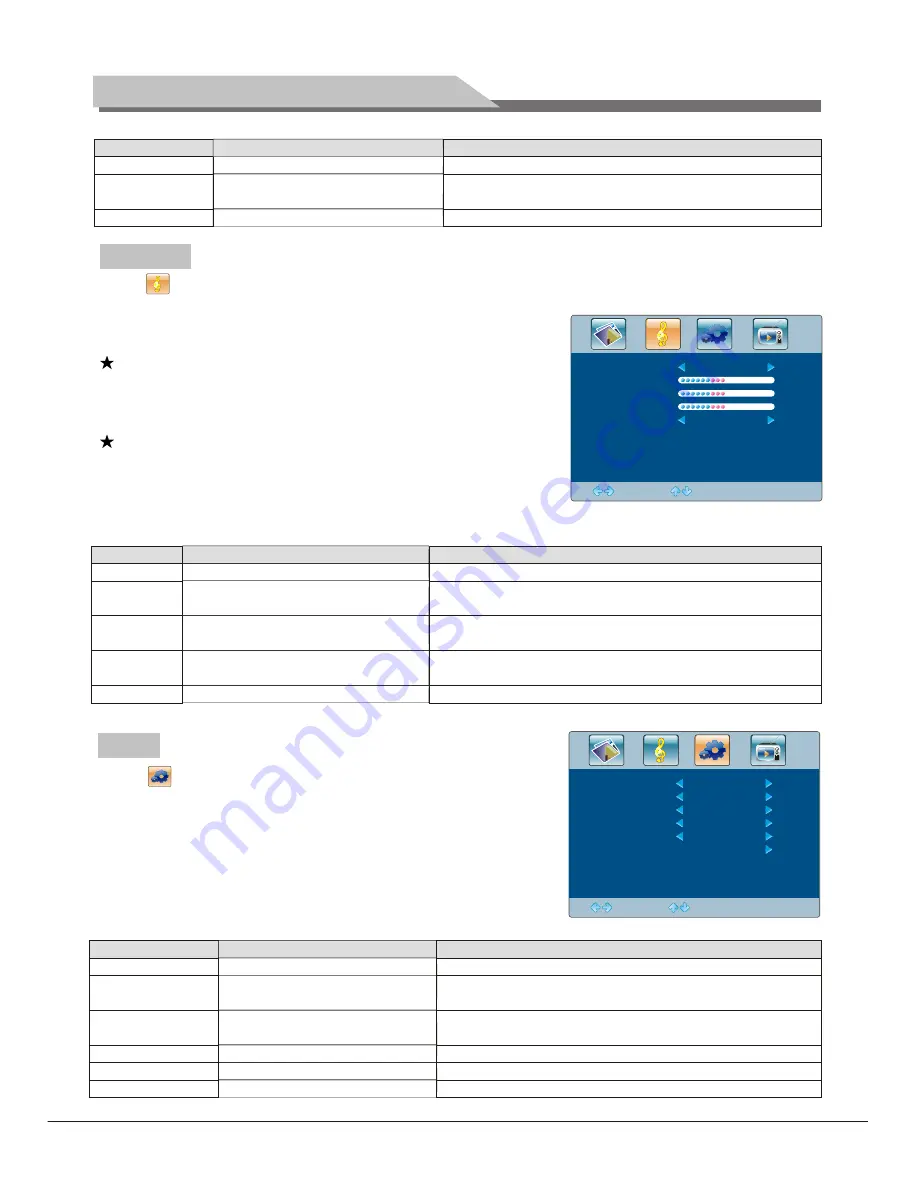
Basic Operation Instruction

Select       to enter the SOUND submenu. Press "Up/Down" key on the remote controlor the key "CH+/
CH-" on the control panel to choose what you need. Press the"Left/
Right" key on the remote control or the "VOL+/VOL-" key on the 
control panel to adjust analog value or state (see belowtable).

Special Attention

    1. Normally, 0 value of adjustment is recommended;
    2. The treble or bass analog value which is adjusted by the 
       users will be saved as the User mode by the machine 

Remote Control Shortcut Keys


SMART S

: Press SMART S key on the remote control. You 

    can switch the function among the


MUTE

: Open or close sound.        

VOL+/VOL-

: Add or reduce volume.

 "Standard", "Music", 

    "Movie", "User" four modes.

Adjust

Select

Menu:Exit

50

50

0

Standard

Sound Mode

Treble

Bass

Balance

Auto Volume

O f f

Sound Mode
Treble

Bass

Balance

Auto Volume

Adjust audio effect mode
Adjust  treble value 

Adjust bass value

Adjust balance of left or right sound

Select Auto Volume

"Standard", "Music", Movie", "User" four modes.
Increasing analog value increases treble; 
Decreasing analog value decreases treble (0-100).
Increasing analog value increases bass; 
Decreasing analog value decreases bass (0-100).
Increasing analog value decreasing left volume; 
Decreasing analog value decreases right volume(L50-R50).
"On/Off", two states.

Option

Function

Description

Select       to enter the OSD  submenu. Press "Up/Down"key on 
the remote control or "CH+/CH-"key on the control panel to 
choose what you need. Press the "Left/Right" key on the remote 
control or the"VOL+/VOL-" key on the control panel to adjust 
analog value or state (see below table).

Adjust

Select

Menu:Exit

English

60  Second

0

On 

Off

OSD Language

OSD Duration

OSD Transparency

Blue Screen

Sleep Time

Recall

OSD Language
OSD Duration

OSD Transparency

Blue Screen
Sleep Time
Recall

S
Adjust duration of OSD menu 

Adjust halftone of OSD menu

Set sleep time of the machine
Resume to setting of factory

elect language for OSD display

Open or close blue screen

There are many languages to select 
Increasing analog value, extend duration time of OSD menu;
(15, 30, 45, 60). Unit: second
Increasing analog value increases halftone; 
Decreasing analog value decreases halftone(0-100).
"On/Off", two states.
"Off, 15M, 30M, 45M, 60M,90M, 120M, 240M", unit: minute.
Reset all values to setting of factory.

Option

Function

Description

SOUND

OSD

11

Summary of Contents for L23 series

Page 1: ...L23 series LED TV User s Manual...

Page 2: ...ations for Final Product 5 Listing 5 Installation Connection 6 Antenna Connection 6 Power Connection 6 Computer Connection 6 AV1 AV2Video Signal Connection 7 SPDIF OUT 7 7 I C AV Out Connection 7 YPbP...

Page 3: ...rmation to customers and thus all contents may be modified from time to time without prior notice Please visit http www benq com for the latest version of this manual BenQ has been dedicated to the de...

Page 4: ...n an uneven sloping or unstable surface such as a trolley where it may fall and cause damage to itself or others For wall mounting allow appropriate space on top for attaching theTV to the wall bracke...

Page 5: ...screw or remove any covers There are dangerous voltages inside Turn off the power and unplug the power cord before moving theTV Safety Warning and Notice Care and cleaning information Always turn off...

Page 6: ...ore there is no concern or worry about the use and safety of thisTV The use of the wrong type of batteries may cause chemical leaks or explosion Please note the following Always ensure that the batter...

Page 7: ...Dimension L H W Net weight Gross weight 23 1920 1080 1920 1080 60Hz mm 630 465 mm 4Kg 5Kg 0 2655mm 0 2655mm 509 76mm 286 74mm 568 418 36 100 16 7M Power adapter Volume TV receive system PAL NTSC PAL...

Page 8: ...avoid thunder shock in thunder weather W R Y G Green Y B Blue Pb Cb W White AUDIO L R Red AUDIO R Pr Cr Y Y ellow VIDEO I AC 100V 240V 60 50Hz Please connect one end of VGA cord with the output port...

Page 9: ...l mounting stand 3 4 mm of depth from bolts washer to stand is recommended 5 Hang the machine onto the slot of the wall mounting board Then lock the two bolts on the sides Note Installation method is...

Page 10: ...lay menu Press this button to display signal source selection menu Select channel Number System information display switch Timer setting button press this key can set time of turning down Press this b...

Page 11: ...take out the battery in order to avoid bringing the battery leakage to corrode the remote control and thus cause it out of commission 5 Do not use different batteries The mix use of new and old batte...

Page 12: ...t analog value or state see below table Special Attention 1 The Hue function is available only for NTSC system PICTURE SOUND OSD TV 2 The value adjusted by user such as Contrast Brightness Hue Saturat...

Page 13: ...t sound Select Auto Volume Standard Music Movie User four modes Increasing analog value increases treble Decreasing analog value decreases treble 0 100 Increasing analog value increases bass Decreasin...

Page 14: ...alogue Do you want to exit searching display on the screen Press Left cursor key to confirm and exit Press Right cursor key to cancel operation and continue auto search Manual Search SEARCH Fine Tune...

Page 15: ...ss 3 key on the remote control to open or close Skip Select Channels with CH CH Key Press Channel key on the remote control or CH CH key on the control panel to select the channels Select channels wit...

Page 16: ...remote control to select this function OK key to play or pause Prev Left Right key on the remote control to select this function OK key to read previous photo Next Left Right key on the remote contro...

Page 17: ...y normally Step Left Right key on the remote control to select this function OK key to play one step by step Press PLAY key to play normally Zoom in Left Right key on the remote control to select this...

Page 18: ...stem CAUTION Don t let your machine display the same picture for a long time please set up a screen protection procedure If a high contrast picture remains for along time this picture will bring a lea...

Page 19: ...Part No 4J V2L01 001 C...

Reviews: