


FAQ and Troubleshooting
35
•
The CD or DVD is not bent or badly scratched.
•
Noise from the optical drive when the disk plays shows that the optical
drive may be deformed, and the computer needs to be repaired. If the
disk tray does not open after the Eject button is pressed, insert a pin into
the Emergency Eject hole to force the tray out.
DVD movies will not play.
The region code of the DVD inserted must match that of the DVD
playback software used. This region code can be set up to five times. If
you have not reached this limit, a prompt will appear that will allow you
to change the region code of the software to match that of the move.
Otherwise, you can only play back DVDs with the same region code as
the last DVD played back successfully.
Why is the hard drive capacity displayed by the OS be different from its
nominated capacity?
Most users may have discovered that the capacity of a 10GB hard drive
will become 9GB when displayed from the OS; and 20GB become 19GB,
40GB become 38GB..., etc. The bigger the capacity, the bigger the
difference. It is because hard drive makers and OS developers calculate
hard drive capacity in different ways. As a result, the nominated capacity
is different from the exact capacity displayed by the OS.
Example of a 40GB hard drive:
Exact capacity of a 40GB hard drive displayed in the OS:
40,000,000,000÷1024÷1024÷1024=37.2529 (GB).
Furthermore, when you partition a hard drive, the system will reserve
some space on the drive for system files. Therefore, the total capacity of a
hard drive displayed by the OS will never be the same as its nominated
capacity.
I hear noise when connecting an earphone to Joybook.
The instructions below will guide you through the troubleshooting
process.
•
Connect the earphone to other devices, such as a radio to see if you can
still hear that noise. If the noise persists, the earphone may be out of
order.
•
If you can hear the noise only when inserting, it is the result of high
instantaneous current. It is a normal phenomenon.
How can I reduce the wearing of the screen spindle when I open the
screen?
We suggest that you open and close your screen gently and slowly with
both hands. Apply force evenly on both hands to reduce spindle wearing
and prevent deformation or breaking of spindle due to uneven force
application.
Display
There is nothing visible on the screen.
Check the power indicator.
•
If it is not lit up, no power is being supplied to Joybook. Connect the AC
adapter and restart Joybook.
•
If it is lit up in amber, Joybook has entered sleep mode in order to
conserve power. Simply pressing the power button or any key should
return Joybook to normal operating mode.
•
If it is lit up in blue, Joybook is being supplied normally with power.
There are two possible causes for the problem.
•
The screen's brightness may be set too low. Use the <Fn> +
<F5> hotkey combination to increase the brightness.
•
The display mode may be set to use an external display. Use the
<Fn> + <F3> hotkey combination to switch the display mode to
use Joybook's own LCD panel or to use simultaneous display.
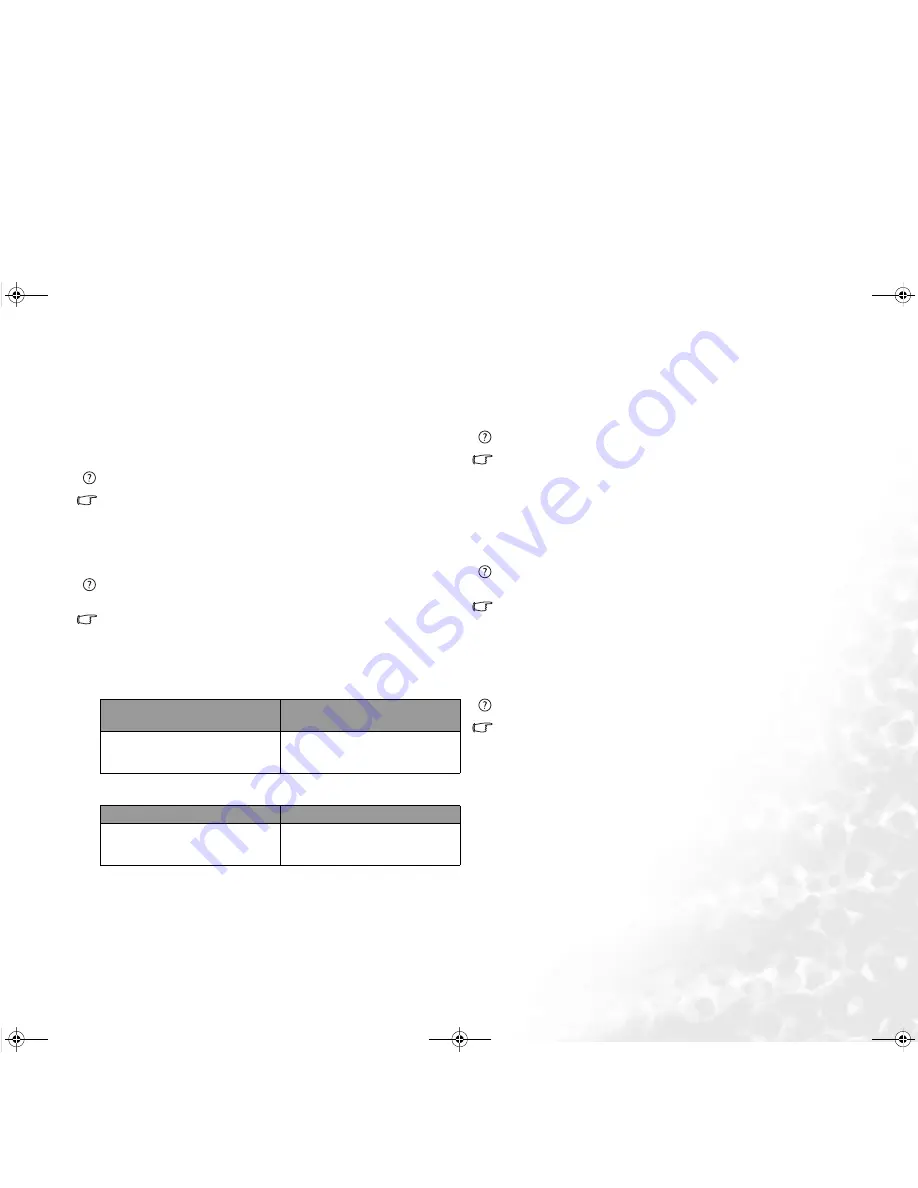
Calculation of hard drive
capacity by drive makers
Calculation of hard drive
capacity by OS developers
1GB=1,000MB
1MB=1,000KB
1KB=1,000 byte
1GB=1,024MB
1MB=1,024KB
1KB=1,024 byte
Calculation by drive makers Calculation by OS developers
40GB=40,000MB
=40,000,000KB
=40,000,000,000byte
40GB=40,960MB
=41,943,040KB
=42,949,672,960byte
JB S73.book Page 35 Tuesday, March 14, 2006 5:00 PM


