Operating the camera 7
Eng
lish
Operating the camera
The procedure below is a general guideline for basic operation. It is particularly useful if you
are new to the camera.
1. Press the Power button to turn the power on.
2. Slide the mode switch to
and press
>
,
,
, or
to locate
desired options (under two different tabs:
and
), and then press
or
to
make selections.
Remember to follow the on-screen display or slide to
for instructions (wherever
available). Next, press corresponding buttons to access and set more options. At any time, you
can cancel the current operation by pressing
to return to your previous step.
3. Slide to
to zoom-in or
to zoom-out.
4. Press the shutter halfway to set automatic focus. Once the focus is set, the focus frame
color will turn from white (unfocused) to yellow-green (focused).
5. Press the shutter down fully to capture.
6. Release the shutter.
7. Slide the mode switch to
and enter the
Movie Record
mode. Next, adjust the optical
zoom as needed and press the shutter down to start video recording (press the shutter
again to stop video recording).
8. Slide the mode switch to
and view captured images or recorded videos. You can
press
, or
to move to different images/videos, slide to press
or
to zoom-in/
out a captured image, or slide to
to view 9 images on the screen.
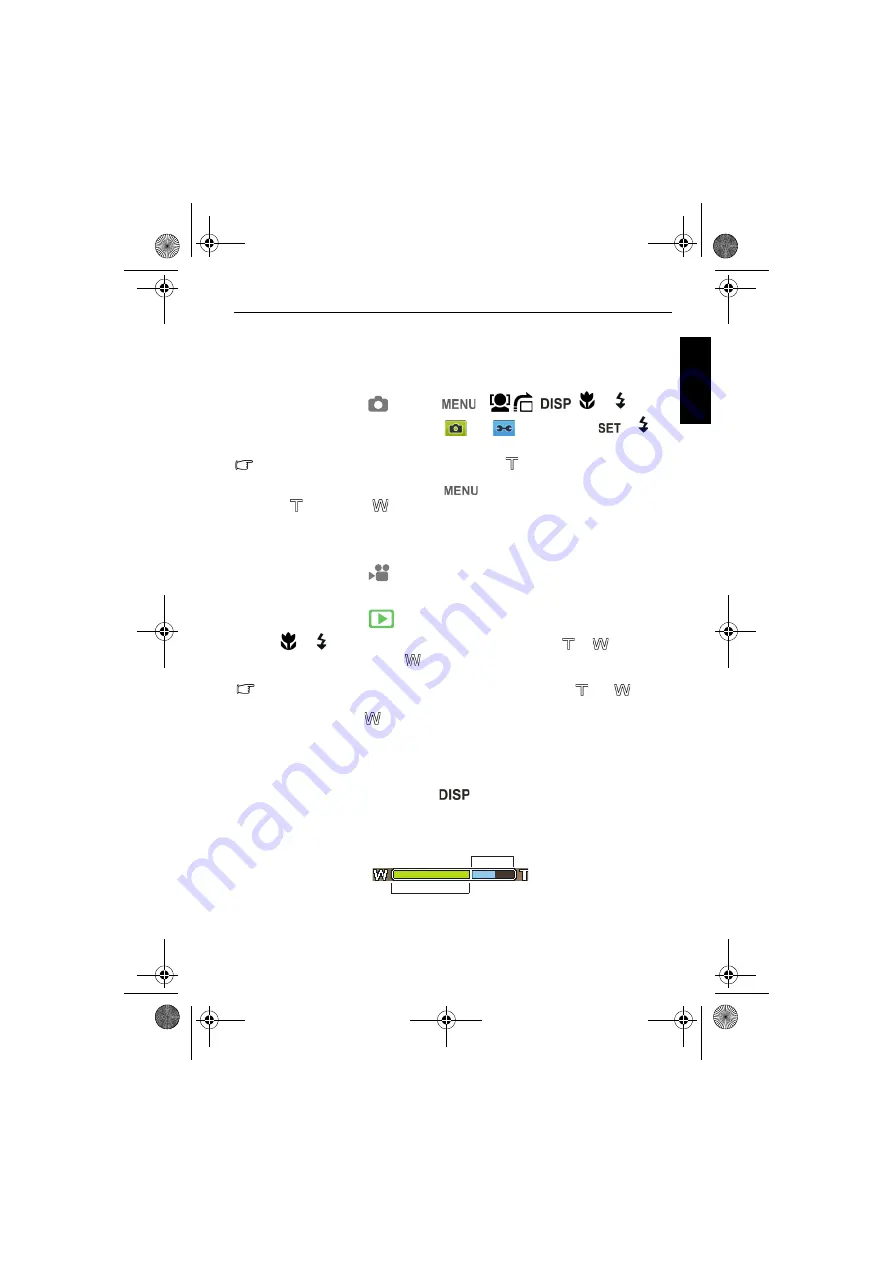
• During zoom-in/out, there is a separator in the zoom bar between
and
. For
best image quality, it is recommended to use optical zoom only by keeping the
magnification within
and the separator.
• Flash is automatically turned off in the Movie Record mode.
• The Movie Record mode records both sound and video. The recording time is
continuous, but recording will stop once the memory card space is full.
• In the Movie Record mode, sound is temporarily muted during zoom-in/out.
• At any time, you can press the Power button to turn off the camera.
• In Capture or Playback mode, press
to decide what information to show on the
screen.
Optical Zoom
Digital Zoom
E1260_UM - EN.book Page 7 Monday, May 17, 2010 1:57 PM


