


Using your Joybook Lite
29
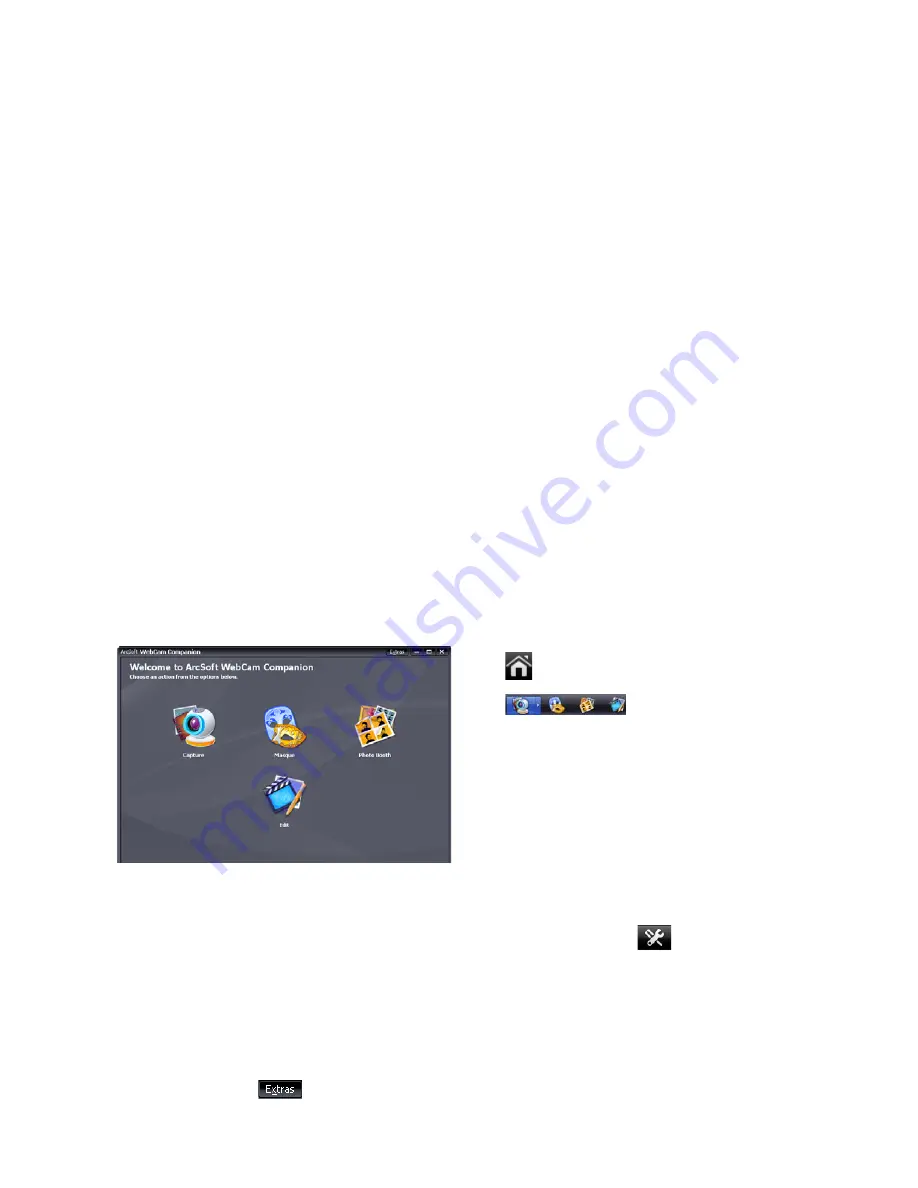
Using WebCam Companion 3
"WebCam Companion 3" features four modules below that
helps you get the most out of your webcam.
•
Capture
: allows you to capture still images and record videos
from the webcam.
•
Masque
: morphs your face with another face using the select
template.
•
Photo Booth
: allows you to choose different layouts for your
photos and customize them.
•
Edit
: allows you to browse and edit previously captured
images or recorded videos. You can upload the video clips to
YouTube as well.
Options and settings in the Main menu screen differ by module.
For more information, refer to Help topics in "WebCam
Companion 3", by clicking
(at the upper right
corner) >
Application Help
, or pressing the <F1> key.
Switching to different modules
On the top left corner of the Main screen in any module, there
are two icons that allow you to switch to another module easily.
returns to the Home screen to select other modules.
shows the current module. To switch to
another module, click the arrow to display other modules, and
select a desired one.
Capturing still images or recording videos
1. Launch "WebCam Companion 3" as instructed in
"Activating WebCam Companion 3" on page 28
.
2. Select the
Capture
module from the Home screen.
3. On the
Capture
preview screen, you can do the following
tasks.
•
Take Picture
: captures still images from the webcam.
•
Burst
: captures multiple images in quick succession.
The number of images to be captured in each burst can
be defined in
(
Settings
).
•
Record Video
: begins capturing video from your
webcam.
Summary of Contents for DH1200
Page 1: ...Joybook Lite U121 Eco Series User Manual...
Page 68: ...Appendix 64 Memo...


