74
Operation
Setup Mode
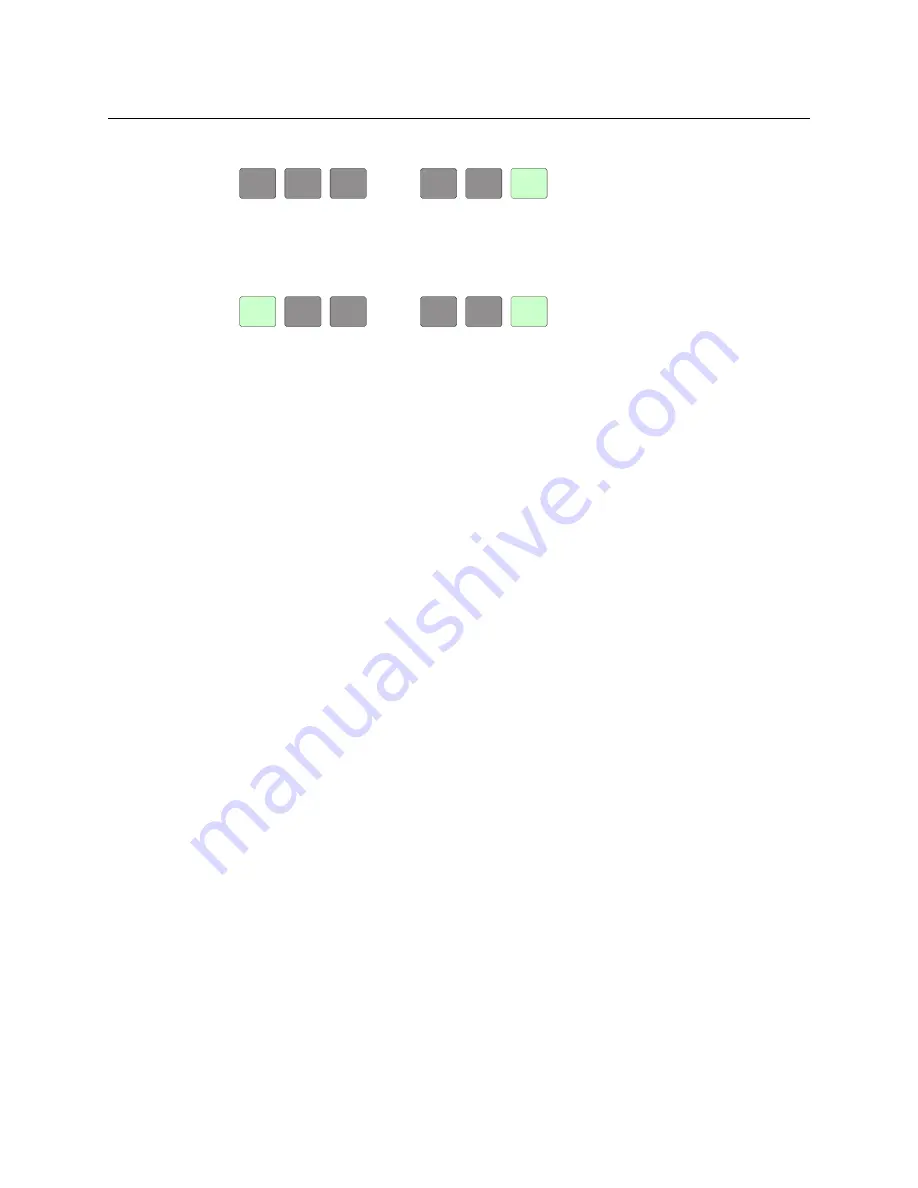
In the setup menu, press the ‘Panel Test Mode’ button. One button appears:
Press the ‘Push to Test’ button repeatedly to execute the test. Each time you press the
button, the panel illuminates all its LCD buttons in a single color, changing the color
each time you press the button. Keep pressing the button until all 7 colors (high and
low tally) have been displayed and ‘Button Number’ appears on the left button:
When ‘Button Number’ appears, you can test individual buttons. Press any button
except ‘Exit’ which is on button 16. When you do, the button number appears under
“Button Number” on button 1 and the button you pressed blinks rapidly on and off for
about a half second. The up and down buttons are buttons 17 and 18 respectively and
you can test these buttons the same way. When you have finished testing buttons,
press ‘Exit’ to return to the setup menu.
The panel test shows you (1) whether all the buttons are working and how well and (2)
whether the software and firmware are working.
When you are finished using the setup menu, press ‘Exit’ one or more times to return the
panel to its normal pre-connected state.
When you connect the panel to its network, the panel leaves its setup state and begins to
initialize in its normal operational state. After a short time, the panel will have initialized to
its configured state and will display its default button page.
PUSH
PUSH
TO
TO
TEST
TEST
BUTTON
BUTTON
NUMBER
NUMBER
EXIT
EXIT


