Prism Medical Ltd. V1-2014
34
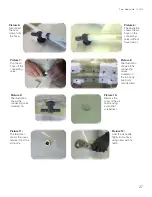
Picture 7:
Affix the new
sensor at the old
position.
Picture 8:
Guide the cable
through the PG
threaded connection
into the distributor unit
and clamp the cable
of the sensor. Then
screw on PG threaded
connection again.
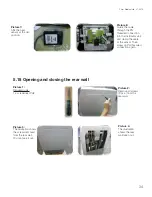
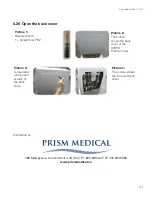
5.18 Opening and closing the rear wall
Picture 1:
Required tools:
1 x screwdriver PH2
Picture 2:
Remove all screws
(9 pcs.) from the
rear wall.
Picture 3:
The illustration shows
the screws removed
from the rear wall.
You can take it out.
Picture 4:
The illustration
shows the rear
wall taken out.


