Prism Medical Ltd. V1-2014
28
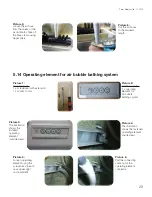
Picture 13:
Loosen and remove
the connecting
valves by turning in
counter-clockwise
direction.
Picture 14:
The illustration
shows the
connecting valve
removed from the
air nozzle.
Picture 15:
You can take out
the air nozzle.
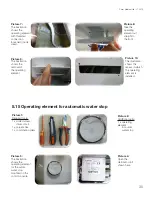
5.13 Air distributor
Picture 2:
Additional parts:
1 x air distributor
Picture 1:
Required tools:
1 x nipper pliers
1 x shears
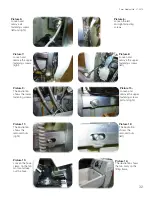
Picture 3:
Loosen the cable
tie that holds the
air hoses together.
Picture 4:
The illustration
shows the air hoses
on the air distributor
loosened from the
tie

