


4-16
MEGA3 NFPA Medical Gas Notification System
4107 9016 59.03
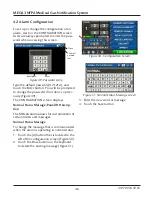
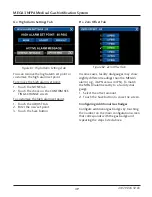
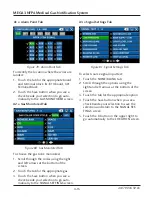
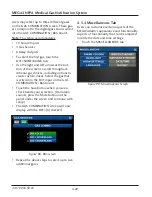
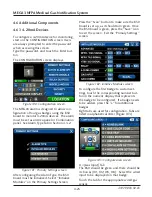
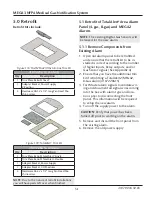
A4 = Locations Tab
Figure 82: Locations Tab
To add source locations being monitored:
1. Touch a blank location tab.
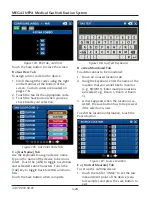
2. Using the keyboard, enter the name of the
location for the source equipment being
monitored (e.g., ROOM 1). Enter multiple
locations as needed (e.g., Manifold Room,
Roof Top, Source Room).
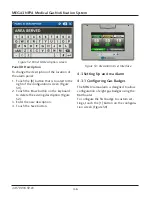
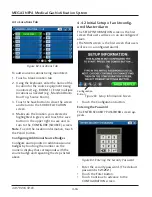
3. Touch the Save button to close the screen
and return to the SOURCE LOCATION
screen.
4. Make sure the location you selected is
highlighted in green, and touch the save
button in the upper right to save and re-
turn to the CONFIGURE (SOURCE) screen.
Note
: To edit the location information, touch
the Pencil button.
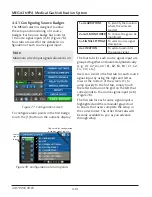
Configuring Additional Source Badges
Configure alarm points on additional source
badges by touching the number on the
numeric display that corresponds with the
source badge and repeating the steps listed
above.
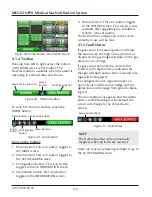
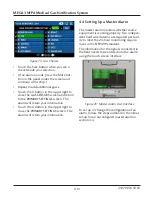
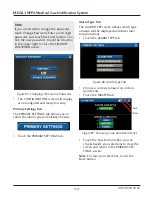
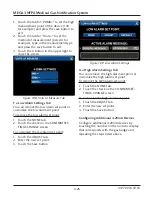
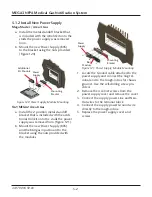
4.4.2 Initial Setup of an Unconfig-
ured Master Alarm
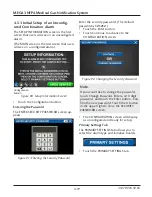
The SETUP INFORMATION screen is the first
screen that users will see on an unconfigured
alarm.
(The MAIN screen is the first screen that users
will see on a configured alarm).
• Touch the Configuration button.
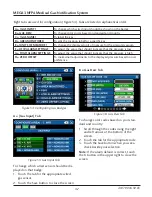
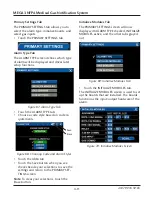
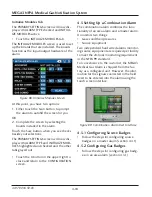
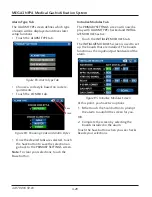
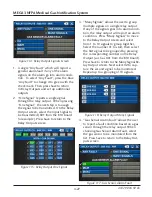
Entering the Password
The ENTER SECURITY PASSWORD screen ap-
pears.
Figure 84: Entering the Security Password
• Enter the security password. (The default
password is
121212
.)
• Touch the Enter button.
• Touch Continue to advance to the
CONFIGURATION screen.
Figure 83: Setup Information Screen
Configuration
Button