86
87
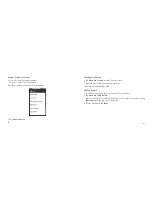
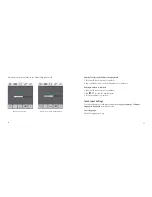
2. Select the type of your account and tap Next.
3. Edit the incoming server settings and then tap Next/Next[Check].
If you tap Next[Check], your device will check the incoming server settings
and finish the setup automatically. If you are notified that setup could not be
finished, you might need to correct some settings to finish it. If there is any
problem, please contact your mobile service provider and email service provider.
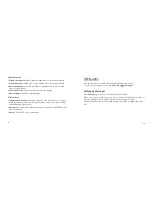
4. Edit the outgoing server settings and tap Next/Next[Check].
If you tap Next[Check], your device will check the outgoing server settings and
finish the setup automatically.
5. Set the email checking frequency, select whether to use this account by default
or be notified when email arrives, and then tap Next.
6. Give your account a name and set a name displayed on outgoing message, and
then tap Done.
Composing and Sending an Email
After creating an email account, you can compose and send email messages.
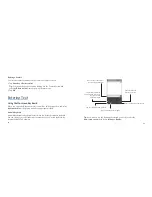
1. Tap Menu Key > Compose from the Email Screen.
2. Tap the To field and enter the recipient’s address.
When you enter the address, the matching addresses saved in your Contacts will
be displayed. You can select the recipient from the list.
Tip:
You can also tap Menu Key > Add Cc/Bcc to add recipients.
3. Enter the subject and the content of your email.
4. Tap Send.
Replying to or Forwarding an Email
1. Open the email you want to reply to or forward from Email Screen.
2. Tap Reply or Menu Key > Forward to reply to/forward the email.
You can also tap Reply all to reply to all recipients of the email.
3. Enter the contents/recipients of your email.
4. Tap Send.

