79 of 149
5-3. Firmware Downloads Procedure for RJ-45 Board:
5-3-1. Connect the AC power of the projector and have the projector in standby mode.
5-3-2. Connect the RJ-45 cable between the projector and the PC. And make sure that the two
LEDs of the RJ-45 module are lit after connecting the RJ-45 cable between the PC and the
projector. If the LEDs are not lit, please send the RS command “eco.net.pow = 0” on the
terminal to turn on the RJ-45 module.
5-3-3. Properly setup the IP for the PC and make sure that the PC and the projector are in the
same subnet. For example, the default IP of the projector is 192.168.0.100. So the IP of the PC
should be set as 192.168.0.99 for example.
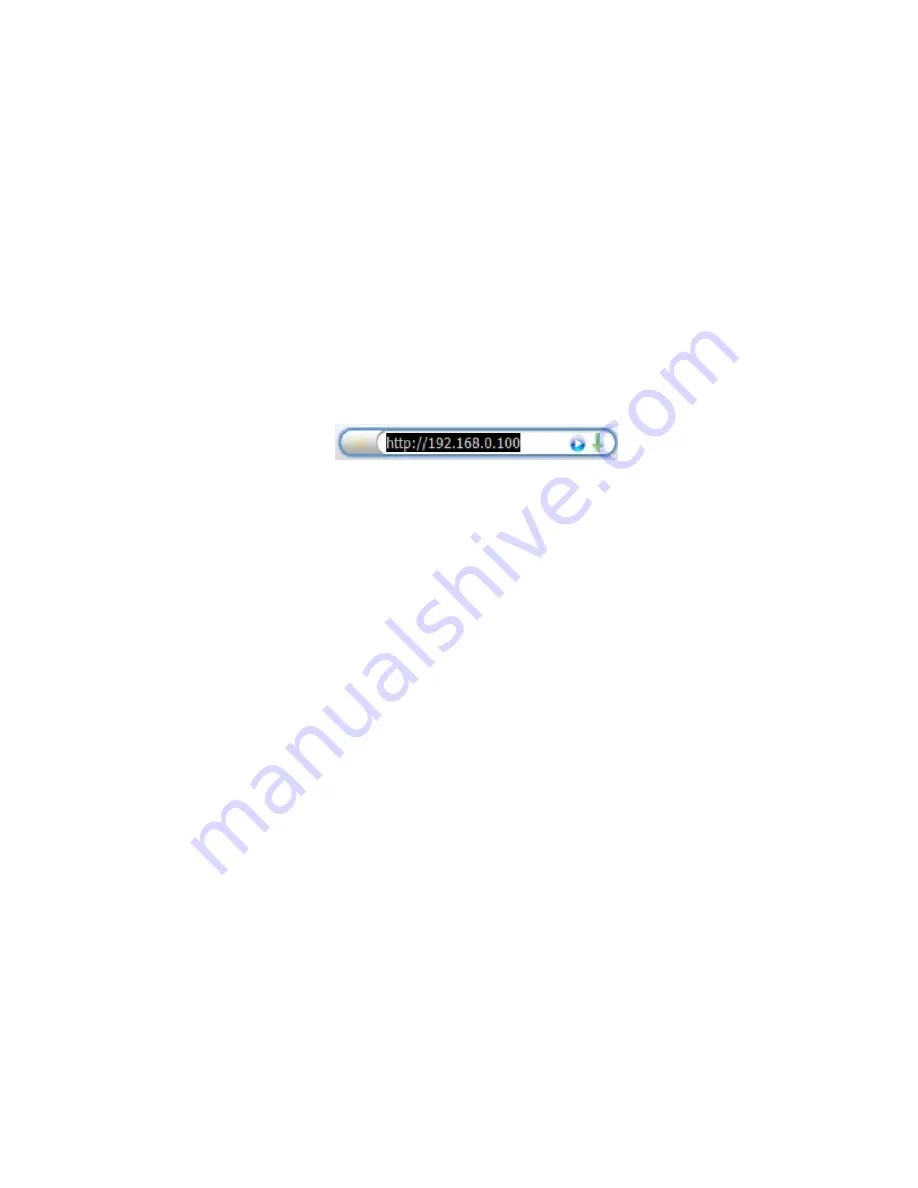
5-3-4. Key in the projector IP on the web browser (the recommended web browser is IE 6.0 or
later version, the default IP is 192.168.0.100) to see the embedded webpage. The IP can be
accessed via the RS command “op net.ipaddr ?” with a terminal program.
5-3-5. Make sure the DHCP is “Disable”, if current state is “Enable”, switch it to “Disable” and
click “Save” button to save the setting.
Summary of Contents for RLM-W14
Page 1: ...1 of 149 PROJECTOR Service Manual BARCO RLM W14 Rev 01...
Page 11: ...11 of 149 2 2 Block Diagram W14 WUXGA 3D ALL Boards Function Block Diagram...
Page 12: ...12 of 149...
Page 14: ...14 of 149...
Page 38: ...38 of 149...
Page 39: ...39 of 149...
Page 71: ...71 of 149 4 19 All Module Layout...
Page 83: ...83 of 149 RJ 45 Test procedures Key in your Projector IP to web browser Information...
Page 84: ...84 of 149 5 4 Recover Process Procedure for NXP MCU...
Page 85: ...85 of 149...
Page 86: ...86 of 149...
Page 87: ...87 of 149...
Page 88: ...88 of 149...
Page 89: ...89 of 149...
Page 91: ...91 of 149...
Page 92: ...92 of 149...
Page 93: ...93 of 149...
Page 95: ...95 of 149 3 Press the HEX File to select hex file...
Page 96: ...96 of 149 4 Press the Change to select COM Port...
Page 97: ...97 of 149 5 Press confirm and start to download...
Page 100: ...100 of 149 Or please key in op soft version And you can get more detail software revision...
Page 120: ...120 of 149 7 3 Replacing the Lamp...
Page 121: ...121 of 149...
Page 122: ...122 of 149...
Page 123: ...123 of 149 7 4 Replacing the Filter...
Page 124: ...124 of 149...
Page 125: ...125 of 149...
Page 138: ...138 of 149 9 PRODUCT PACKAGING 9 1 Full set unit packaging...
Page 139: ...139 of 149 9 2 Model Accessory Part...
Page 140: ...140 of 149 9 3 Carton...
Page 141: ...141 of 149 9 4 Serial NO Label Explanation...


