R5913592 /
Njord
46
Image 5
–
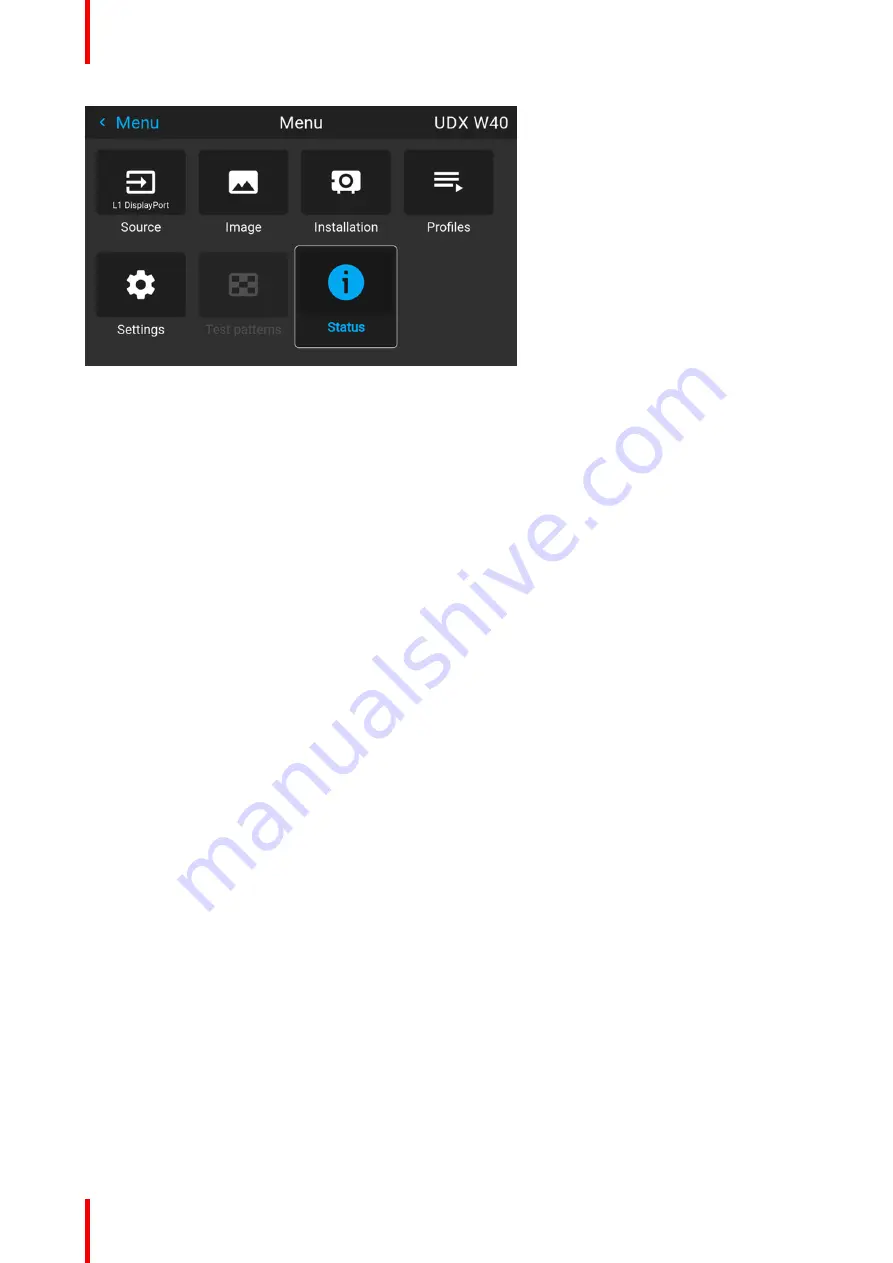
4 Example of the home menu
Remark: a blue slider bar on the right side of the window means that there are more items to show than those
currently displayed.
Define values
Menu settings are displayed using check boxes, bar scale sliders, and drop-down lists.
To set a value:
•
Press
OK
to select or deselect a checkbox (turn a function ON or OFF).
•
Use the arrow keys to move the bar scale slider up or down on the value line. For a bar scale 0-9, each
step will equal 10% of the total value.
•
To enter the value as a direct number, press
OK
, input the digit(s), and then press
OK
again to execute and
exit cursor mode e.g. OK 79 OK.
Within an input field, use the
*
button as backspace button to remove an entered digit. Use the
#
button to
enter a dot (.).
Changes to values are implemented dynamically.
To enter values with the local keyboard, use the arrow keys to select the first digit, press
OK
. Select the
second digit and press
OK
. Continue until all digits are entered. Close the action by selecting the
enter
(
↵
)
button and press
OK
. Select the
backspace
button and press
OK
to remove the last entered digit.
Using the LCD touch display
From Pulse software 2.0 onward, the touch display functionality of the LCD panel has been activated an can
be used.
Instead of using the remote control buttons or keypad keys or button, you can now:
•
Touch menu icons to enter the respective menu.
•
Swipe a menu up and down if not all information is not immediately visible (e.g. more than 8 (sub)menu
icons being visible)
•
Return to a higher menu level, by touching the blue name in the top left corner of the display.
•
Use touch functionality to use menu items (check boxes, sliders, digital keyboard or keypads, etc).
•
Swipe menu panes left or right when multiple panes are available (e.g. the Status menu)
Menu memory
The OSD menu remembers the last selected sub-item as long as the projector is running. The menu memory
is reset when restarting the projector from standby.
Summary of Contents for Njord
Page 1: ...ENABLING BRIGHT OUTCOMES User Manual Njord...
Page 16: ...R5913592 Njord 16 Safety...
Page 24: ...R5913592 Njord 24 Getting Started...
Page 58: ...R5913592 Njord 58 GUI Status menu...
Page 59: ...59 R5913592 Njord Product maintenance 8...
Page 61: ...61 R5913592 Njord Risk group 3 Safety 9...
Page 70: ...R5913592 Njord 70 Index...
Page 71: ......


