Display Controller Installation
25
7.
Align the Barco display controller(s) for your B
ARCO
C
ORONIS
F
USION
6MP Display System with the slot(s) and press it(them) in firmly
until the card(s) is(are) fully seated.
Note:
The next step applies only to the MXRT 7300.
8.
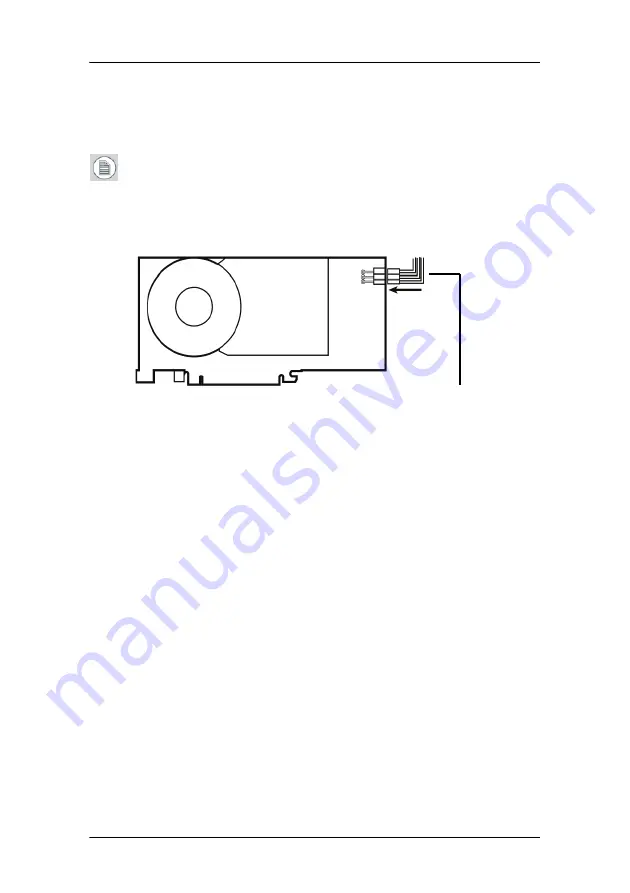
Connect the power cable to the 6-pin power connection on the
graphics card. Make sure the cables are not interfering with
anything inside the computer (for example, a cooling fan).
Power connection for the MXRT 7300 controllers
9.
Screw in or fasten the display controller securely. Replace and
secure the computer cover.
10.
Connect your Barco Coronis Fusion 6MP Displays to the Barco
display controller(s) for your B
ARCO
C
ORONIS
F
USION
6MP Display
System using the cables supplied. Make sure all cables are
securely connected before turning on your system.
6-pin graphics controller
power cable
Summary of Contents for Coronis Fusion 6MP
Page 1: ...Getting Started Guide Coronis Fusion 6MP ...
Page 2: ... This page intentionally left blank 2 This page intentionally left blank ...
Page 7: ...Preface 7 Preface ...
Page 20: ...Recommendations for using your display system This page intentionally left blank 20 ...
Page 21: ...Display controller installation 21 Display controller installation ...
Page 30: ...Display Controller Installation This page intentionally left blank 30 ...
Page 31: ...Display installation 31 Display installation ...
Page 49: ...Software installation 49 Software installation ...
Page 56: ...Driver and Software Installation This page intentionally left blank 56 ...
Page 57: ...Where to get more information 57 Where to get more information ...
Page 59: ...Where to get more information 59 ...
Page 60: ...Where to get more information This page intentionally left blank 60 ...
Page 61: ...Troubleshooting 61 Troubleshooting ...
Page 65: ...Technical specifications 65 Technical specifications ...
Page 69: ...Technical specifications 69 Units per pallet NA Pallet dimensions W x H NA Item Specification ...
Page 70: ...Technical specifications This page intentionally left blank 70 ...
Page 71: ...Warranty Statement 71 Warranty Statement ...
Page 77: ...Warranty Statement 77 ...
Page 78: ...Warranty Statement 78 ...
Page 79: ...Warranty Statement 79 ...


