


6. Getting started
Common Address
Every projector has a common address ’0’ or ’1’. The choice between ’0’ and ’1’ can be selected in
Projector Control
→
Projector
address
→
Common address
.
6.8
Source selection
Source selection when no picture in picture is active
Use the digit keys on the remote control or local keypad to active the desired source.
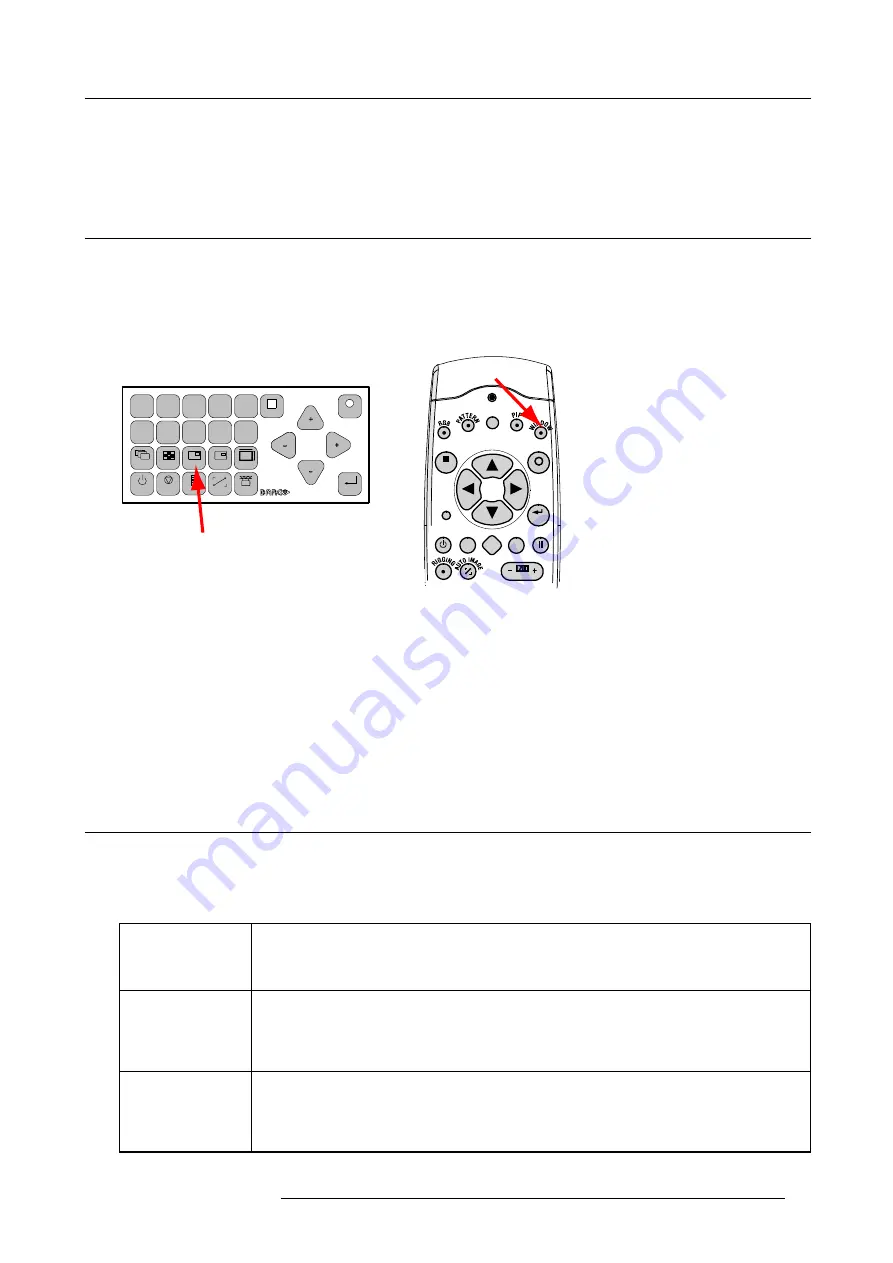
Source selection when picture in picture is active
Use the
Window
button on the remote control or the local keypad to select the main window or the picture in picture (PiP) window.
MENU
EXIT
ENTER
PAUSE
TEXT
PHASE
LENS
L
1
2
3
4
5
6
7
8
9
0
MENU
EXIT
ENTER
RGB
STBY
PAUSE
TEXT
PATTERN
WINDOW
PIP
LENS
RIGGING
AUTO
Image 6-17
Window selection button
The outline of the selected window gets a colored rectangle to indicate the selection. For the main window, the color is blue. For the
picture in picture window, the color is orange.
Once the desired window is activated (main window or picture in picture window) all keys on the remote control or local keypad can
now control that selected window.
To select the source for the picture in picture window, press Window button until PiP window is activated and then select the desired
source with the digit keys.
To select the source for the main window, press Window button until the main window is activated and then select the desired source
with the digit keys.
6.9
Controlling the Projector
Picture Controls
When an image control is pressed, a text box with a bar scale, icon and function name of the control, e.g. ’brightness...’ appears on
the screen (only if text is ON). See example screen. The length of the bar scale and the value of the numeric indication indicate the
current memorized setting for this source. The bar scale changes as the control buttons on the RCU are pressed.
Brightness
A correct ’brightness’ setting is important for good image reproduction.
Use the + button for a higher brightness.
Use the - button for a lower brightness.
Contrast
A correct ’contrast’ setting is important for good image reproduction. Adjust the contrast to the level
you prefer, according to room lighting conditions.
Use the + button for a higher contrast.
Use the - button for lower contrast.
Color
Color saturation is only active for all type of video sources, such as Video, S-Video, SDI, HDSDI.
Adjust the color intensity of the picture.
Use the + button for richer colors.
Use the - button for lighter colors.
R59770057 CLM HD8 15/03/2010
53
Summary of Contents for CLM HD8
Page 1: ...CLM HD8 User guide R9050130 R90501301 R90501305 R59770057 08 15 03 2010 ...
Page 14: ...1 Safety 10 R59770057 CLM HD8 15 03 2010 ...
Page 22: ...2 General 18 R59770057 CLM HD8 15 03 2010 ...
Page 34: ...3 Physical installation 30 R59770057 CLM HD8 15 03 2010 ...
Page 62: ...7 Start up of the adjustment mode 58 R59770057 CLM HD8 15 03 2010 ...
Page 72: ...8 Input menu 68 R59770057 CLM HD8 15 03 2010 ...
Page 114: ...10 Layout menu 110 R59770057 CLM HD8 15 03 2010 ...
Page 156: ...13 Projector control 152 R59770057 CLM HD8 15 03 2010 ...
Page 170: ...14 Service menu 166 R59770057 CLM HD8 15 03 2010 ...
Page 184: ...16 Servicing 180 R59770057 CLM HD8 15 03 2010 ...
Page 194: ...17 Projector covers removal and installation 190 R59770057 CLM HD8 15 03 2010 ...
Page 202: ...C DMX Chart 198 R59770057 CLM HD8 15 03 2010 ...
Page 208: ...D Specifications 204 R59770057 CLM HD8 15 03 2010 ...
Page 214: ...E Troubleshooting 210 R59770057 CLM HD8 15 03 2010 ...
Page 220: ...F Mounting optional Carry handle 216 R59770057 CLM HD8 15 03 2010 ...
Page 222: ...G Order info 218 R59770057 CLM HD8 15 03 2010 ...


