www.barbecook.com
9
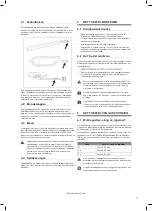
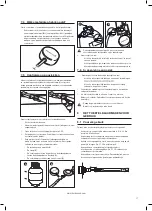
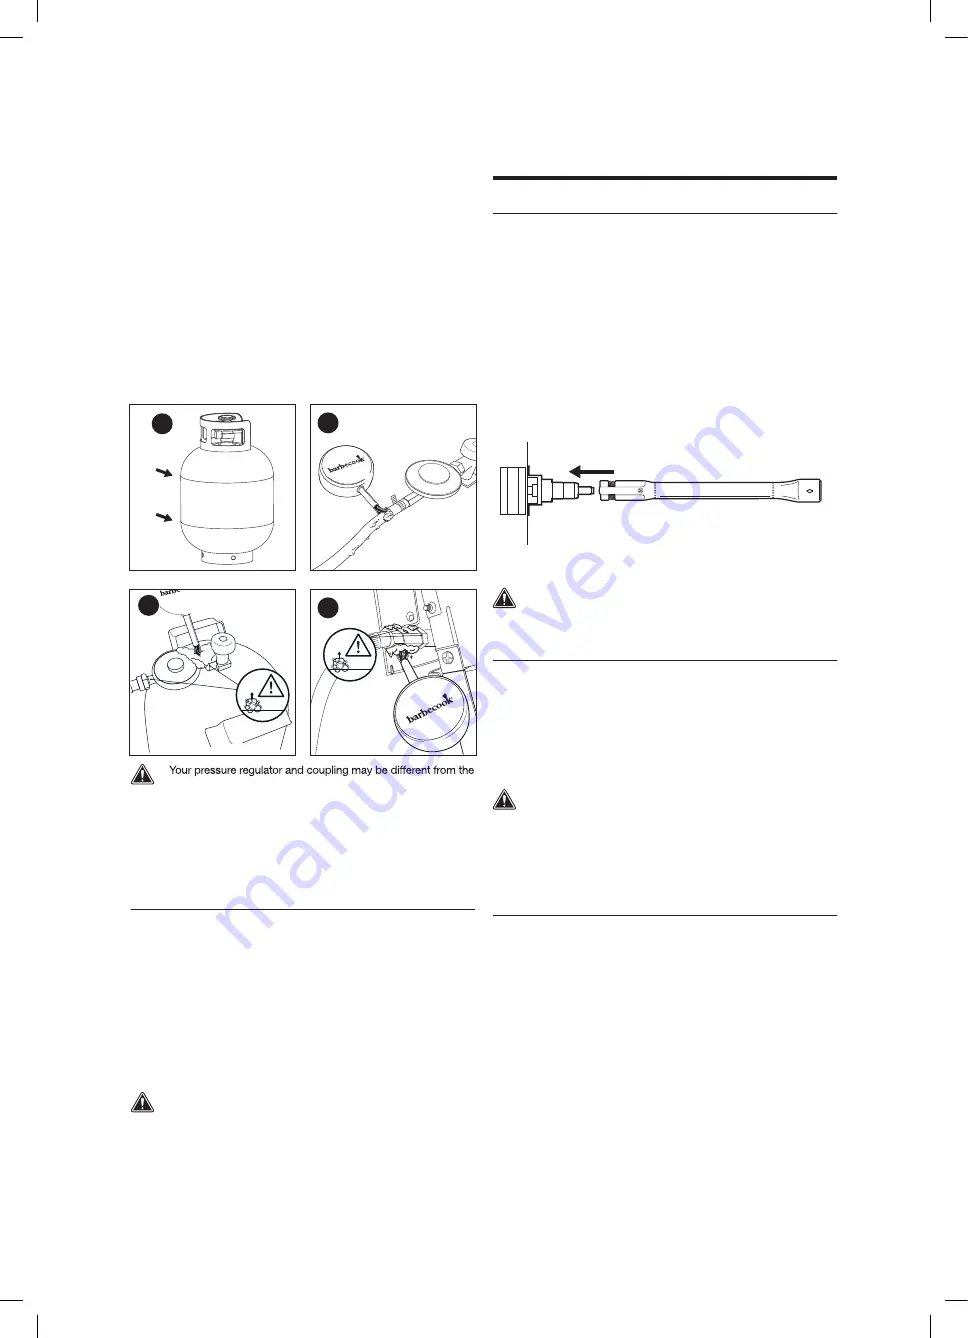
To check for gas leaks, proceed as follows:
1.
Put the appliance outside.
2.
Get your leak test tool and testing liquid (leak spray or water/
soap mixture).
3.
Open the lid and set all control knobs to OFF.
4.
Open the gas supply slightly. Turn the valve of the gas cylinder
only once.
5.
Suck up some testing liquid with the leak test tool and apply it to
the area that you want to check. You have to check:
•
The welds of the gas cylinder (A)
•
The hose (B)
•
The connections between the cylinder and the pressure
regulator and between the pressure regulator and the hose
(C)
•
The connection between the hose and the appliance (D)
A
B
C
D
ones in the illustrations.
6.
Do one of the following:
•
If you detect a leak, continue as described in “ In case of a
gas leak”.
•
If there are no leaks, close the gas supply, rinse all
components thoroughly with water and dry them well.
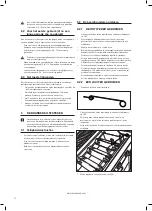
7.6 In case of a gas leak
1.
Close the gas supply and do one of the following:
•
If you detected a leak on one of the connections, tighten that
connection.
•
If you detected a leak on the cylinder or hose, replace the
cylinder or hose.
2.
Recheck the connection or component on which you detected
the leak.
3.
If the leak is not repaired, contact a Barbecook dealer. Do not use
the appliance until the leak is repaired.
For a list of nearby Barbecook dealers, refer to
www.barbecook.com.
8
GETTING THE APPLIANCE READY
FOR USE
8.1 Before each use
Each time you use the appliance, make sure that:
•
The appliance is in an appropriate location. See “3.3 Select an
appropriate location”.
•
The gas hose does not drag on the ground and cannot come into
contact with a hot surface or with dripping fat.
•
The bowl is clean. We recommend cleaning the bowl after each
use. See “11.2 Cleaning the bowl”.
•
The burners and venturis are not blocked by insect nests or spider
webs. See “11.3 Cleaning the burners and venturis”.
•
The burners are assembled correctly. The venturis have to be
placed over the openings of the gas valves.
If you want to be absolutely sure that your gas connection is
okay, you can check your appliance on gas leaks before each
use. See “7 Checking for gas leaks”.
8.2 Before first use (in a long time)
If you use the appliance for the first time or for the first time after a
long period of non-use, you have to execute some extra checks:
•
Make sure that you have read, understood and checked all the
instructions in this manual (only before first use).
•
Check the appliance for gas leaks. See “7 Checking for gas
leaks”.
Also check for gas leaks if your appliance was assembled by
your dealer.
•
Clean the burners and venturis (only before first use in a long
time). See “11.3 Cleaning the burners and venturis”.
•
Burn in the appliance before you put any food on it (only before
first use). See “8.3 Burning in the appliance”.
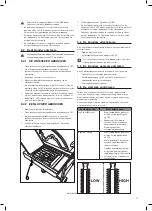
8.3 Burning in the appliance
By burning in the appliance before the first use, you remove remaining
manufacturing greases from the appliance. Proceed as follows:
1.
Light the main burners and set their control knobs to HIGH.
See “9.2 Lighting the main burners”.
2.
Close the lid and let the appliance burn for 15 minutes. Do not
put any food on the grill yet.
3.
After 15 minutes, open the lid and let the appliance burn for
another 5 minutes (control knobs still set to HIGH).
4.
After 5 minutes, the appliance is ready for use. You can now put
food on the grill.
Summary of Contents for 223.9541.200
Page 4: ...www barbecook com 4 ...
Page 82: ...www barbecook com i 82 Illustrations ...
Page 85: ...1 2 4 13 13 X 1 A B 3 5 6 X 6 X 6 X 6 m o c k o o c e b r a b w w w i 85 3 6 5 3 A ...
Page 88: ...9a 9d 9b 9e 9c 10 X 1 14 X 1 14 m o c k o o c e b r a b w w w i 88 ...
Page 90: ...11a 11b 11c 12a NOT INCLUDED 11 X 2 m o c k o o c e b r a b w w w i 90 ...
Page 91: ...12b 13b 13d 13c m o c k o o c e b r a b w w w i 91 13a 11 X 2 ...
Page 92: ...14a 14b 15a 15c 7 8 9 X 2 X 2 X 2 7 8 9 X 2 X 2 X 2 15b m o c k o o c e b r a b w w w i 92 ...
Page 93: ...16a 16b 16c 17 18 m o c k o o c e b r a b w w w i 93 m o c k o o c e b r a b w w w ...


