


2604 User Guide
3
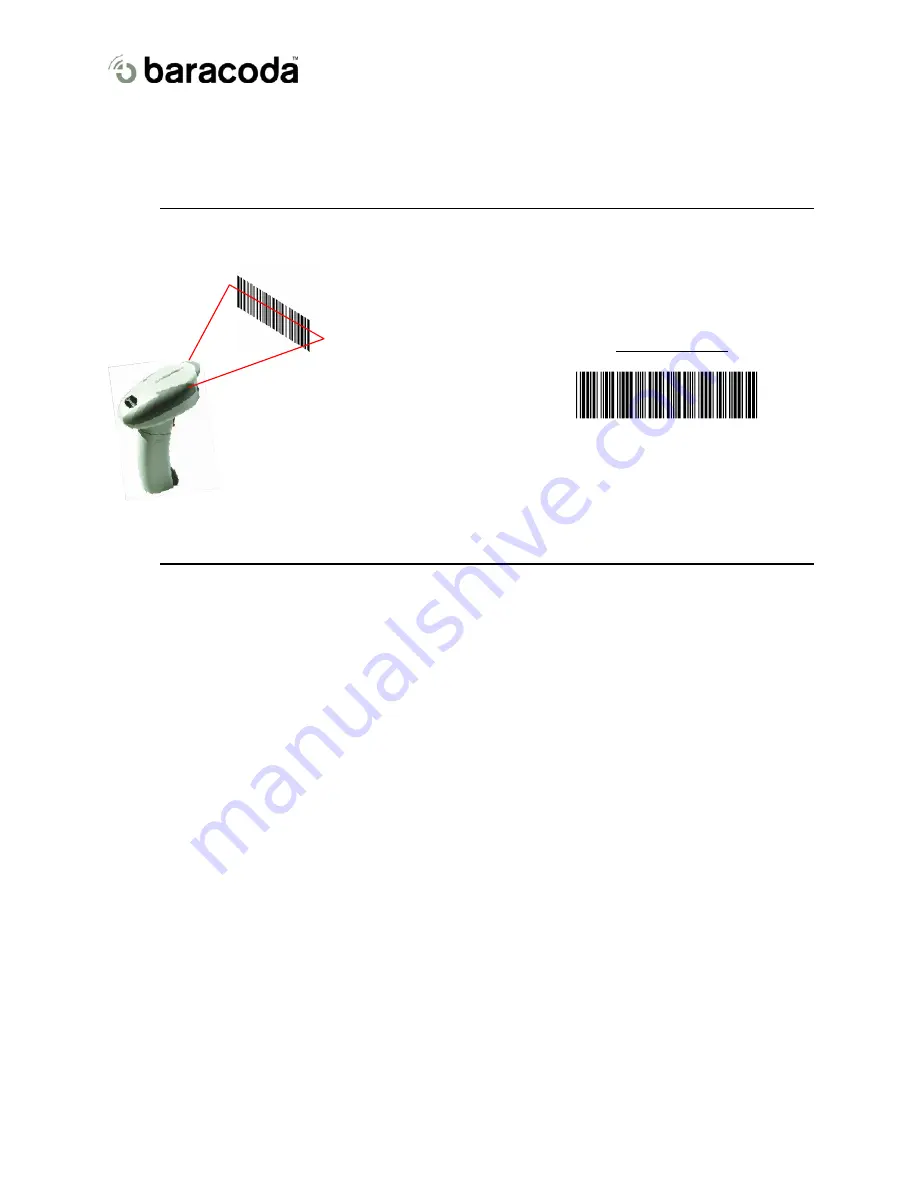
Proper scanning position
Position the scanner so the light beam fully overlaps and crosses the bar code.
The scanner will emit a beep when the scan is successful.
Sample Bar code
* 1 2 3 4 5 6 7 8 - *
4
Quick Start Up guide
Find below how to quickly verify that your scanner is working correctly, using the BaracodaManager:
1-
Make sure that your host device (PC or PDA) is bluetooth enabled. If not, please contact your reseller.
2-
Install the BaracodaManager. (update can be downloaded from http://www.baracoda.com/download.
) Make sure that your Bluetooth software is compatible with BaracodaManager.
For instructions, see the BaracodaManager user guide.
If your Bluetooth software is not compatible, you can test your scanner with Hyper terminal. Refer to
Communication Protocol documentation.
(Download on http://www.baracoda.com/download.)
3-
Insert the batteries in the scanner.
4-
Configure the BaracodaManager to connect to the scanner.
a.
Start the BaracodaManager by selecting Start> Programs> BaracodaManager>
BaracodaManager. The application automatically searches for wireless scanners.
b.
Place the scanner in discovering mode by pressing the trigger button.
c.
Highlight the scanner in the Devices in range box and click add.
d.
The Bluetooth connection asks for the passkey. While the message displays, click the
Bluetooth connection icon in the system tray at right side of the task bar.
e.
Enter 0000 in the Bluetooth Passkey Request dialog box.
f.
Look at the status of the scanner in the BaracodaManager application window. When the
status changes to “connected”, the scanner is ready to be used.
5-
Verify that the scanner is working correctly. The first time you configure a scanner, the
BaracodaManager opens a terminal window. Scan the barcode sample below. If information appears
in the terminal window.
a.
Close the Terminal window by clicking exit
b.
Select the plug-in from the drop down menu. For more information, see the
BaracodaManager documentation.
6-
When you have finished your session, click exit on the application to save your configuration.
© Baracoda 2003
Page 3/8


