


AirborneM2M™ Users Guide
B&B Electronics, Inc.
1/9/2014
47
Step
Description
Select
Tunnel Port
Enter the port to be used for the tunnel.
Default is
8023.
This should only be changed
if a port is already defined for the application
server or it is already being used by another
service.
Select
Tunnel Mode
Select
TCP
from drop down menu.
Press
Commit
[Button]
Saves changes to the device.
Press
Reload
[Button]
Reloads the
Connection Settings
page.
Feature Link
Select
Serial Port Settings
The wireless interface and security must be
configured before configuring the Ethernet
settings.
Displays a page showing the serial port
configuration. You will set the default mode of
operation for the serial interface here.
Select
Serial CLI Default Mode
Select
Listen
from the drop down menu.
Press
Commit
[Button]
Saves changes to the device.
Optional
Press
Reload
[Button]
Reloads the
Serial Port Settings
page. Select
this if you have further configuration options to
change.
Optional
Press
Restart
[Button]
Restarts the device. After the device has
rebooted it will attempt to authenticate to the
configured network. As long as the network is
in range the wireless interface will connect.
After authenticated is completed you will be
able to make a TCP/IP connection on the
Telnet port.
To establish a data tunnel and gain access to the serial data from the WLAN or
Ethernet interface follow the steps in Table 24.
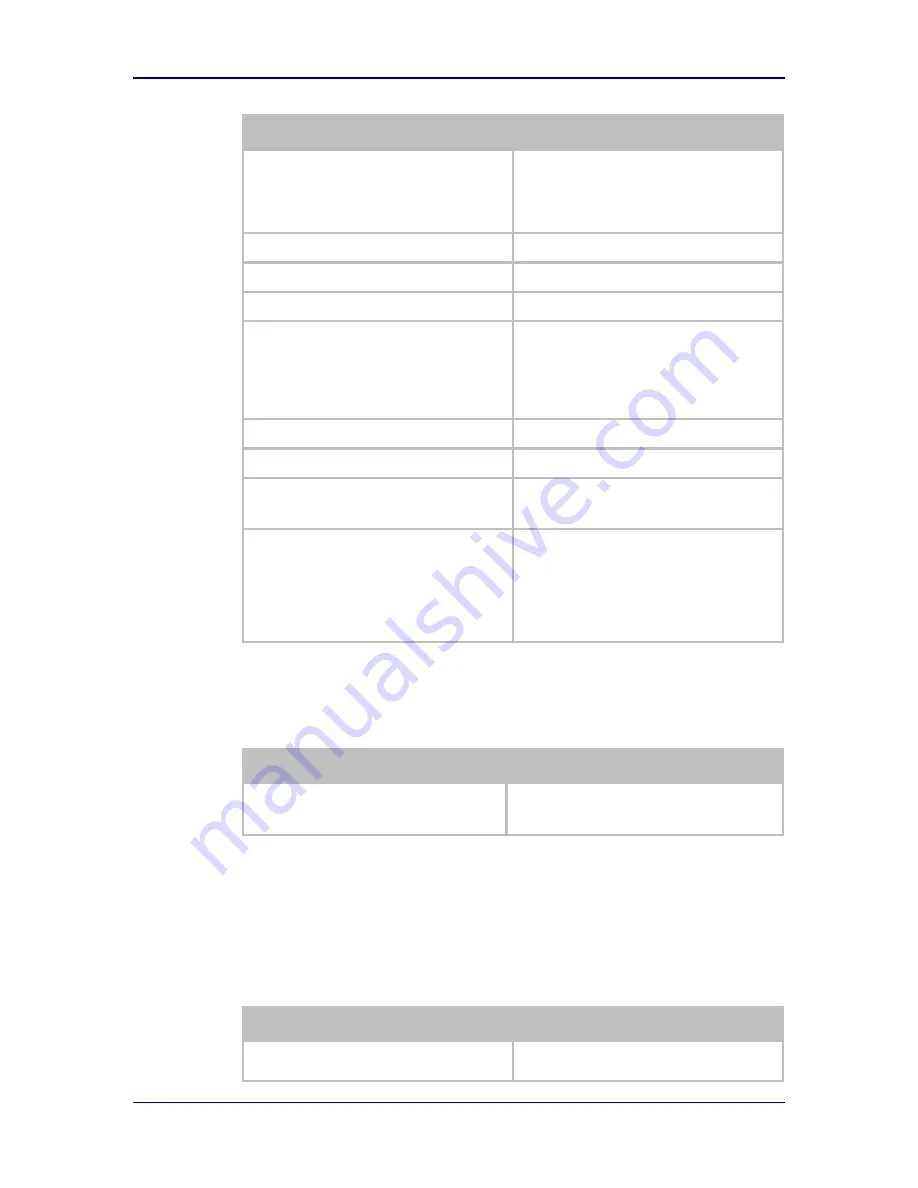
Table 24 - Data Tunnel using Tunnel Port on Serial Port 1
Step
Description
Open TCP socket to device
Using the WLAN IP Address and configured
tunnel port number for Serial Port 1 (Default
8023).
15.3 Configuring Serial Port 2 for Access on Tunnel Port
A data tunnel can be made using the device
’s tunnel port as the network
connection port. This does not require authenticating with the device and
automatically initiates the tunnel connection. Configuring the device to support
this approach is covered in the following table.
Table 25 – Configure Data Tunnel on Serial Port 2 Tunnel Port (TCP)
Step
Description
Navigation Bar
Select
Configuration
You will see a group of fields under the banner
of WLAN Parameters.


