background image

9

NOTE: Use the programming sequence below to control multiple shades with 

one control, also known as “creating a group.” Be sure to review and understand 

“Adding a Control” before moving on to this programming sequence. You can 

also review the online video “Copy and Paste Part 1 and Part 2” or call your Customer 

Service Agent for additional assistance. To prevent unwanted channel/remote 

assignments, ALL PROGRAMMED SHADES should be on their own channel. If shades 

share a channel UNPLUG the shade power source until the programming is complete.

Group Control of Multiple Shades with the Same Control

4

Creating Group Control

2

3

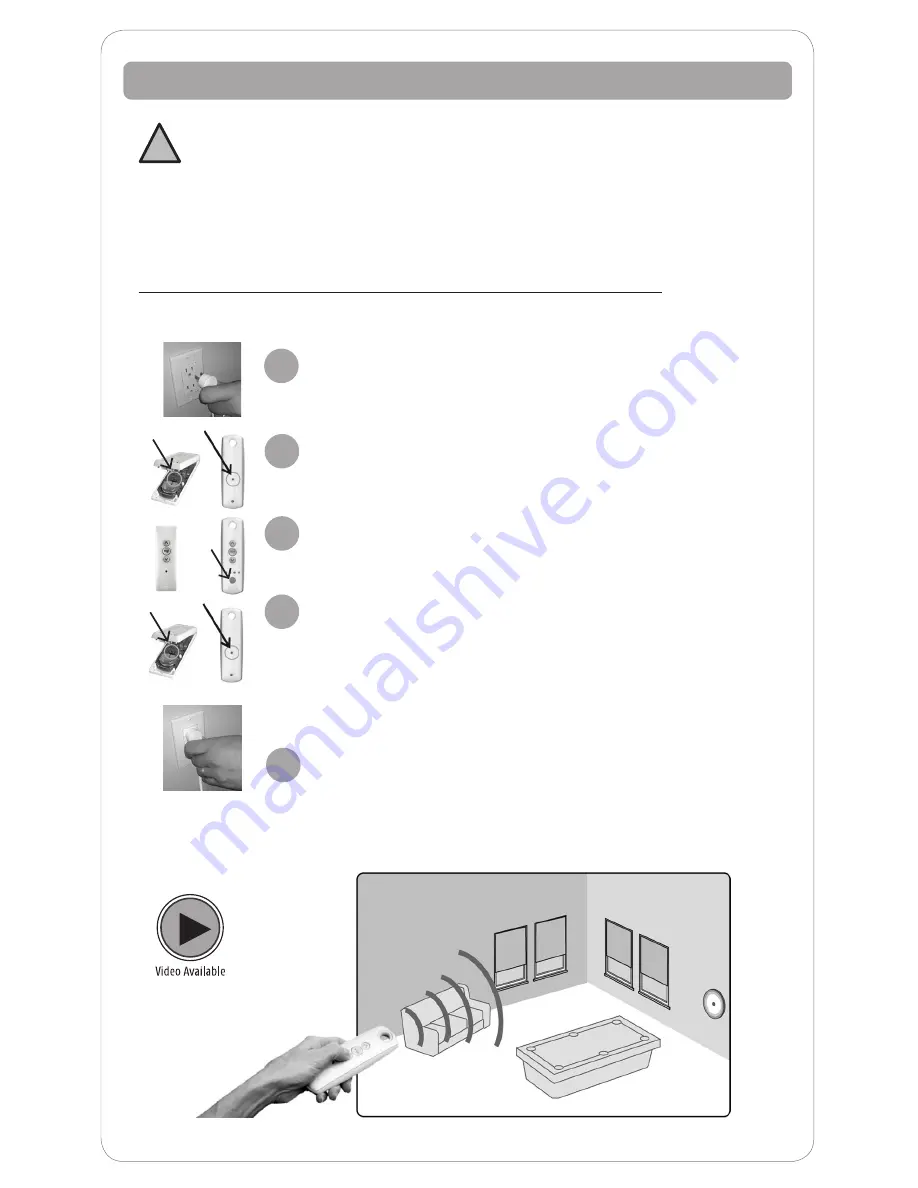
Assigning  Specific Channels to Shade (Multi-Channel Remotes Only)

Disconnect power to all other products to prevent 

unwanted channel/remote assignment.

Using a paperclip or similar item, 

press and hold the 

PROGRAM BUTTON

 on the previously programmed 

control until the shade jogs.

Select the remote or desired channel to be assigned 

by momentarily pressing the channel selector button 

on the remote.

Using a paperclip or similar item, press and hold the hand held or 

wall mount control programming button on the new control until 

the shade jogs again. (Briefly press and hold, less than 2 seconds, 

for the control that must be opened to access the programming 

button). The new channel is now added to the shade’s memory 

and both channels can be used to operate the shade. 

After all groups are complete, reconnect power to 

begin operation.

Repeat steps for each shade you want to add to your group. To delete a channel, 

follow the ‘deleting a control steps’ outlined on the page 8.  

When creating groups, it is important to program each shade individually. 

!

1

5

Summary of Contents for RTS Motorized Shades

Page 1: ...Owner s Manual RTS Motorized Shades...

Page 2: ...Default Upper Limit 5 Adjusting Your Shade s Default Lower Limit 5 Adjusting Your Shade s MY Position 6 Adding Additional Controls 6 The Copy Paste Sequence 6 Adding a Control or Channel 7 Deleting a...

Page 3: ...motorized blind or shade NOTE Motorized Horizontal Blinds have motorized tilt for the slats only Raising and lowering the blinds is manual with cord lift Please be sure to read and remove the securing...

Page 4: ...mmed as a quick way to bring shades to your preferred intermediate position UP Button DOWN Button Channel Selector Button All four lights will illuminate when fifth channel is activated Channel select...

Page 5: ...s You have now reset the lower limit 4 Adjusting your Shade s Default Upper Limit OPTIONAL If you would like to adjust your shade s default upper limit Adjust your upper limit by using UP or DOWN to m...

Page 6: ...trol or on a new control s o mfy A channel is used to operate motorized shades with controls A channel is either associated with a single motorized shade covering or group of motorized shades Adding A...

Page 7: ...in Briefly press and hold less than 2 seconds for the control that must be opened to access the programming button The control or channel is now added to the shade s memory Both the original and new c...

Page 8: ...ete from the shade TO PASTE Using a paperclip or similar item press and hold the hand held or wall mount control programming button on the new control until the shade jogs again Briefly press and hold...

Page 9: ...event unwanted channel remote assignment Using a paperclip or similar item press and hold the PROGRAM BUTTON on the previously programmed control until the shade jogs Select the remote or desired chan...

Page 10: ...Battery Applications Check battery connection and orientation and replace batteries if necessary To replace batteries simply unscrew the end of the tube and remove batteries Insert new AA batteries in...

Page 11: ...respond to holding the MY button locate the programming button on your remote Using a paperclip or similar item press and hold the hand held or wall mount control programming button on the new control...

Page 12: ...For video tutorials and additional help visit www motorization support Customer Service 1 800 221 6352 motorization support springswindowfashions com SWF 95 0203 01 Copyright Somfy Systems Inc 06 2018...

Reviews: