P20 / P32 OPERATIONS MANUAL
Page | 16
RE-CALIBRATION OF CRIMPING DIAMETER DIAL MS -CONTROL
NOTE: The crimping diameter dial has been calibrated at the factory during test run
1.
Re-calibrate the crimping diameter with ferrule (seamless steel tube), 0 25 mm; wall 2 mm, by using the die
set Nº P20/19 or the die set P32/19 (P32).
2.
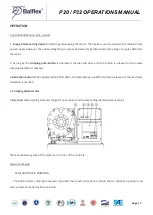
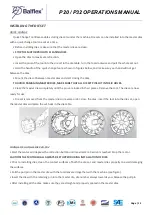
Set the dial at 1.0, so that the crimping diameter will be 20 mm (see the adjacent picture) and lock the dial.
Crimp the ferrule and measure the real diameter.
3.
Remove the control dial (avoid to turn the dial shaft at the same time).
4.
Open the dial lock and set the real diameter into it (diameter of ferrule) relock it and install back.
5.
Turn the dial to right diameter and crimp another ferrule. Now the machine has been calibrated and the real
diameter should be the same than the diameter which state on the dial. If not, repeat from point 2 and be
more careful when handling the dial.
6.
After the adjustment, the crimping result should be the minimum nominal crimping diameter of each die set
with the dial at 0.0.

