Mooney Series 20 Relief Valve Instruction Manual | 11
Copyright 2021 Baker Hughes Company. All rights reserved.
Cleaning
1. Clean parts to remove all rust, burrs, scale, organic matter
and loose particles. Parts are to be free of any oil or grease
except for lubrication as specified in this instruction.
2. Cleaning agents used shall be such that effective cleaning
is assured without injuring the surface finishes or material
properties of the part.
3. Acceptable, cleaning agents include demineralized water,
non-phosphate detergent, acetone and isopropyl alcohol.
Parts must be blown dry or wiped dry after cleaning.
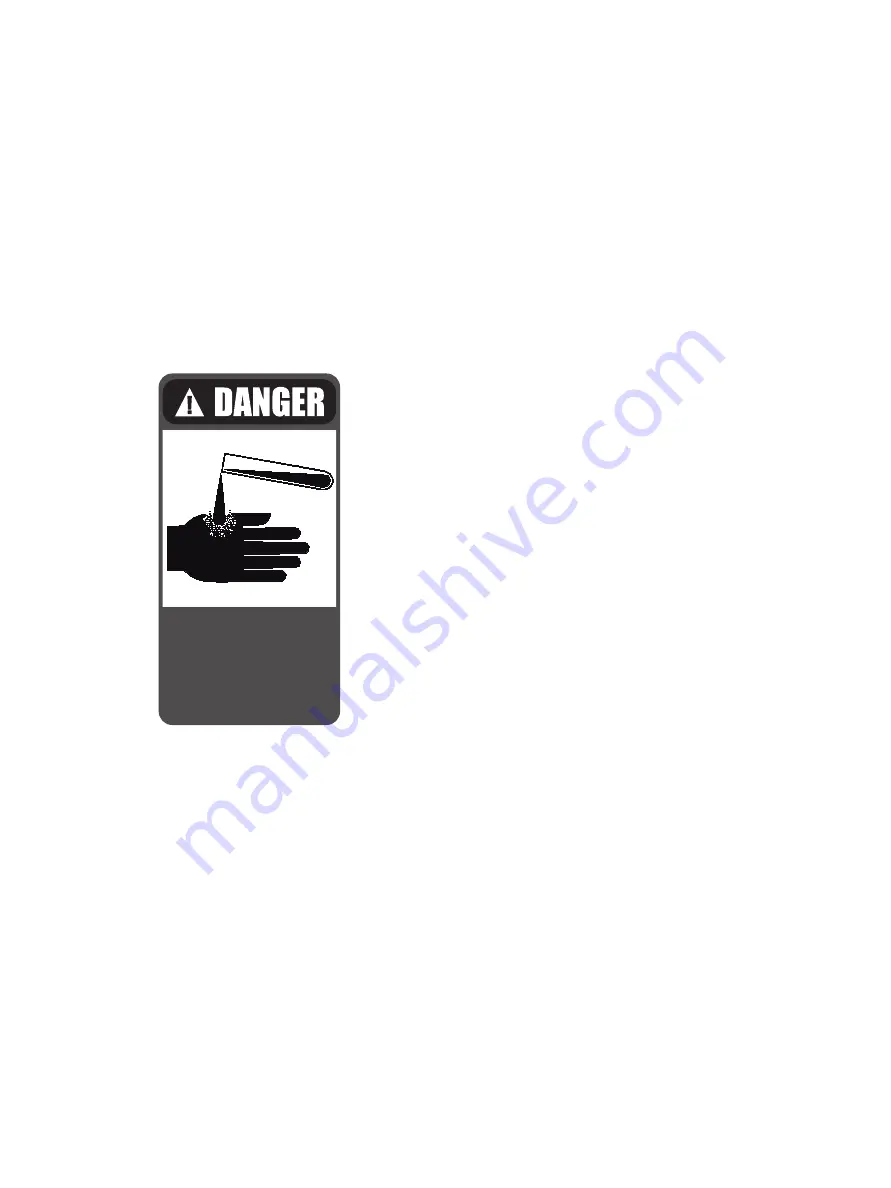
4. If you are using cleaning solvents, take precautions to
protect yourself from potential danger from breathing fumes,
chemical burns, or explosion. See the solvent’s Material
Safety Data Sheet for safe handling recommendations and
equipment.
5. Do not “sand blast” internal parts as it can reduce the
dimensions.
Follow recommendations
for safe handling in the
solvent's Material Safety
Data Sheet and observe
safe practices for any
cleaning method
Inspection of Main Valve
1. Guide: Check ID for galling or scratch marks, especially
around the guide and seal surface areas. Check O-ring/
energize seal contact area for any corrosion or scratched
surfaces that might cause a leak.
Replace the guide if:
a. Visible galling is present on the inside guiding surface.
b. Cover Plate O-Ring seating areas are pitted and cause
the valve to leak between the cover Plate and Base.
2. Base: Inspect general condition for cracks or holes. Look for
any corrosion issues.
3. Cover Plate: Inspect general condition for cracks or holes.
Look for any corrosion issues.
4. O-Ring Retainer: Inspect surface that sits on the disc for any
corrosion on defects that might cause the disc not to sit flush
with the nozzle.
5. Spring: Check for any corrosion issues that might cause the
spring not to operate as designed.
6. Nozzle should be replaced if:
a. Threads are damaged from pitting and/or corrosion.
b. Bottom of the flange and intersecting surface are
damaged from galling and/or tearing.
7. O-Ring Seated Disc: The O-Ring Retainer cannot be
machined. It can be lapped for minor scratches. If lapping
does not fix damaged area, part must be discarded.
8. Disc Holder: Should be replaced if the sliding surface is
galled, pitted or scratched.
Replace all parts as needed. If any damage listed above is
present, the part should be replaced or repaired per instruction.
Other valve parts may be acceptable with light corrosion, pitting
or minor damage of other types if it can be determined that it will
not affect product performance.
Reassembly of Main Valve
A. Lubricants and Sealants
1. Lubricate all O-Rings, spring energized seals, and
back-up rings sparingly with silicone grease.
2. Seal all pipe threads with Teflon tape or pipe sealant.
3. Lubricate standard threads and bearing points with Jet-
Lube, non-metallic.
4. Disc:
a.
Remove lapping compound, completely (if
applicable).
b. Install Disc retainer into the groove in the Disc.
c. Lubricate bearing surfaces of Disc, Disc Holder and
retainer Ring.
d. Snap Disc into Disc Holder using only moderate
hand force.
e. Check to make sure the Disc does not bind and is
free to rock in Disc Holder.
B. Assembly Procedure for O-Ring Seats
1. Thread Sensing Tube into the Main Valve (rear
connection) making sure the wrench flat which reads
“Up” is positioned upward after tightening.
2. Thread the tube fitting into the Sensing Tube and tighten
3. Install Nozzle O-Ring over threads of Nozzle and slide
until it hits the backside of the flange. Install Nozzle into
Base with the appropriate wrench and torque to the
value shown in Table 3.
4. Install the Seat Seal O-Ring in the disc groove and
positions the O-Ring retainer onto the Disc. Install the
Lock Screw(s) and tighten to (245 in-lbs).
C. Disc to Guide seal
1. For Teflon seals make sure of the integrity of the Teflon
seal and seal spring. Install Disc Seal on Disc outside
diameter on the opposite end of the disc seat as shown
in Figure 9.
2. If an O-Ring seal is used, it is installed in the groove
between where the Guide Ring is installed and where a
Spring Energized Seal would be installed.


