background image


UNPACKING AND CHECKING CONTENTS 

 
Your Baileigh machine is shipped complete in one crate. Separate all parts from the packing 
material and check each item carefully. Make certain all items are accounted for before 
discarding any packing material. 


Cleaning 

Your machine may be shipped with a rustproof waxy oil coating and grease on the exposed 
unpainted metal surfaces. To remove this protective coating, use a degreaser or solvent 
cleaner. For a more thorough cleaning, some parts will occasionally have to be removed. 

DO 

NOT USE

 acetone or brake cleaner as they may damage painted surfaces. 

Follow manufacturer’s label instructions when using any type of cleaning product. After cleaning, 
wipe unpainted metal surfaces with a light coating of quality oil or grease for protection. 


WARNING: 

SUFFOCATION  HAZARD!  Immediately  discard  any  plastic 

bags and packing materials to eliminate choking and suffocation hazards to children 
and animals. 
If any parts are missing, do not plug in the power cable, or turn the power switch on 
until the missing parts are obtained and installed correctly. 

WARNING:

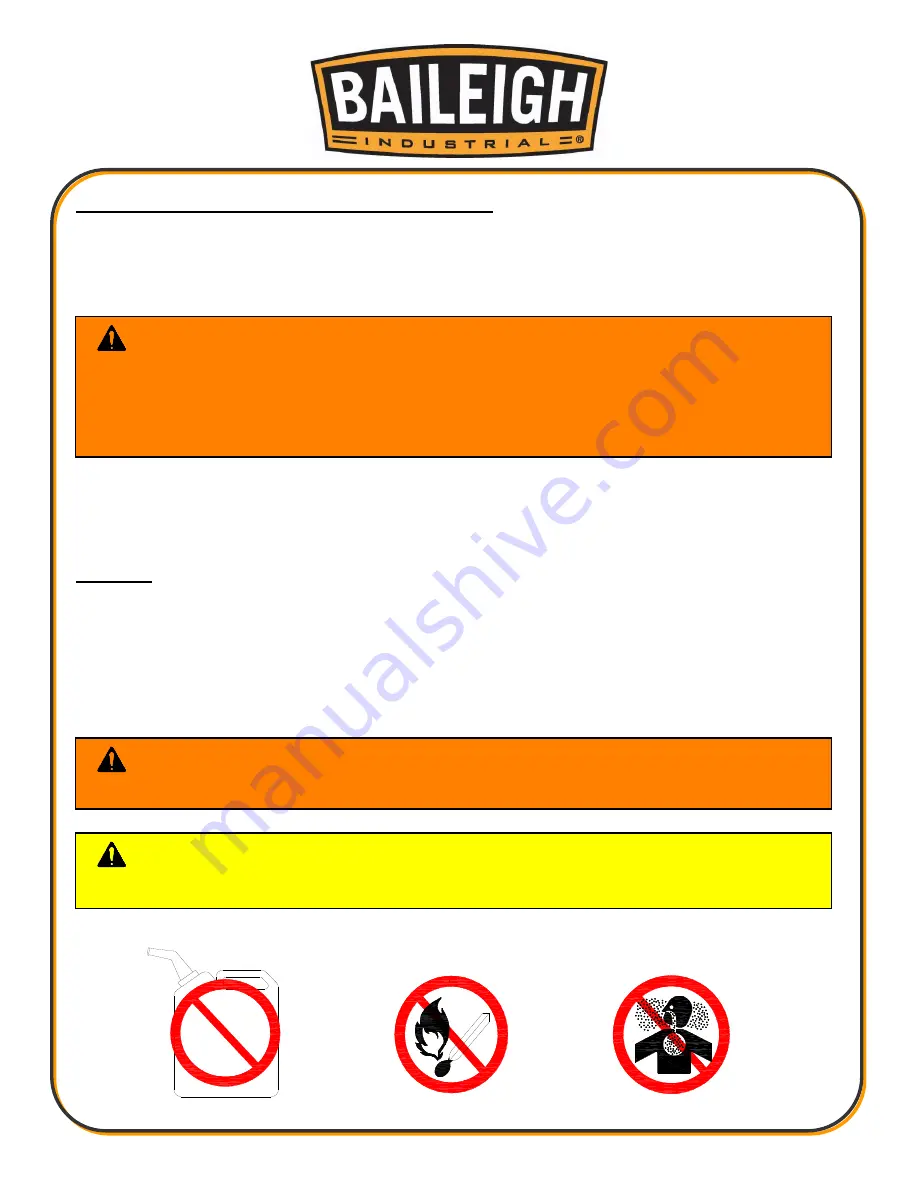
 DO NOT USE gasoline or other petroleum products  to clean 

the machine. They have low flash points and can explode or cause fire. 

CAUTION:

  When  using  cleaning  solvents  work  in  a  well-ventilated  area. 

Many cleaning solvents are toxic if inhaled. 

GAS

Summary of Contents for BS-916M

Page 1: ...L INC IS PROHIBITED Baileigh Industrial Inc does not assume and hereby disclaims any liability for any damage or loss caused by an omission or error in this Operator s Manual resulting from accident n...

Page 2: ...nd Saw Blade 20 Metal Chip Indicators 20 BLADE CARE 21 CHOOSING A SAW BLADE 21 Blade Selection 22 BLADE BREAKAGE 23 MATERIAL SELECTION 23 OPERATION 24 General Operating Instructions 24 Starting and St...

Page 3: ...ELECTRICAL COMPONENTS 44 ELECTRICAL SCHEMATIC 46...

Page 4: ...e to Seller of any suspected defect in the Goods prior to the expiration of the warranty period The original end user must also obtain a RGA from Seller prior to returning any Goods to Seller for warr...

Page 5: ...urther remedies provided under this Agreement or at law or equity Attorney s Fees In the event legal action is necessary to recover monies due from Buyer or to enforce any provision of this Agreement...

Page 6: ...tion of the functional parts of the machine Capacity charts Set up and start up instructions Machine operation Scheduled maintenance Parts lists GENERAL NOTES After receiving your equipment remove the...

Page 7: ...es a hazard or unsafe practice that will result in severe Injury or Death Safety signs with signal word DANGER or WARNING are typically near specific hazards General precautions are listed on CAUTION...

Page 8: ...e or uncomfortable loud noises HIGH VOLTAGE USE CAUTION IN HIGH VOLTAGE AREAS DO NOT assume the power to be off FOLLOW PROPER LOCKOUT PROCEDURES BEWARE OF CUT AND PINCH POINTS Moving saw blade may res...

Page 9: ...tools Before operating the machine make sure any adjusting tools have been removed 4 Keep work area clean Cluttered areas invite injuries 5 Overloading machine By overloading the machine you may cause...

Page 10: ...Keep children away Children must never be allowed in the work area DO NOT let them handle machines tools or extension cords 17 Store idle equipment When not in use tools must be stored in a dry locati...

Page 11: ...mm TECHNICAL SUPPORT Our technical support department can be reached at 920 684 4990 and asking for the support desk for purchased machines Tech Support handles questions on machine setup schematics w...

Page 12: ...damage painted surfaces Follow manufacturer s label instructions when using any type of cleaning product After cleaning wipe unpainted metal surfaces with a light coating of quality oil or grease for...

Page 13: ...other machinery Clearance from walls and other obstacles Maintain an adequate working area around the machine for safety Have the work area well illuminated with proper lighting Keep the floor free o...

Page 14: ...ring the Machine Once positioned anchor the machine to the floor as shown in the diagram using bolts and expansion plugs or sunken tie rods that connect through holes in the base of the stand 31 7 87m...

Page 15: ...12 12 GETTING TO KNOW YOUR MACHINE A G E D C F B H I J K L N P Q O M S T U V W X R...

Page 16: ...rbox system M Drive Wheel Housing Houses the drive wheel and blade debris brush N Belt Guard and Belt Drive belt and pullies used to transmit power from the motor to the gearbox and drive wheel Changi...

Page 17: ...and wiring are not twisted or pinched 3 Install and tighten the washers and bolts to secure the control box to the top of the saw bow Handles 4 On the left end of the bow loosen the two thumb screws...

Page 18: ...ighten each in a position that will not interfere with the remaining setup Motor Belt Guard and Belt 11 Remove the nut and washer from the motor pivot pin 12 Install the motor on the pivot pin as show...

Page 19: ...secure in place with the thumb screw 19 Route the motor wire harness up to the junction box on the motor 20 Remove the junction box cover 21 Route the wires into the junction bow using the strain rel...

Page 20: ...reduce the risk of electric shock This tool is equipped with an electric cord having an equipment grounding conductor and a grounding plug The plug must be plugged into a matching outlet that is prop...

Page 21: ...d Repair or replace damaged or worn cord immediately Extension Cord Safety Extension cord should be in good condition and meet the minimum wire gauge requirements listed below LENGTH AMP RATING 25ft 5...

Page 22: ...the cut off piece can move sideways after it is cut off Otherwise it could get wedged against the blade and thrown violently Never turn the saw ON before clearing everything except the work piece ben...

Page 23: ...s approximately 300cm of the material should be cut for breaking in If large work piece dimensions are to be cut we recommend a breaking in period of about 15 minutes After breaking in you may slowly...

Page 24: ...rous Material hardness and physical dimensions Blade descent rate Longitudinal speed of blade Blade tooth profile Choose a tooth pitch that is suitable for the workpiece Thin walled profiles including...

Page 25: ...with wall thickness or web thickness of 1 2 or more usually uses an 8 or 6 pitch blade or sawblade of HSS 4 6T satisfactorily When rectangular solid bar is to be sawed the work should whenever possibl...

Page 26: ...ides Forcing a large width blade to cut a small radius Using a blade with an improperly finished weld joint Allowing the blade to run when not in use NEVER leave an unattended blade running MATERIAL S...

Page 27: ...Check Blade Tension Particularly after initial cuts with a new blade Starting and Stopping the Machine 1 Place the descent ON OFF valve A in the OFF position and raise the saw bow high enough to comp...

Page 28: ...ontrol valve C counter clockwise until the saw blade begins to lower at the desired rate 7 Proceed to cut through the workpiece The machine will shut off upon completion of cut Adjusting Blade Guide B...

Page 29: ...ll not move down Turning the descent control valve counter clockwise will regulate the flow of oil from the cylinder and determine the speed at which the saw frame will lower and the blade will feed t...

Page 30: ...nd pulley guard down to expose the belt and pullies 3 Release tension on the belt by loosening the tension lock nut B and letting the motor swing downward 4 Install the belt onto the desired grooves o...

Page 31: ...stop bolt up 2 If the machine shuts off before the workpiece has been completely cut move the micro switch stop bolt A down 3 Tighten the jam nut when the adjustment is complete Thrust Roller Adjustme...

Page 32: ...ng screws C by using a hex wrench 5 Adjust the eccentric bushings with a combination wrench until the ball bearings are snug to the blade Note The blade should travel freely up and down between the ba...

Page 33: ...p of the tracking nuts 5 Tracking adjustment is accomplished by either loosening or tightening three adjusting nuts B 6 Tracking is set properly when the back of the blade lightly touches the wheel fl...

Page 34: ...lades The machine requires a blade 1 x 0 032 x 130 27 x 0 9 x 3300mm 1 Disconnect the machine from the power source 2 Raise the saw frame about 6 8 152 203mm turn the descent ON OFF valve to the OFF p...

Page 35: ...ler bearings 11 Put light tension on the blade and work it on both wheels Make sure that the back of the blade is against the wheel flanges of both wheels This is very important 12 When you are sure t...

Page 36: ...n plug A and drain all of the oil out of the gear box and replace plug 2 Remove oil filler plug B located underneath the right blade wheel and fill the gear box with 1 1 2 pints 7L of MOBIL CYLINDER O...

Page 37: ...34 34 PARTS DIAGRAM...

Page 38: ...35 35...

Page 39: ...Lock Washer M6 2 7 Hose 5 16 x1300MM 1 7 1 Hose Clamp 14MM 4 7 2 Hose Fitting 3 8PTx5 16H 1 8 Strain Relief 2 9 Coolant Gauge 1 9 1 Hex Cap Bolt M10x30 2 10 Chip Tray 1 11 Bed 1 11 1 Nut M10 1 11 2 He...

Page 40: ...in 1 30 Closed Bearing HK25 15 2 30 1 Bushing 1 31 Torsion Spring 1 32 Pivot Shaft 1 32 1 Washer 2 32 2 Hex Cap Bolt M12x20 2 32 3 Grease Cup 1 16 2 33 Pivot Bracket 1 33 1 Set Screw M10x12 1 34 Nut M...

Page 41: ...Hex Cap Bolt M12x50 2 55 Washer M12 2 56 Lock Plate 1 57 Nut 1 2 2 58 Spring Bracket 1 58 1 Hex Cap Bolt M8x30 2 58 2 Washer M8 2 58 3 Lock Washer M8 2 58 4 Nut M8 2 59 Spring Adjustable Rod 1 2 1 60...

Page 42: ...sher M6 4 77 Hex Cap Bolt M6x10 2 77 1 Lock Washer M6 2 77 2 Washer M6 2 78 Wire Brush Guard 1 79 Blade Wheel Cover Left 1 80 Blade Wheel Cover Right 1 81 Hex Socket Cap Screw M6x8 6 82 Bushing 1 83 W...

Page 43: ...cket 1 104 1 Washer M12 1 104 2 Nut 1 2 1 105 Column 1 106 Hex Socket Cap Screw M12x20 6 106 1 Lock Washer M12 6 106 2 Nut M12 6 107 Hex Cap Bolt M8x25 1 108 Washer M8 1 108 1 Lock Washer M8 1 109 Hex...

Page 44: ...127 1 Eccentric Sleeve 2 128 Lock Washer M8 4 129 Hex Socket Cap Screw M8x45 4 130 Hex Socket Cap Screw M6x30 4 130 1 Lock Washer 4 130 2 Washer 8 131 Tungsten Carbide Blade Guide 4 132 Hex Cap Bolt...

Page 45: ...M6x8 1 152 Nut M10 1 153 Hex Socket Cap Screw M8x45 1 153 1 Lock Washer M8 1 153 2 Washer 5 16x18x2 1 155 Nut M12 1 155 1 Hex Cap Bolt M12x30 4 155 2 Lock Washer M12 4 155 3 Washer M12 4 156 Stand Bo...

Page 46: ...1 Lock Plate 1 171 2 Washer M6 2 171 3 Hex Cap Bolt M6x16 2 172 Handle M12 1 173 Nut M12 2 175 Round Head Screw M5x10 2 176 Indicator Scale 1 177 Slide Bracket 1 178 Tension Shaft 1 179 Key 5x15 1 18...

Page 47: ...44 44 Part No Description Size No Qty 194 Gib 2 195 Hex Cap Bolt M16x30 3 196 Hex Cap Bolt M10x60 3 197 Lock Washer M10 3 ELECTRICAL COMPONENTS...

Page 48: ...45 45...

Page 49: ...46 46 ELECTRICAL SCHEMATIC...

Page 50: ...47 47 NOTES...

Page 51: ...48 48 NOTES...

Page 52: ...TOWOC WI 54220 PHONE 920 684 4990 FAX 920 684 3944 www baileigh com BAILEIGH INDUSTRIAL HOLDINGS LTD UNIT D SWIFT POINT SWIFT VALLEY INDUSTRIAL ESTATE RUGBY WEST MIDLANDS CV21 1QH UNITED KINGDOM PHONE...

Reviews: