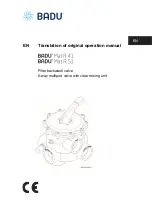
Disassembly of the BADU Mat
6 EN
01|2019
5
Disassembly of the BADU Mat
1. Switch the pump off.
2. If required, close the ball valves in the pipes and drain the
system slightly.
3. Knock the cylinder pin out of the hand lever.
4. Remove the washer and store it in a safe place.
5. Release the 6 or 10 screws on the lid and remove the lid.
6. Remove the insert with the spring.
7. Clean the valve, if necessary renew the O-ring in the insert.
6
Assembly of the BADU Mat
1. Assembly is carried out in reverse order.
2. Ensure that a new O-ring is placed under the lid. Grease all
O-rings!
3. The position markings on the lid and housing must sit above
each other.
4. Tighten the screws evenly in a crosswise sequence.
Summary of Contents for Mat R 41
Page 2: ...Inhaltsverzeichnis DE Originalbetriebsanleitung EN Translation of original operation manual ...
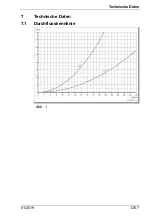
Page 9: ...Technische Daten 01 2019 DE 7 7 Technische Daten 7 1 Durchflusskennlinie Abb 1 ...
Page 10: ...Technische Daten 8 DE 01 2019 7 2 Maßzeichnung Abb 2 ...
Page 11: ...Technische Daten 01 2019 DE 9 Abb 3 ...
Page 12: ......
Page 19: ...Technical data 01 2019 EN 7 7 Technical data 7 1 Flow characteristics Fig 1 ...
Page 20: ...Technical data 8 EN 01 2019 7 2 Dimensional drawing Fig 2 ...
Page 21: ...Technical data 01 2019 EN 9 Fig 3 ...
Page 22: ......
Page 23: ......

