


Change factory settings
page 33/43
LM_OGP2Adv_BA_99_1104
9. Change factory settings
Each meter is calibrated at the factory for use with motor oil (see "Change scale factor" under
point 9.3). The unit of measure is also selected prior to shipment.
Verify Firmware version
1. The firmware version and code checksum can be displayed by holding the and
button at the same time.
2. The last two digits on the lower right are the firmware version.
3. Meters with version 17 or higher use the procedure outlined in this manual for changing
of unit of measure and scale factor.
9.1 Programming
To change the factory settings:
1. Push and hold at the same time the and
buttons.
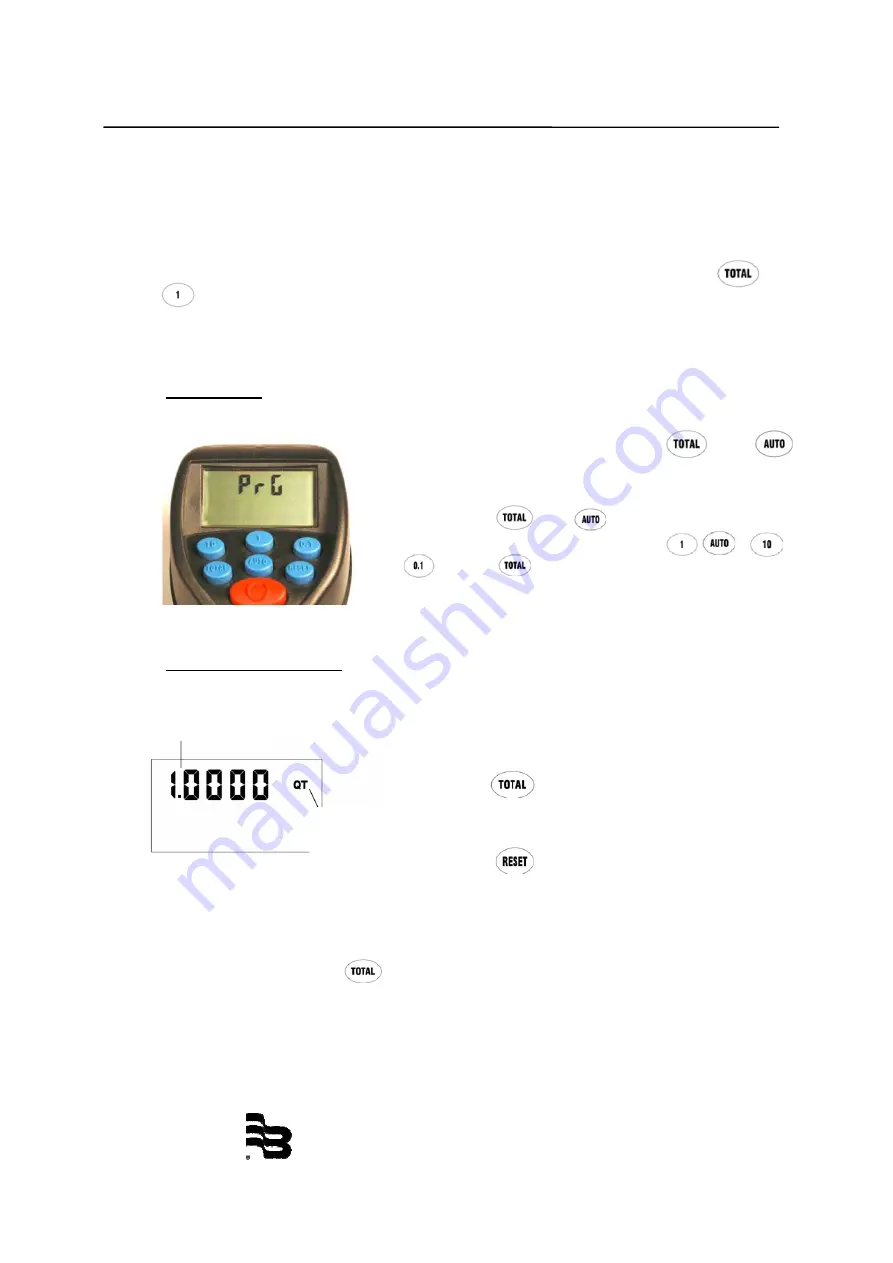
2. PrG will appear on the display.
3. Release the and buttons.
4. Then press and release in order the , , ,
and the buttons.
5. The current unit of measure will now be flashing
indicating that you have entered the programming
mode.
9.2 Change unit for measure
The meter comes with an option to choose 4 different units of measure.
1. The actual unit of measure is flashing when the
pogramming mode is entered.
2. Press the button to toggle between the four
options; PT, QT, GAL, L.
3. When the desired unit of measure is displayed, press
the button. The unit of measure icon stops
flashing.
4. If L (liters) is selected, the decimal point begins to flash.
• You now have the option to change the decimal point to either a period or a comma.
• To do this, press the button.
Unit of
measurement
Programming display
Scale factor digits
Summary of Contents for LM-OG-P2 Advanced
Page 47: ......


