


User Manual
Page 23 of 43
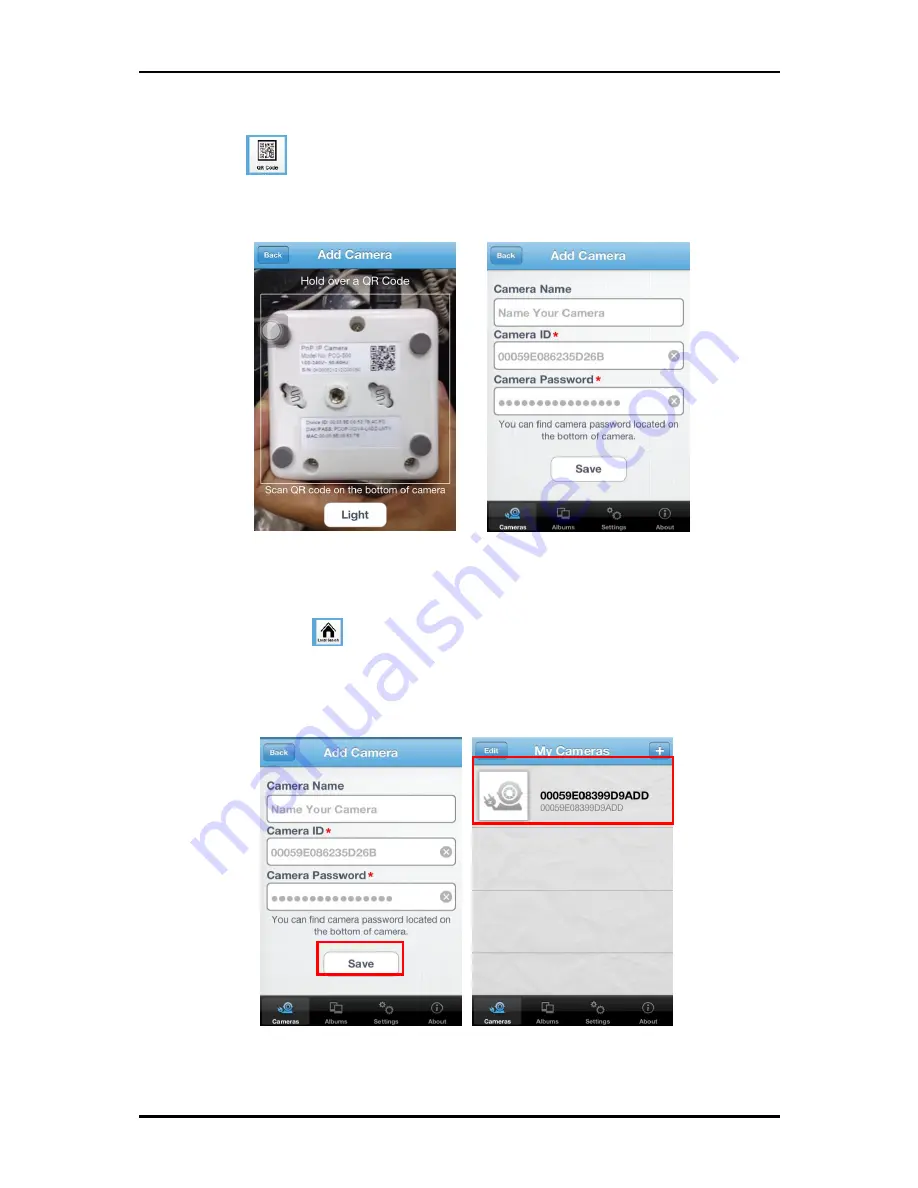
QR Code Scan
1.
Tap on
to start QR code scan.
2.
Scan the QR code that located beneath your HIPC700 HPCamera.
3.
Tap “
Save
” add camera list
Local Search
1.
En
sure that your HPCamera and your mobile device are registered under the same
network. Tap on
to search for a new camera. Once the new camera is found,
you can now select the camera you want to add.
2.
Enter the HPCamera’s respective password.
3.
Tap “
Save
” to add the camera to the camera list


