Aydin Displays Cambridge CFP42W1 User Manual Download Page 15


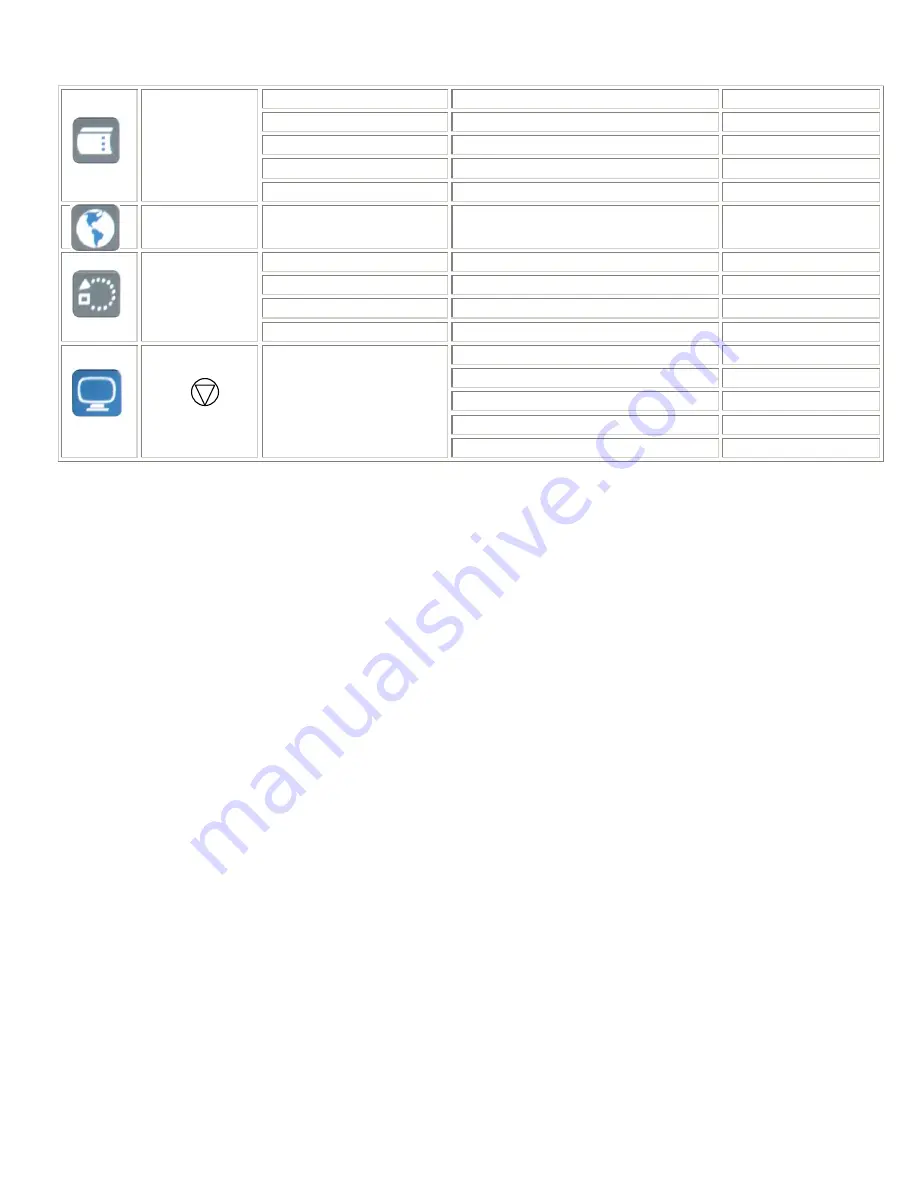
Vertical 

Adjust the OSD menu V-position 

0~255 

Horizontal 

Adjust the OSD menu H-position 

0~255 

Blend 

Adjust the OSD menu of blend 

0~15 

Time out 

Adjust the OSD menu display time 

0~60 


OSD menu 

OSD Zoom 

Magnify the OSD menu 

On/Off 


Language


Language 

Language setting 

English 

Factory reset 

Reset to the factory default setting 

Yes/ No 

Set display address 

Select monitor ID address(optional) 

0~255 

Light Sensor 

Select the light sensor setting 

On/ Off 


Default 
setting 

Light sensor Value 

Adjust the light sensor value 

0~100 

VGA  

DVI


Composite


S-Video


RCU 

Input signal selection 

Component


(IVP) means selection is working on Video mode. 


(IGP) means selection is working on VGA mode. 


150-CFP-420 

Page 15

Summary of Contents for Cambridge CFP42W1

Page 1: ...Cambridge Users Manual CFP42W1 Large Screen Series LCD Monitor Users Guide Document 150 CFP 420...

Page 2: ...imension 8 Installation 9 Power Input 9 Power Interface 9 Connection 10 Operating The Monitor 11 The Side Controller Of The Monitor 11 The Remote Controller RCU Instructions 11 Change The RCU Battery...

Page 3: ...it may cause a fire or an electrical shock Contact Aydin Displays for a return authorization If water is spilled or objects are dropped into the monitor remove the power plug from the outlet immediate...

Page 4: ...fire or an electric shock Don t use a damaged power plug or worn outlet Don t insert the improper power plug it may cause a fire and an electric shock Don t place the monitor on an unstable shelf or...

Page 5: ...of the plug Take off the power plug before cleaning If not it may cause an electric shock Don t revolve the power cord and the plug from the outlet Or it may cause an electric shock Cleaning the surfa...

Page 6: ...ill adjust to dim mode automatically Signal source auto detection PIP PAP function Please see the chapter Display mode Zoom in out function Package Contents Unpacking CFP42W1 is packed by the carton b...

Page 7: ...Monitor Packing list Q ty Item Q ty Item 1 set CFP42W1 1 pcs DVI D 24 pin cable 1 pcs Power cord 1 pcs D SUB 15pin cable 1 pcs User s manual 1 pcs S VIDEO Mini Din 4 pin cable 1 pcs Remote controller...

Page 8: ...Dimension Front Back 150 CFP 420 Page 8...

Page 9: ...monitor and the wall outlet Connect the power cord into main power of the monitor and is power on is power off Input 100 240V 3A 50 60Hz 150 CFP 420 Page 9 Single Input Interface The side of control...

Page 10: ...UT BNC NTSC PAL YUV Y Pb Cb Pr Cr OUT BNC NTSC PAL RGB INPUT OUTPUT Terminal Type Suitable signals RGB DIGITAL DVI D 24 pin RGB DIGITAL RGB ANALOG IN D Sub 15 pin RGB ANALOG 720p 1080 i p RGB ANALOG O...

Page 11: ...ly 6 PIP Picture in picture 7 MENU OSD menu 8 Z Menu right 9 Menu down 10 EXIT Exit and one level up 11 SOURCE Input source selection 12 SWITCH PIP picture switch 1 2 3 4 5 7 8 9 10 11 6 12 OSD Lock U...

Page 12: ...g used old batteries inside the remote control causing leakage of internal liquid resulting metal rust or fatal damage to the remote control hand unit vi Battery used according to the instruction CAUT...

Page 13: ...ote control turn on PIP function and press source to select PIP input source There is no PIP button on side controller of the monitor The sub source changes as the main source changes Picture 1 Sub so...

Page 14: ...Horizontal Adjust the H position of PIP 0 100 Scaling Select the picture ratio 1 1 Fill Aspect panor Auto Adjust Auto adjustment Select Phase IGP mode enable only Adjust the screen phase 0 255 Clock...

Page 15: ...age Language setting English Factory reset Reset to the factory default setting Yes No Set display address Select monitor ID address optional 0 255 Light Sensor Select the light sensor setting On Off...

Page 16: ...DISPLAY item 2 Press to enter sub item Brightness contrast Hue 3 Press Z or Y to adjust 4 Press ENTER to save the setting when finish adjusting 5 Press EXIT to exit the item C Picture Setting On side...

Page 17: ...l default setting 3 Press Enter to enter item 4 Press to select sub item Factory Reset Set display 5 Press or to adjust 6 Press Enter to save the setting when finish adjusting 7 Press MENU to exit the...

Page 18: ...150 CFP 420 Page 18 Default Setting Item Default Power switch Off Brightness 80 Contrast 50 Color temp User Red 255 Green 255 Blue 255 Language English Auto Adjust On...

Page 19: ...4 1 O O 14 640x480 35 000 66 667 30 240 N N 864 64 96 640 64 525 3 39 480 3 O O 15 832x624 49 725 74 500 57 283 N N 1152 64 224 832 32 667 3 39 624 1 O O 16 Macintosh 1024x768 60 150 74 720 80 000 N N...

Page 20: ...I D 24 pins Component Composite S Video RS 232C option Auto Adjust Clock Phase H Position V Position Screen Scaling VGA SVGA XGA SXGA WXGA Full Screen Display Power Management VESA DPMS DVI DMPM Gamma...

Page 21: ...heck picture quality to adjust If you are using YUV terminals make sure cables are correctly connected Compliance FCC Compliance Statement This equipment has been tested and found to comply with the l...

Page 22: ...least two people If not it may drop and a serious injury may result Moving shipping the monitor please hold the white handles and be sure to make the bundle If not it may drop and a serious injury may...

Page 23: ...qualified service personnel Moving the monitor requires at least two people If not it may drop and a serious injury may result Before installing please check the installing manual in wall mount kit b...

Page 24: ...150 CFP 420 Page 24...

Page 25: ...150 CFP 420 Page 25...

Page 26: ...150 CFP 420 Page 26...

Page 27: ...150 CFP 420 Page 27...

Reviews: