21
•
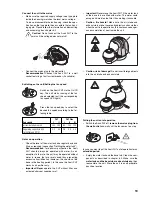
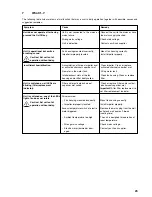
Base tub, impeller and level regulating valve
•
Hepa filter (PH7 Plus only)
2
ca. 2 kg
1
4
3
Accumulation of lime in the base tub, on the impeller or
in the level regulating valve promotes the development
of microorganisms which may lead to unpleasant odour.
If there is accumulation of lime, use a commercially avail-
able deliming agent (e.g. acetic cleaning agent or 8-
percent formic acid), then rinse thoroughly with fresh
water.
If there is no formation of lime, clean the parts with luke-
warm soapy water, then thoroughly rinse with fresh
water.
•
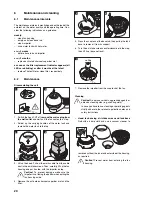
Water tank
Rinse with hot water. Clean the water tank with acetic
cleaning agent as required, then thoroughly rinse with
fresh water
•
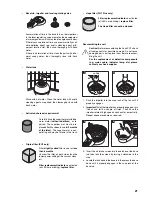
Activated charcoal vaporizer mat
Carefully rinse the vaporizer mat with luke-
warm water (without additives), as re-
quired. The vaporizer mat must be re-
placed after it has been in use for 3 months
at the latest. The vaporizer mat is non-
polluting and may be thrown in the trash.
Filter slightly soiled/filter in use for less
than 6 months:
Vacuum the filter on both sides (use the
lowest power setting of the vacuum clean-
er).
Filter replacement indicator is activated
(all LEDs are blinking): replace filter.
•
Triplex filter (PH7 only)
Filter replacement indicator is activated
(all LEDs are blinking): replace filter.
The Hepa filter cannot be cleaned.
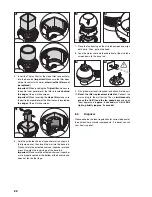
Reassembling the unit
Caution! Before reassembling the Axair PH7 check
all components for possible damage. Do not reuse
damaged parts but replace them before reassem-
bling the unit.
For the replacement of defective components
(e.g. mains cable, indicator lamp, etc.) please
contact your Axair supplier.
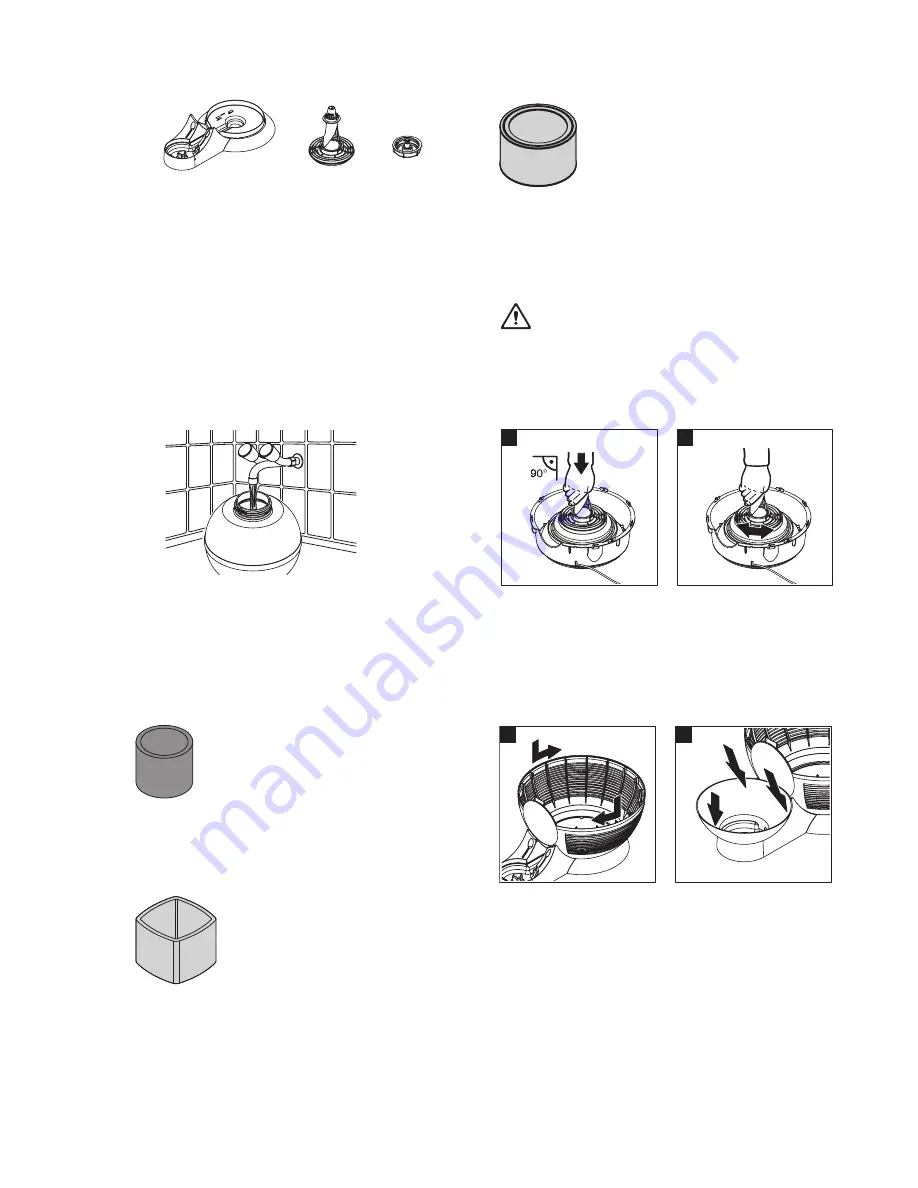
1. Push the impeller into the snap lock of the fan until it
properly engages.
2. Important! After the impeller has properly engaged, turn
it back and forth a couple of times. Then have the
impeller rotate at high speed and check for eccentricity.
Repeat above procedure as required.
3. Insert the air intake screen into the notches of the base
tub, then lock the screen by turning it clockwise to the
stop.
4. Locate the tank base in the base tub, then press the base
down until it properly engages in the snap lock of the
base tub.


