background image

   AVTECH Software, Inc.


Page 2 

AVTECH.com

Wireless Sensor Hubs (RAW-PWSH-HUB & RAW-WSPR-HUB)

Step 1: Mount your Wireless Sensor Hub.

1.  Position your Wireless Sensor Hub up to 250' away from your Room Alert 32W (or 

legacy model Room Alert 26W). Please refer to 

Best Practices For Positioning Your 

WiSH/WiSPR

 in this installation note for more information.

2. 

Mount your Wireless Sensor Hub with screws through the flange holes, secure it with 

Velcro or simply place it on a flat surface.

Step 2: Connect any external sensors.

If you purchased external sensors for your WiSH/WiSPR, connect them according to their 

Installation Notes.

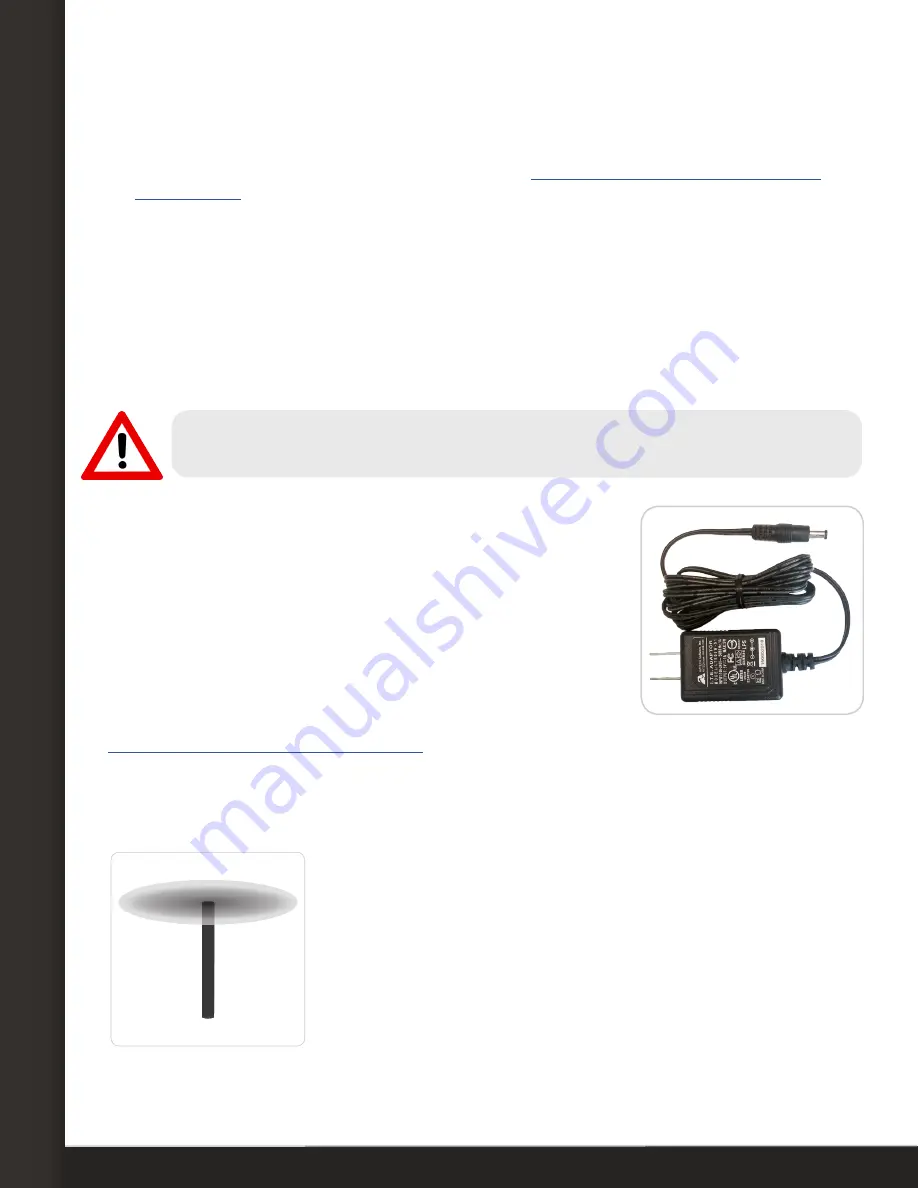
Step 3: Connect your Wireless Sensor Hub to a power source.

Use only the AVTECH 5V power adapter. Others may damage the sensor.

1.  Connect the included power adapter to the power port on 

the WiSH/WiSPR.

2.  Then insert the power adapter plug into a power source.

Notice that the Status LED lights up once the unit is plugged in 

to power.

If you are setting up multiple WiSH/WiSPRs, it’s best to plug 

them into power one at a time so that you may view each 

serial number separately in the Room Alert interface and 

record it on the sticker provided on the bottom of the unit. See 

Configuring Your Wireless Sensor Hub

 in this installation note for more information.

Best Practices For Positioning Your WiSH/WiSPR

Antenna

Your Room Alert 32W (or legacy model Room Alert 26W) has 

a moveable external antenna, while your WiSH/WiSPR has an 

internal antenna parallel to the sensor cover. Their antenna 

signals radiate in a flat, circular pattern with the tip of the 

antenna at its center, as shown here.

The orientation of both the Room Alert’s and the WiSH/WiSPR’s 

antenna has a major impact on the effective range of the 

wireless signal. The guidelines below show you how to best 

position them.

Summary of Contents for WiSH

Page 1: ...clude an internal temperature sensor 2 digital ports and 1 switch port allowing you to monitor a variety of environmental conditions You may pair up to 10 WiSH WiSPRs with your Room Alert 32W or legac...

Page 2: ...on the WiSH WiSPR 2 Then insert the power adapter plug into a power source Notice that the Status LED lights up once the unit is plugged in to power If you are setting up multiple WiSH WiSPRs it s be...

Page 3: ...he wall to avoid obstacles people desks cabinets etc which reduce the range of the wireless signal For example if the ceiling height is 8 the optimum height for the WiSH WiSPR is 6 Different Floors Le...

Page 4: ...ind plants or trees and more Each of these obstacles will reduce the effective range of the wireless signal The table below lists common obstacles and the approximate effect on the wireless signal ran...

Page 5: ...l Port RJ 11 standard straight through telephone cord Included No comes with compatible sensors Maximum Extendible Length 100 Switch Port Low voltage two wire speaker cable Included No comes with comp...

Page 6: ...iSH Sensor choose the discovered WiSH you want to configure from the drop down list In this example we ve chosen WiSH Sensor 1 3 In Sensor Label you may leave the default WiSH Sensor 1 or enter someth...

Page 7: ...fault 0 or enter a value to adjust the temperature reading if it differs from a known value at that location 8 In the WiSH External and Switch Sensor Alarm Configuration sections you may enter labels...

Page 8: ...er Alert log graph view report and manage your Room Alerts with no software to install or update Create an account today at GoToMyDevices com to begin Use AVTECH s Device ManageR Software For Advanced...

Reviews: