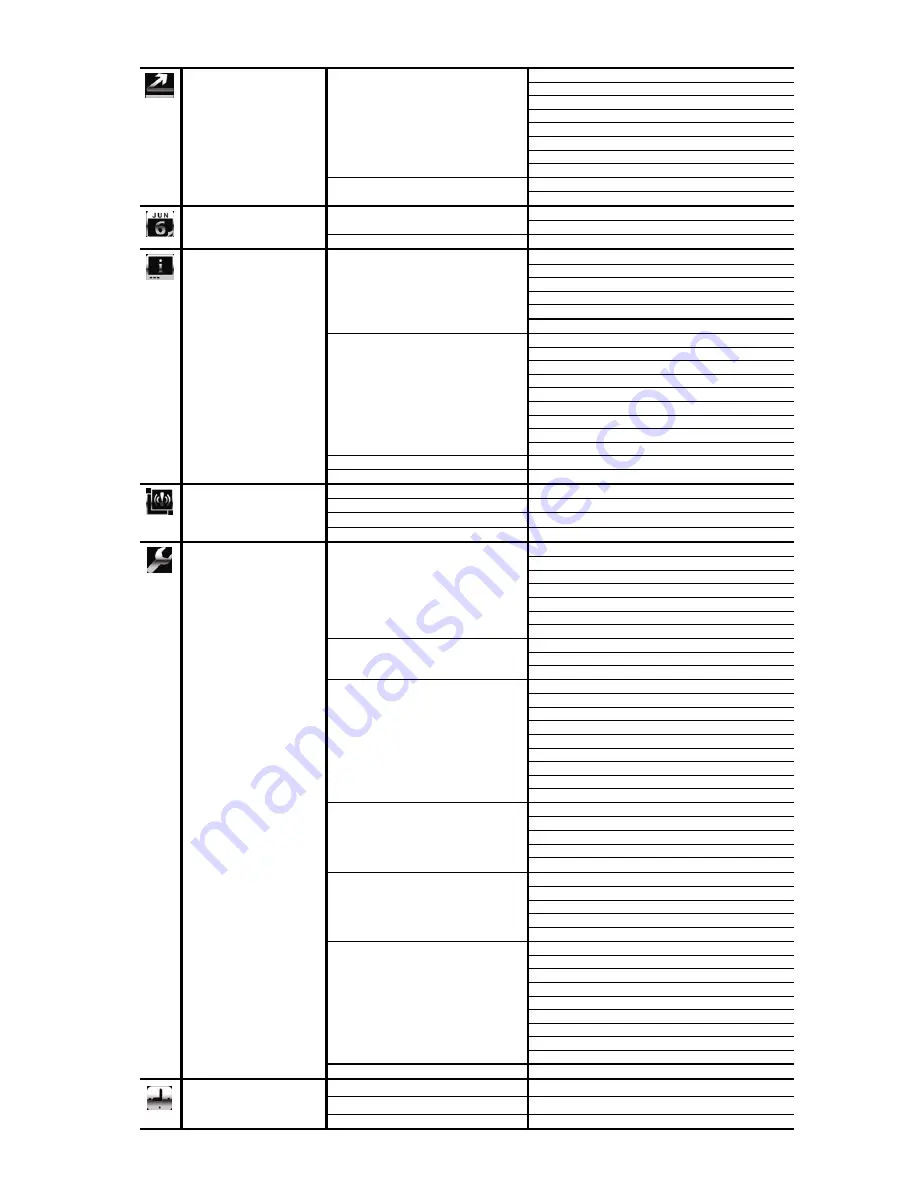
background image


2


Main Menu Structure 

QUICK START 

GENERAL 

CHANNEL TITLE 


EVENT 

STATUS 


DATE 

DISPLAY 


MOUSE 

SENSITIVITY 


IMAGE 

SIZE

 (For Selected Models Only)


QUALITY

 (For Selected Models Only)


I.P.S.

 (For Selected Models Only)


RECORD 

CONFIG

 (For Selected Models Only)


 TIME 

SETUP DATE 


TIME 

DATE SETUP 

DATE INFO 

DISPLAY DATE OF MODE 


FORMAT 


 DAYLIGHT  DAYLIGHT 

SAVING 

SYSTEM TOOLS 

LANGUAGE 


ADMIN 

PASSWORD 


OPERATOR 

PASSWORD 


UPGRADE 


BACKUP 

CONFIG 


RESTORE 

CONFIG 


SYSTEM INFO 

BAUD RATE 


HOST 

ID 


AUTO KEY LOCK 


CLEAR 

HDD 


RESET 

DEFAULT 


REMOTE CONTROL ID

 (For Selected Models Only)


SERIAL 

TYPE 


VIDEO 

FORMAT 


VERSION 


BACKUP DATA (USB) 


BACKUP LOG (USB) 


EVENT INFORMATION 

QUICK SEARCH 


 EVENT 

SEARCH 


 HDD 

INFO   


 EVENT 

LOG  

ADVANCED CONFIG 

CAMERA 

BRIGHTNESS 


CONTRAST 


SATURATION 


HUE 


COV. 


REC 


CHANNEL 

TITLE 

 DETECTION MOTION 
  

ALARM 


AREA 

 ALERT 

EXT. 

ALERT 


INT. 

BUZZER 


KEY 

BUZZER 


VLOSS 

BUZZER 


MOTION 

BUZZER 


ALARM 

BUZZER 


HDD 

BUZZER 


ALARM DURATION (SEC) 


HDD NEARLY FULL (GB) 

 NETWORK  NETWORK 
  

SNTP 


FTP 


E-MAIL 


DDNS 


DISPLAY 

FULL SCREEN DURATION 


QUAD SCREEN DURATION

 (For Selected Models Only)


DISPLAY 

COVERT 


HDD DISPLAY MODE 


DISPLAY OUTPUT PATH

 (For Selected Models Only)


 RECORD  MANUAL 

RECORD 


EVENT 

RECORD 


TIMER 

RECORD 


EVENT RECORD IPS

 (For Selected Models Only)


TIMER RECORD IPS

 (For Selected Models Only)


PRE-ALARM 

RECORD 


OVERWRITE 


KEEP DATA LIMIT (DAYS) 


RECORD 

CONFIG

 (For Selected Models Only)


 DEVICES   
SCHEDULE SETTING 

RECORD 


 DETECTION 


 ALARM 


Summary of Contents for DR163Z

Page 1: ...042b_Quick_V1 2 H 264 DVR Quick Start GUI Display with USB Mouse Control Please read instructions thoroughly before operation and retain it for future reference For the actual display operation please refer to your DVR in hand ...

Page 2: ... panel and click to play the latest recorded video clip or click to enter the search list Switch to the channel you want first and click to enter the zoom in mode In this mode click and drag the red frame on the bottom left of the screen to move to the place you want to see To exit this mode click 7 Click to select the audio channel you want In the live mode only the live audio channels can be sel...

Page 3: ... DATA USB BACKUP LOG USB EVENT INFORMATION QUICK SEARCH EVENT SEARCH HDD INFO EVENT LOG ADVANCED CONFIG CAMERA BRIGHTNESS CONTRAST SATURATION HUE COV REC CHANNEL TITLE DETECTION MOTION ALARM AREA ALERT EXT ALERT INT BUZZER KEY BUZZER VLOSS BUZZER MOTION BUZZER ALARM BUZZER HDD BUZZER ALARM DURATION SEC HDD NEARLY FULL GB NETWORK NETWORK SNTP FTP E MAIL DDNS DISPLAY FULL SCREEN DURATION QUAD SCREEN...

Page 4: ...rch the recorded files by four event lists RECORD MOTION ALARM TIME or select FULL to show all the event logs To quickly search the time you want select QUICK SEARCH Set the time range you want and select Start to play the recorded video clip during the specified time 11 CH1 16 1 8 1 4 Press the channel number buttons to select the channel to display 12 P T Z SEQ Press SEQ or at the same time to e...

Page 5: ...cted models only one video output is allowed either connected to a CRT monitor MONITOR or a LCD monitor VGA When both MONITOR and VGA are connected press the left key on the DVR front panel during DVR power on to force the video output via MONITOR For details please refer to 3 5 Video Output Switch 5 VGA Connect to a LCD monitor directly Note For selected models only one video output is allowed ei...

Page 6: ...or Selected Model Only Record mode CIF 3 2 Record Icon 1 Manual Recording By defaults manual recording is on when the DVR is powered on and a HDD is installed 2 Event Recording When the motion detection or alarm is on the motion icon or alarm icon shows on the screen for any motion or alarm event 3 Timer Recording When timer recording is on you will see on the screen 4 HDD Overwritten Be defaults ...

Page 7: ...deo clip recorded during this whole hour Repeat Click to set point A and point B in a video clip and the system will play only the specified range in that clip Backup Click to open the backup menu for video backup Event Search Click to quickly search the recorded files by four event lists RECORD MOTION ALARM TIME or select FULL to show all the event logs To quickly search the time you want select ...

Page 8: ...efault video output setting is AUTO meaning the DVR will automatically detect the video output source When VGA and MONITOR are both connected the default monitor output is VGA To change the video output setting manually To force the video output via MONITOR press the left key on the DVR front panel at DVR power on To force the video output via VGA press the right key on the DVR front panel at DVR ...

Reviews: