


22
OutLook 180DX Installer/User Guide
Figure 3.2: Advanced Menus Screen
Assigning Server Names
You can identify servers in a system by name rather than by port number. For
example, in a network environment, you can assign the same names to each
computer as those assigned by the network. To list the computers by name in the
OSCAR Selection screen, see
Changing OSCAR Display Attributes
in this chapter.
To access the Port Name Setup screen:
1. Press
Print Screen
then
F2
to access the Advanced Menus screen.
2. Highlight
Setup - Names
and press
Enter
. The Port Name Setup screen appears.
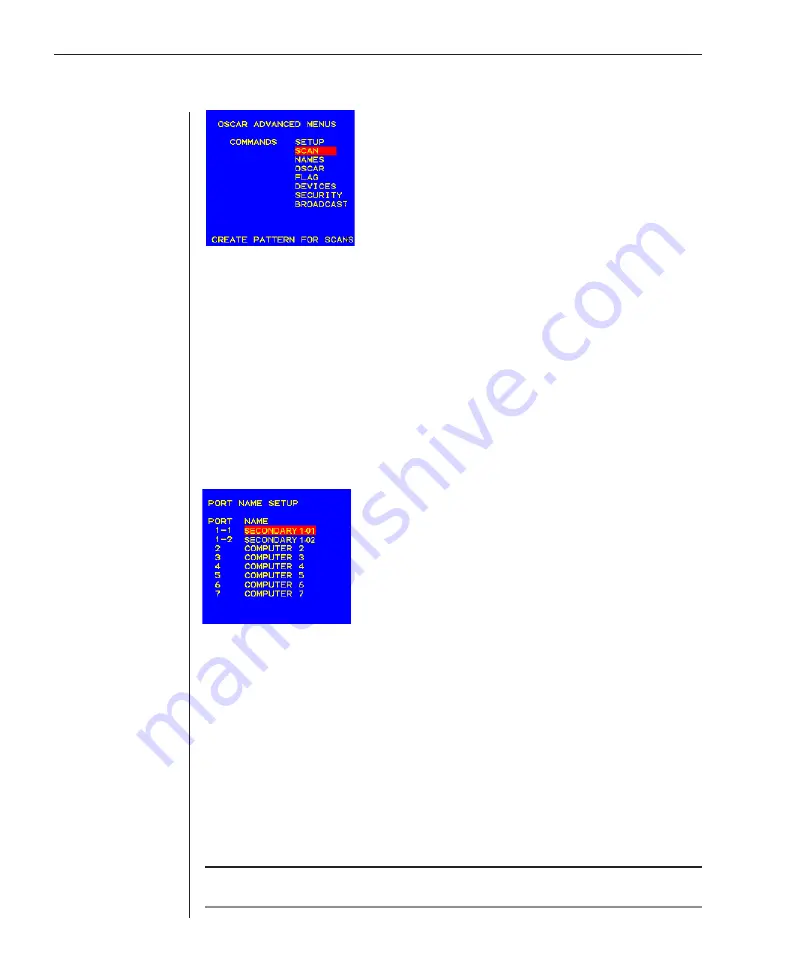
Figure 3.3: Port Name Setup Screen
To assign names to servers:
1. In the Advanced Menus screen, highlight
Setup - Names
and press
Enter
.
The Port Name Setup screen appears.
2. Highlight the port number of the server you want to change.
3. Type a name for the server. Server names can be up to 12 characters long.
Legal characters are: A-Z, Ø-9, the space and the dash ( - ) character.
4. Repeat steps 2 and 3 for each computer in the system you wish to name.
5. Press
Enter
to save the settings and exit the menu.
NOTE:
Before you can assign names to servers attached to secondary switches, you must first
make the primary switch aware of the secondary switch. See
Assigning Device Types
in
Chapter 4.
Summary of Contents for Outlook 180DX
Page 1: ...Installer User Guide OutLook 180DX ...
Page 6: ......
Page 7: ...Contents 1 Product Overview Features and Benefits 3 Safety Precautions 5 ...
Page 8: ......
Page 12: ...6 OutLook 180DX Installer User Guide ...
Page 14: ......
Page 24: ......
Page 38: ...32 OutLook 180DX Installer User Guide ...
Page 40: ......
Page 44: ...38 OutLook 180DX Installer User Guide ...
Page 46: ......
Page 53: ...Appendices 47 ...
Page 54: ......


