25
To manually restore a preset perform the following steps:
Step 1. Set the Sequoia to the factory-default value.
Step 2. If the backup content is somewhere else other than at the
“c:\Avitech_VCC\Backup\IPxxx.xxx.xxx.xxx\xxxx#_#”, copy the backup data “xxxx#_#” into the
“c:\Avitech_VCC\Backup\IPxxx.xxx.xxx.xxx\” location.
Step 3. Run the Phoenix-G software and select
Yes
when prompted whether to restore the Sequoia
using the backup data.
Step 4. Click
Help
and then click
Restore Module Information
.
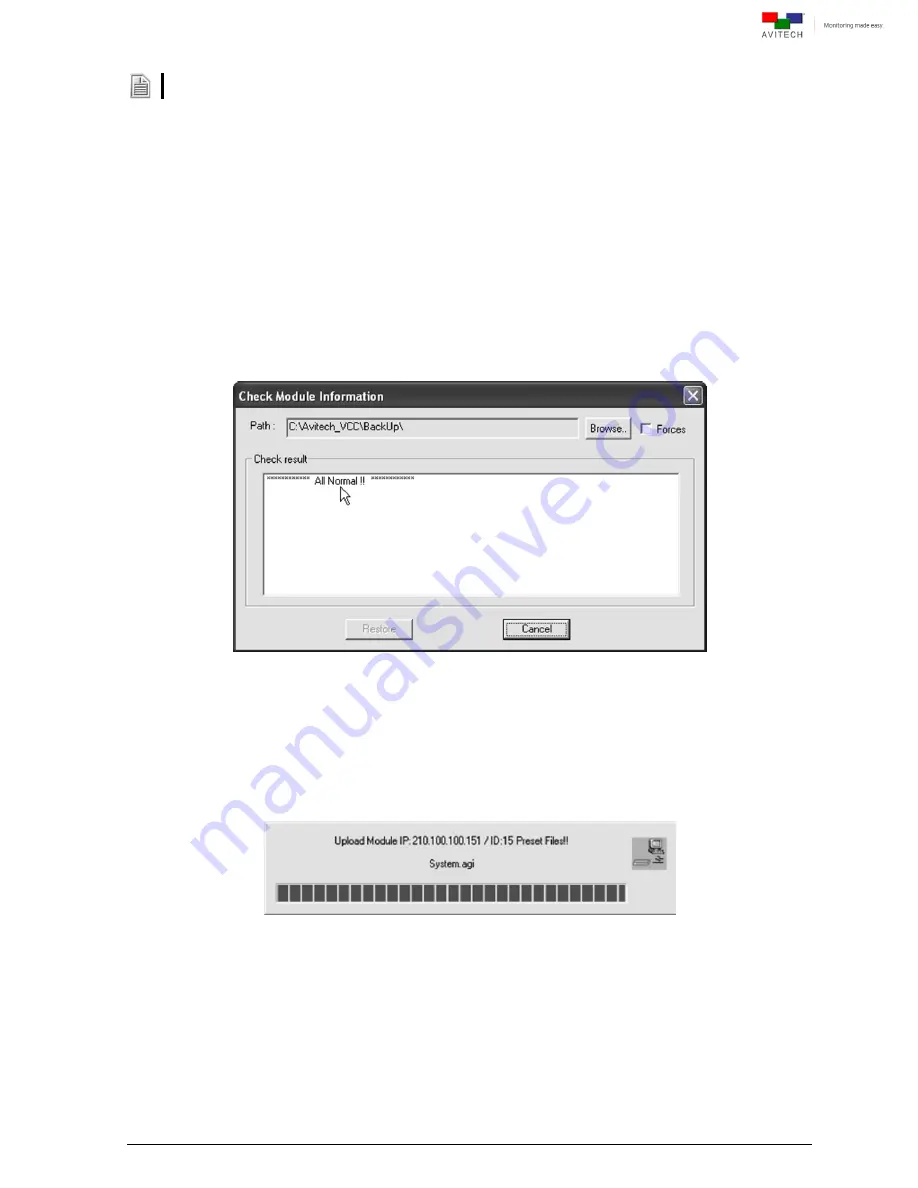
Step 5. If the checking result confirms that everything is normal (
All Normal !!
), click
Cancel
to exit the
restoring of preset(s).
If the checking result shows an
Abnormal
report, continue on.
Figure 2-45
Phoenix-G Software:
”Check Module Information” Window
Step 6. Confirm if the backup
Path
is correct. If backup
Path
is incorrect, click
Browse
to select correct
location.
Step 7. Click to enable the
Forces
checkbox (located on the upper right corner) that allows the backup
information to be written to all the module(s) flash memory. Then click
Restore
.
Figure 2-46
Phoenix-G Software: Progress of Restore Process


