Avigilon 1.0C-H4PTZ-DC45 Installation Manual Download Page 3

FCC Notice

This equipment has been tested and found to comply with the limits for a Class B digital device, pursuant to Part
15 of the FCC rules. These limits are designed to provide reasonable protection against harmful interference in a
residential installation. This equipment generates, uses and can radiate radio frequency energy and, if not
installed and used in accordance with the instructions, may cause harmful interference to radio communications.
However, there is no guarantee that interference will not occur in a particular installation. If this equipment does
cause harmful interference to radio or television reception, which can be determined by turning the equipment
off and on, the user is encouraged to try to correct the interference by one or more of the following measures:

l

Reorient or relocate the receiving antenna.

l

Increase the separation between the equipment and the receiver.

l

Connect the equipment into an outlet on a circuit different from that to which the receiver is connected.

l

Consult the dealer or an experienced radio/TV technician for help.

Changes or modifications made to this equipment not expressly approved by Avigilon Corporation or parties
authorized by Avigilon Corporation could void the user’s authority to operate this equipment.

Disposal and Recycling Information

When this product has reached the end of its useful life, please dispose of it according to your local
environmental laws and guidelines.

Risk of fire, explosion, and burns. Do not disassemble, crush, heat above 100 °C (212 °F), or incinerate.

European Union:

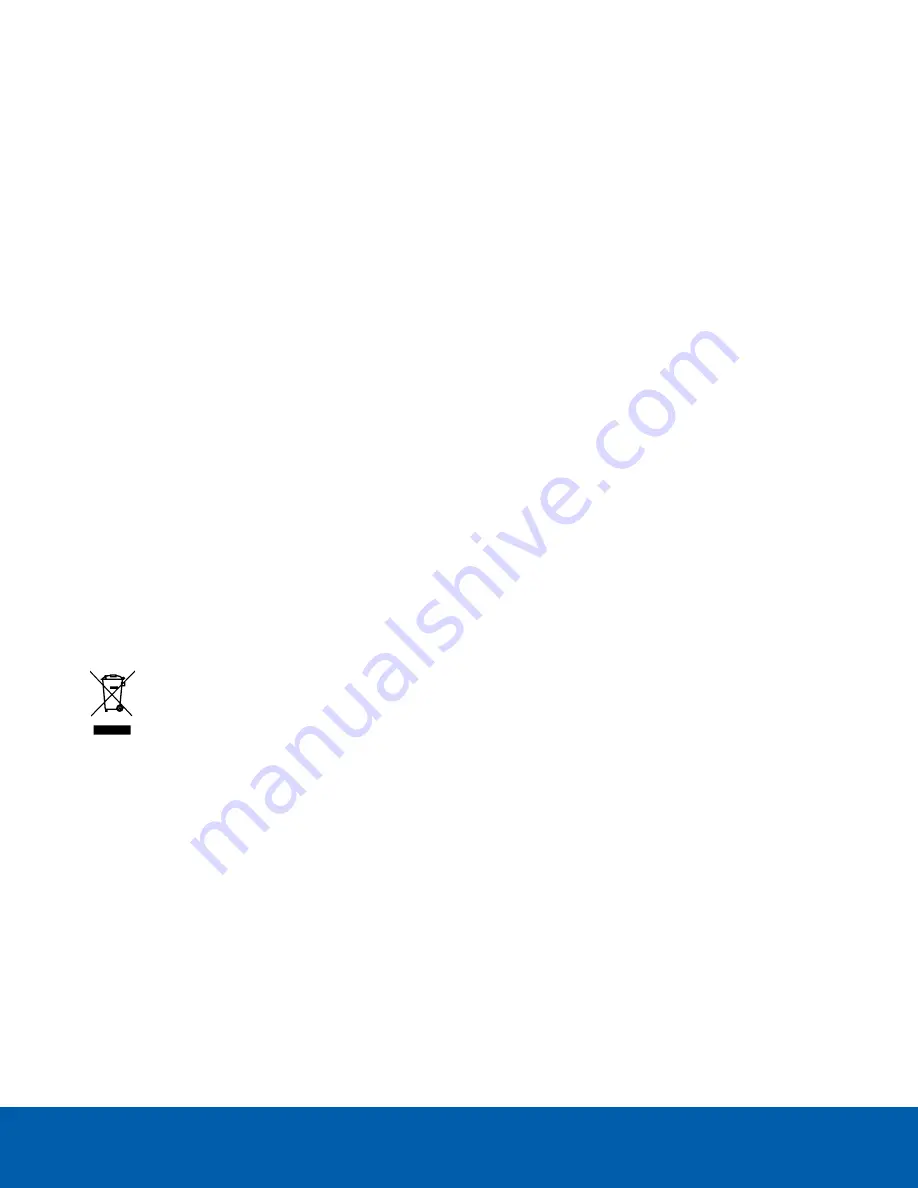
This symbol means that according to local laws and regulations your product should be disposed of separately
from household waste. When this product reaches its end of life, take it to a collection point designated by local
authorities. Some collection points accept products for free. The separate collection and recycling of your
product at the time of disposal will help conserve natural resources and ensure that it is recycled in a manner
that protects human health and the environment.

Legal Notices

©  2016, Avigilon Corporation. All rights reserved. AVIGILON, the AVIGILON logo, AVIGILON CONTROL
CENTER, ACC, and TRUSTED SECURITY SOLUTIONS are trademarks of Avigilon Corporation. Other product
names mentioned herein may be the trademarks of their respective owners. The absence of the symbols ™ and
® in proximity to each trademark in this document is not a disclaimer of ownership of the related trademark.
Avigilon Corporation protects its innovations with patents issued in the United States of America and other

iii

Summary of Contents for 1.0C-H4PTZ-DC45

Page 1: ...Installation Guide Avigilon H4 PTZ Dome Camera Models 1 0C H4PTZ DC45 and 2 0C H4PTZ DC30...

Page 2: ...02 3at compliant Power Sourcing Equipment PSE l Any external power supply connected to this product may only be connected to another Avigilon product of the same model series External power connection...

Page 3: ...thorized by Avigilon Corporation could void the user s authority to operate this equipment Disposal and Recycling Information When this product has reached the end of its useful life please dispose of...

Page 4: ...ications of the products discussed herein are subject to change without notice Avigilon Corporation reserves the right to make any such changes without notice Neither Avigilon Corporation nor any of i...

Page 5: ...eam 8 Mounting the PTZ Dome Camera 9 Installing the Dome Cover 10 For More Information 10 Cable Connections 11 Connecting External Power 11 Connecting to External Devices 11 Connecting to Microphones...

Page 6: ...and part number label 2 Connection status LED Provides information about camera operation For more information see LED Indicators on page 15 3 Link LED Indicates if there is an active connection in th...

Page 7: ...Accepts a terminal block with either an AC or DC power connection DC input can be either polarity Only required when Power over Ethernet is not available 3 Audio video connector Accepts a mini jack co...

Page 8: ...7 Lanyard anchor Safety lanyards can attach to anchors at the top of each clamp to help prevent the camera from falling Side View 3...

Page 9: ...age 6 Optional Cutting the Mounting Hole 6 Optional Attaching the Back Panel for Plenum Installation 7 Connecting Cables 8 Assigning an IP Address 8 Accessing the Live Video Stream 8 Mounting the PTZ...

Page 10: ...e the dome cover 4 If you are planning to use onboard storage insert an SD card into the SD card slot on the PTZ camera For more information see Optional Configuring SD Card Storage on the next page P...

Page 11: ...ded capacity or write speed the recording performance may suffer and result in the loss of frames or footage 1 Insert an SD card into the camera CAUTION Do not force the SD card into the camera or you...

Page 12: ...the dome camera into a plenum space install the back panel 1 Attach a conduit connector to the cable entry hole on the back panel Install the conduit and its fitting as instructed by the manufacturer...

Page 13: ...5 connector The Link LED will turn on once a network link has been established 5 Check that the Connection Status LED indicates the correct state For more information see LED Indicators on page 15 Ass...

Page 14: ...a safety lanyard from the mounting surface to each of the lanyard anchors to help prevent the camera from falling 2 Push the PTZ dome camera into the mounting hole 3 Use a screw driver to release the...

Page 15: ...l not to scratch the dome bubble For More Information Additional information about setting up and using the device is available in the following guides l Avigilon Control Center Client User Guide l Av...

Page 16: ...nick or damage the wires 3 Insert the two power wires into the two terminals on the power connector block The connection can be made with either polarity Use a small slotted 5 64 or 2 mm blade width s...

Page 17: ...microphone speaker and video monitor through the audio video connector The connector is a mini jack 3 5 mm and the pinout for it is shown in the following diagram NOTE The camera only supports line le...

Page 18: ...Figure 4 Mini jack audio video connector 1 Audio IN 2 Composite Video OUT 3 GND 4 Audio OUT Connecting to Microphones Speakers and Video Monitors 13...

Page 19: ...ents in the ACC Client software Manually Returning to the Home Position After the home preset position has been configured you can set the PTZ camera to return to the configured field of view by click...

Page 20: ...ion Status LED Description Obtaining IP Address One short flash every second Attempting to obtain an IP address Discoverable Two short flashes every second Obtained an IP address but is not connected...

Page 21: ...owing diagram NOTE Be careful not to scratch the dome bubble Figure 5 The firmware revert button between the status LEDs 1 Ensure the camera is powered on 2 Remove the dome cover 3 Using a straightene...

Page 22: ...ence 2 Open a Command Prompt window and enter the following commands a arp s New Camera IP Address Camera MAC Address For example arp s 192 168 1 10 00 18 85 12 45 78 b ping l 123 t New Camera IP Addr...

Page 23: ...rprints l Use a microfiber cloth or non abrasive fabric to dry the dome bubble Important Failure to use the recommended cleaning materials may result in a damaged or scratched dome bubble A damaged do...

Page 24: ...Streaming Protocols IPv4 HTTP HTTPS SOAP DNS NTP RTSP RTCP RTP TCP UDP IGMP ICMP DHCP Zeroconf ARP LLDP RTP UDP RTP UDP multicast RTP RTSP TCP RTP RTSP HTTP TCP RTP RTSP HTTPS TCP HTTP Mechanical Dim...

Page 25: ...ons UL cUL CE ROHS WEEE RCM EAC Safety UL 60950 1 CSA 60950 1 IEC EN 60950 1 Electromagnetic Emissions FCC Part 15 Subpart B Class B EN 55022 Class B EN 55032 Class B IC ICES 003 Class B EN 61000 6 3...

Page 26: ...utors dealers agents or employees shall create another warranty or modify this warranty This warranty states Avigilon s entire liability and your exclusive remedy against Avigilon for any failure of t...

Reviews: