Chapter 2: HD MADI Overview
5
Chapter 2: HD MADI Overview
This chapter provides an overview of the front and back panel features of HD MADI.
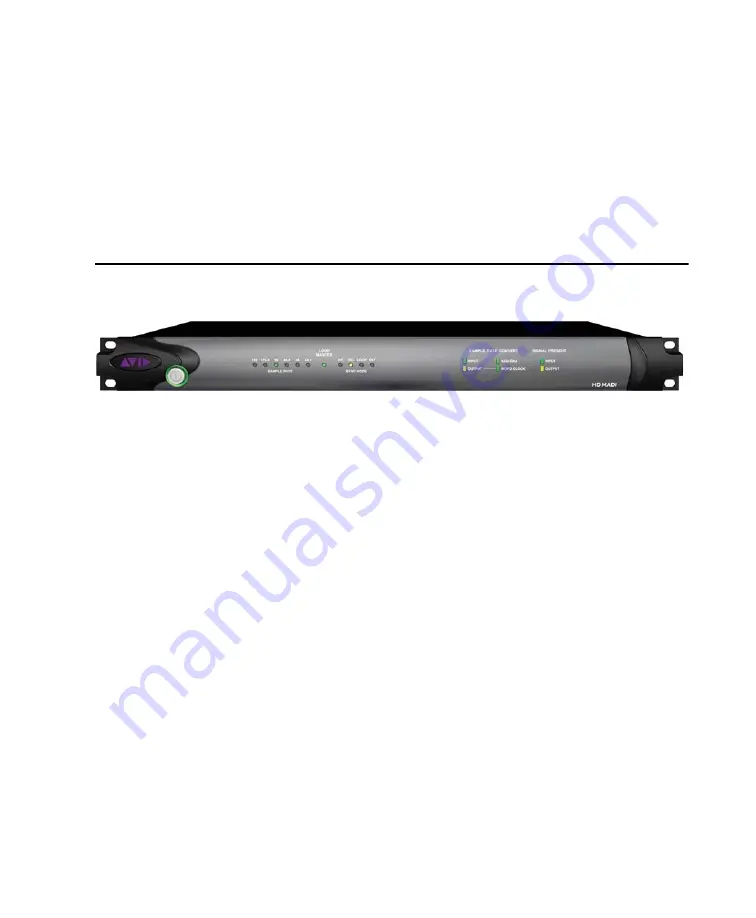
HD MADI Front Panel
Power Switch and LED Ring
This button turns HD MADI on and off. The LED
ring around the power button will light green or
orange to indicate the system status:
Green LED Ring
Indicates that the unit has pow-
ered up successfully and is connected to an ac-
tive system.
Orange LED Ring
Indicates that the unit has
power, but the computer it is connected to is
shut down.
Sample Rate
These LEDs display the current sample rate of
the internal crystal oscillator for HD MADI:
44.1 kHz, 48 kHz, 88.2 kHz, 96 kHz, 176.4 kHz,
or 192 kHz. The sample rate is set when you cre-
ate a new session, and can be changed in the
Pro Tools Hardware Setup or Playback Engine
dialogs if no session is open.
Loop Master LED
The LOOP MASTER LED indicates which audio
interface is the master peripheral. The Loop
Master LED will be continuously lit on the cur-
rent Loop Master peripheral only, and unlit on
all other peripherals. (Only one Avid HD periph-
eral can be Loop Master at a time.) The Loop
Master LED will always be lit with a single inter-
face.
With HD Native hardware, Loop Master defaults
to the first audio interface connected to Di-
giLink Mini Port 1 on the HD Native card.
For Pro Tools|HD systems, Loop Master defaults
to the first audio interface connected to the pri-
mary, or “core” Pro Tools|HD card—on
Pro Tools|HD (for PCIe) this is the Accel Core
card. On Pro Tools|HD (for PCI) this is the HD
Core card.
HD MADI front panel
Summary of Contents for HD MADI
Page 1: ...HD MADI Guide...
Page 4: ...HD MADI Guide iv...
Page 8: ...HD MADI Guide 4...
Page 20: ...HD MADI Guide 16...
Page 35: ......


