EZTouch I/O
Jr.
31 / 52
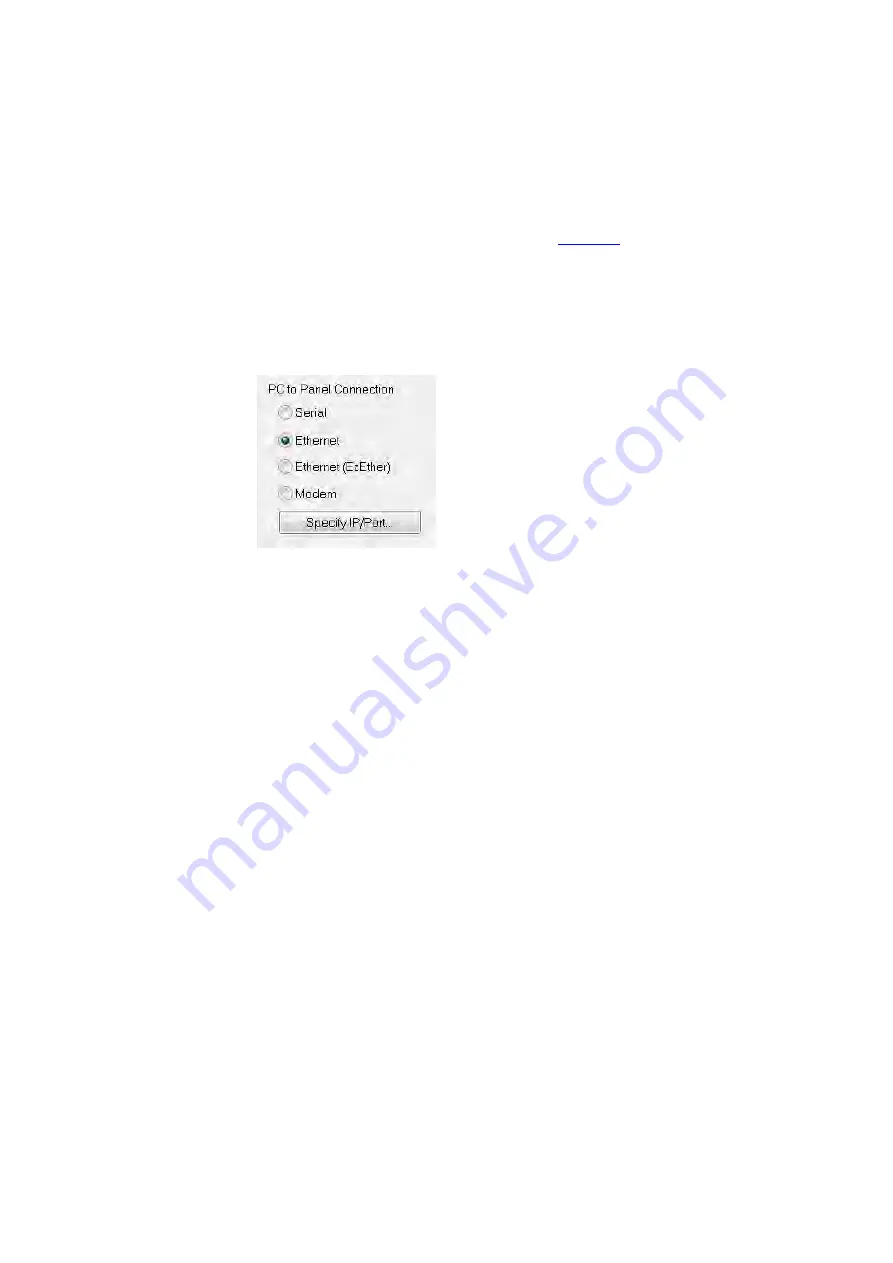
Ethernet:
NOTE:
This feature is only available on models purchased with Ethernet
capabilities.
1.
Verify the
EZTouch I/O
Jr. is connected through the Ethernet connection.
2.
A dialog box will request confirmation of the IP Address associated with
the
EZTouch I/O
Jr.
a.
Until the IP Address has been
changed
to match the LAN, the
Ethernet connection won't be able to be used to program the
unit.
b.
If you are unsure of IP Address associated with the
EZTouch I/O
Jr.
unit, the unit's current IP Address is displayed during the
power
up sequence.
3.
Select
Ethernet
as method of transfer.
4.
After confirming the mode to transfer the project, click
Start
to write
the project data from the PC
to the
EZTouch I/O
Jr.
Note:
If the PLC is running, a dialog box will appear to ask if you would
like to stop the PLC. If you would like the PLC to stop so the new program
can be transferred, select yes.
When finished, a Transfer Completed message will be displayed. Click OK to
continue and the project is now transferred.
Summary of Contents for EZTouch I/O Jr.
Page 1: ...Copyright 2012 by AVG Automation All Rights Reserved EZTouch I O Jr ...
Page 19: ...EZTouch I O Jr 19 52 Digital I O Specifications Analog Voltage Specifications and Wiring ...
Page 20: ...EZTouch I O Jr 20 52 Analog Current Specifications and Wiring ...
Page 21: ...EZTouch I O Jr 21 52 ...
Page 23: ...EZTouch I O Jr 23 52 Pinout Information for 26 Pin Connector ...
Page 24: ...EZTouch I O Jr 24 52 Pinout Information for 44 Pin Connector ...


