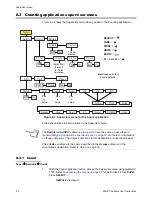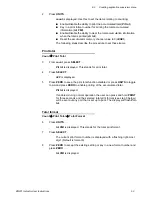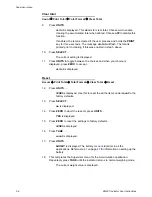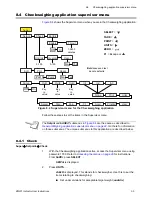
ZM201 Indicator User Instructions
45
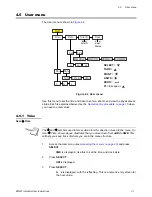
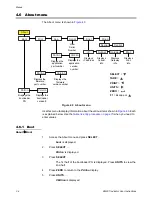
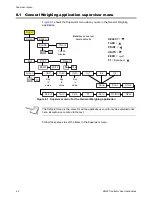
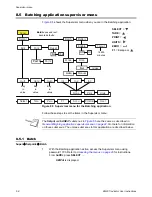
8.1 General Weighing application supervisor menu
8.1.1 Setpoint
Super
Setpoint
1.
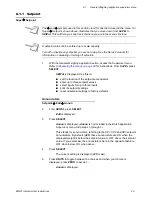
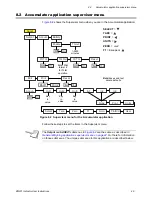
With the General Weighing application active, access the Supervisor menu.
Refer to
Accessing the menus on page 29
for instructions. From
SuPEr
, press
SELECT
…
SEtPnt
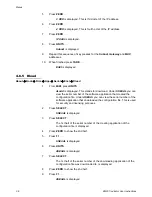
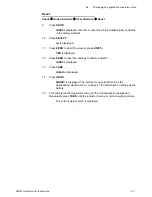
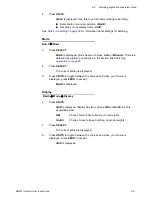
is displayed. Use this to:
l
set the function of the setpoint annunciators
l
enter up to three setpoint values
l
select inputs for up to three inputs
l
print the setpoint settings
l
reset all setpoint settings to factory defaults.
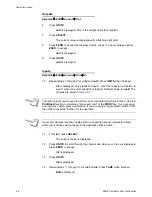
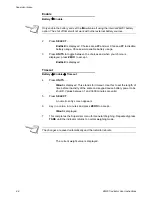
Annunciators
Setpoint
Edit
Annun
2.
From
SEtPnt
, press
SELECT
…
Edit
is displayed.
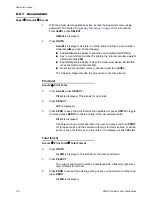
3.
Press
SELECT
…
Annun
is displayed. (
Annun
is not included in the Batch application
Supervisor menu. Skip steps
3
through
5
).
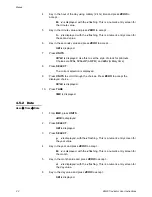
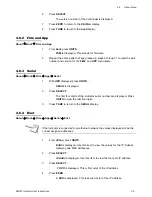
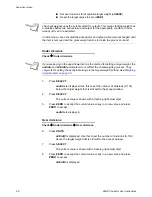
This stands for annunciators, referring to the
SP1
,
SP2
and
SP3
setpoint
annunciators. By default (
oFF
) these annunciators are ON when the
displayed weight is below the setpoint value or OFF above the setpoint
value. If you select
on
, the annunciators work in the opposite fashion--
OFF when below, ON when above.
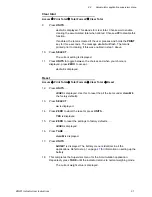
4.
Press
SELECT
…
The current setting is displayed (
oFF
or
on
).
5.
Press
UNITS
to toggle between the choices and when your choice is
displayed, press
ZERO
to accept …
Annun
is displayed.
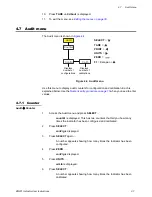
The
and
symbols used in this section stand for direction moved in the menu. So
Super
Setpoint, shown above, illustrates that you move down from
SuPEr
to
SEtPnt
. This will help you keep track of where you are in the menu structure.
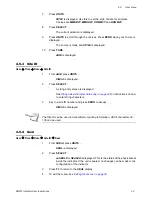
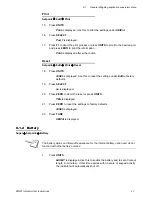
A setpoint value can be entered up to scale capacity.
Turn off or disable any setpoints you are not using. See the Service manual for
information on disabling or turning off setpoints.

