


16
ZK840 Picklist Application User Instructions
Operating Instructions
3.
Begin the assembly by pressing the
Start
softkey …
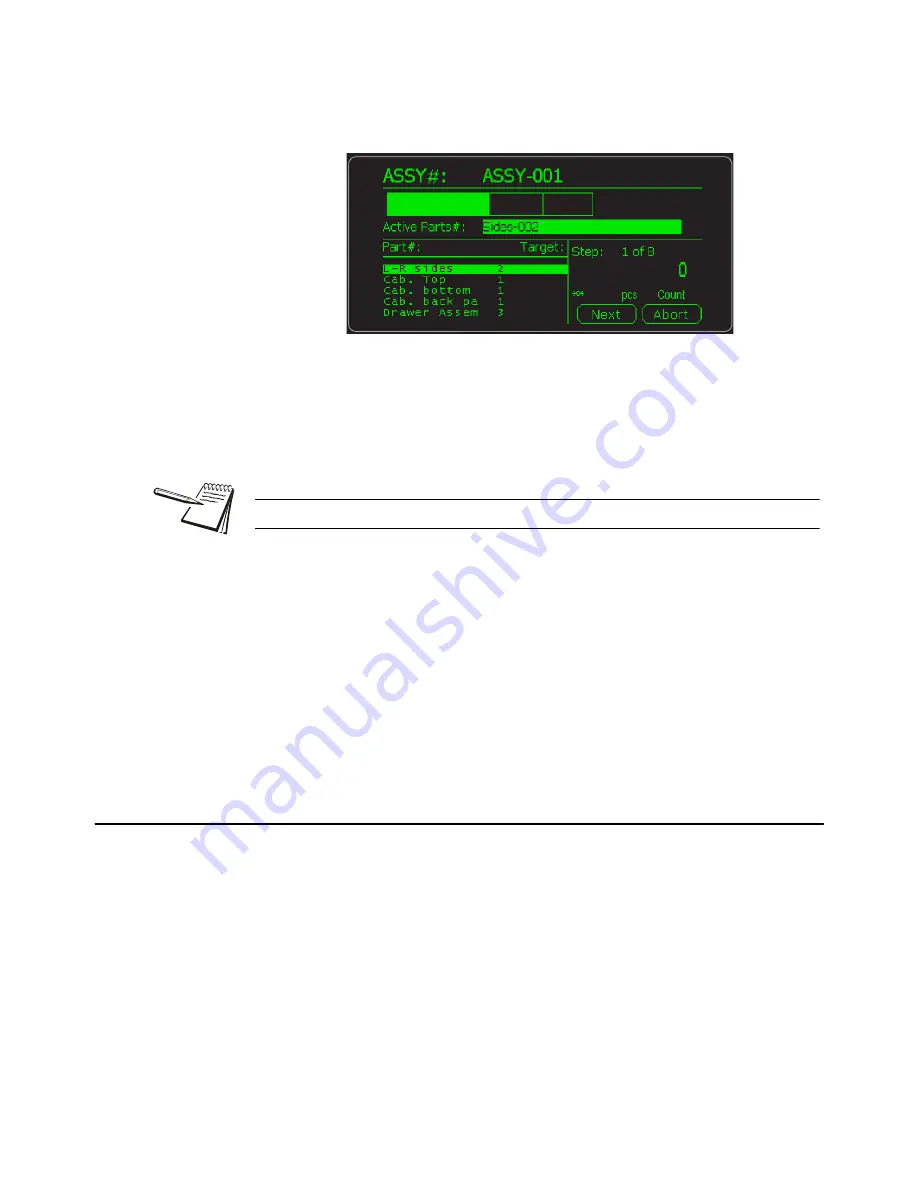
This will initiate a print out on the printer and the active assembly # is
shown on the top line as shown below:
The current active Assembly and the bar graph are displayed.
Also shown is the list of PLU parts that need to be fulfilled. The bargraph
move for each highlighted part as they are added to the scale. Each part
can be weight or count based. You can also have a hand-add item such
as a business card which must have target and tolerances set to 0.
Each step can have validation features turned on to reduce operator
error. See
.
4.
Place the item on the scale. If acceptable the bargraph will be in the middle
range. Press the
NEXT
key to step to the next item in the list. At this point an
item string is sent to the report printer.
When all PLU items have been completed an additional complete string is sent to the
report printer. If you press and hold the
key, the sub-total transactions will be
printed and cleared but the grand total transactions will increment by one every time
this assembly is made. The grand total can only be cleared in the Supervisor menu.
3.4 Creating a PLU entry
Creating a PLU consists of two parts:
l
Define everything that will be in a PLU by configuring the database. This is
done when the database is created and is explained in the
.
l
To create a new PLU entry in the database you follow the steps below.
5.
Access the Supervisor menu using password 1793 and the password entry
procedure explained in
Menu access and navigation on page 12
.
A hand-add item cannot be the first PLU in an assembly.


