background image


Control the document camera 

1.


On the lectern Crestron control panel, select 

PC

 for the projector(s) that need to show the 

document camera output. 

2.


Basic operations:

 Use the buttons on the document camera control panel. 

3.


Advanced features:

 Open 

 Sphere 2

 on classroom PC desktop. 


Set up your display 

Basic setup 

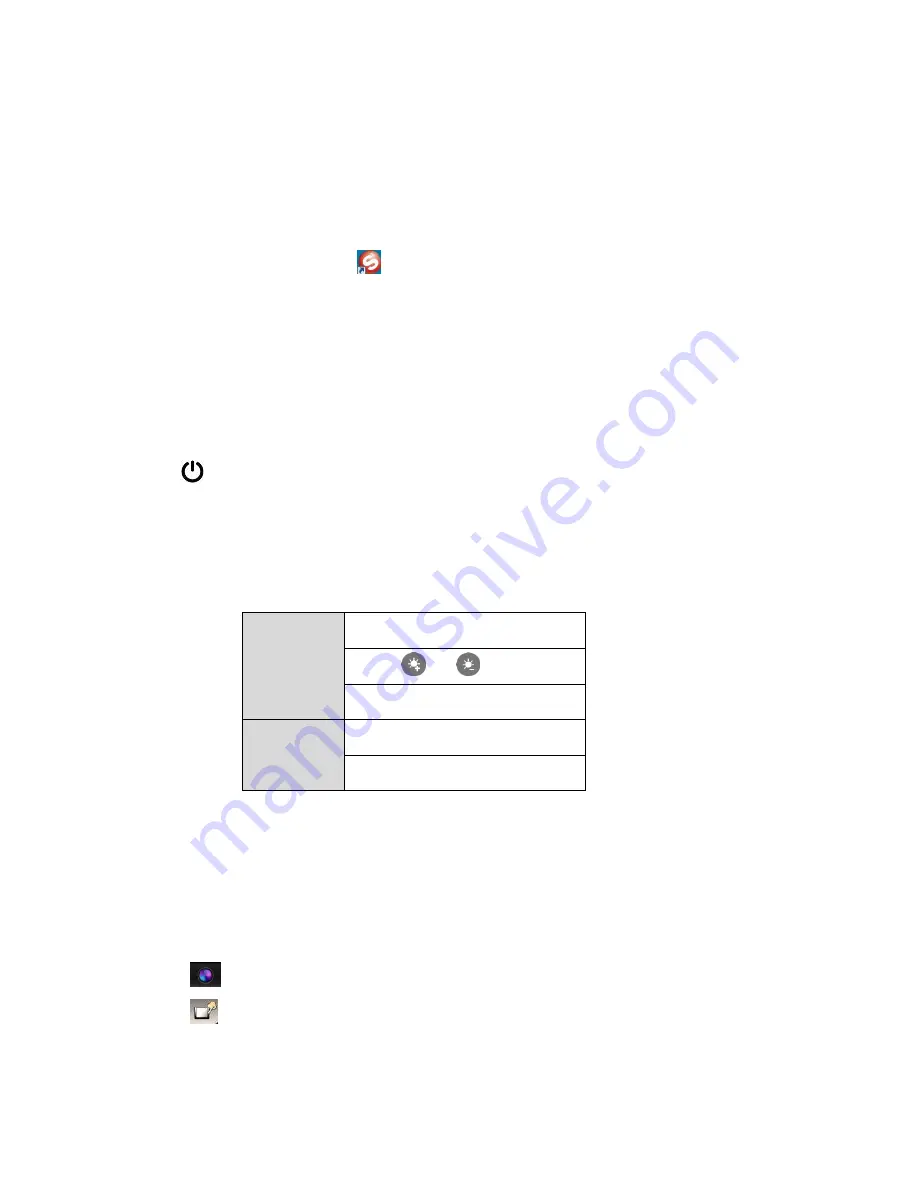
1.


Set the switch on the right hand side of the document camera to 

RGB

2.


 Turn the document camera on. The power light turns solid green. 

3.


Place your item on the display surface.  

4.


Adjust the document camera as required: 


Position 

Move the camera head as needed 

Brightness 

Use the 

 and 

 buttons 

Light 

Press the 

LAMP

 button 

Focus 

Press 

AUTO FOCUS

 to autofocus 

Zoom 

Turn the dial left or right to zoom 


Advanced display settings 

Adjust your contrast, white balance, exposure and other display elements: 

1.


 Click 

Camera Control

2.


  Click 

Image adjustment

 to access the image settings. 

3.


Adjust the settings as required. 

Summary of Contents for AVER F50

Page 1: ...DOCUMENT CAMERA USER INSTRUCTIONS AVER F50 SOFTWARE INSTRUCTIONS LAST UPDATED 3RD FEBRUARY 2016 ...

Page 2: ...age 4 Hide parts of your image 4 Emphasise parts of your image 4 Annotate your image 4 Draw something new 4 Capture view and copy images and video 5 What kind of media do I need to bring 5 1 Set up your storage media 5 2 Capture images 5 3 View images 5 4 Show images side by side 5 5 Record video 6 6 Save images and video onto your own media 6 Packing up 6 ...

Page 3: ...e document camera to RGB 2 Turn the document camera on The power light turns solid green 3 Place your item on the display surface 4 Adjust the document camera as required Position Move the camera head as needed Brightness Use the and buttons Light Press the LAMP button Focus Press AUTO FOCUS to autofocus Zoom Turn the dial left or right to zoom Advanced display settings Adjust your contrast white ...

Page 4: ... Drag the spotlight to move or resize it 4 Click Menu to adjust the spotlight shape and transparency Annotate your image 1 Click Annotation Tools 2 Use the Pen Highlighter Line Text and Shapes tools to add annotations to your image Annotation tools can be customised further 3 Use the Eraser to erase an annotation or Clear all to remove all annotations 4 To save your drawing see the Capture images ...

Page 5: ... 1 Set up your storage media 1 Plug your flash drive into an available USB port connected to the classroom PC 2 Capture images 1 Click Capture 2 Select relevant capture type Standard quality snapshot High definition snapshot Section of your image Series of images at custom defined intervals 3 View images 1 On the classroom PC open Documents Aver Media Library Picture 2 Double click each image to o...

Page 6: ...y 2 Copy Picture and Video folders to your flash drive This method copies all captures Alternatively copy only the individual items you need Everything else will be deleted when you log out of the classroom PC Packing up 1 Turn the document camera off 2 Remove your flash drive and pack away your display items 3 Leave the camera head as is i e do not stow it away Support For assistance use the phon...

Reviews: