


3333----6666----3 Switching Die cut to Continuous label
3 Switching Die cut to Continuous label
3 Switching Die cut to Continuous label
3 Switching Die cut to Continuous label
The followings are the procedure to change Continuous label into Die cut label.
1) Load Die cut label and thermal ribbon to printer.
2) Turn power switch on.
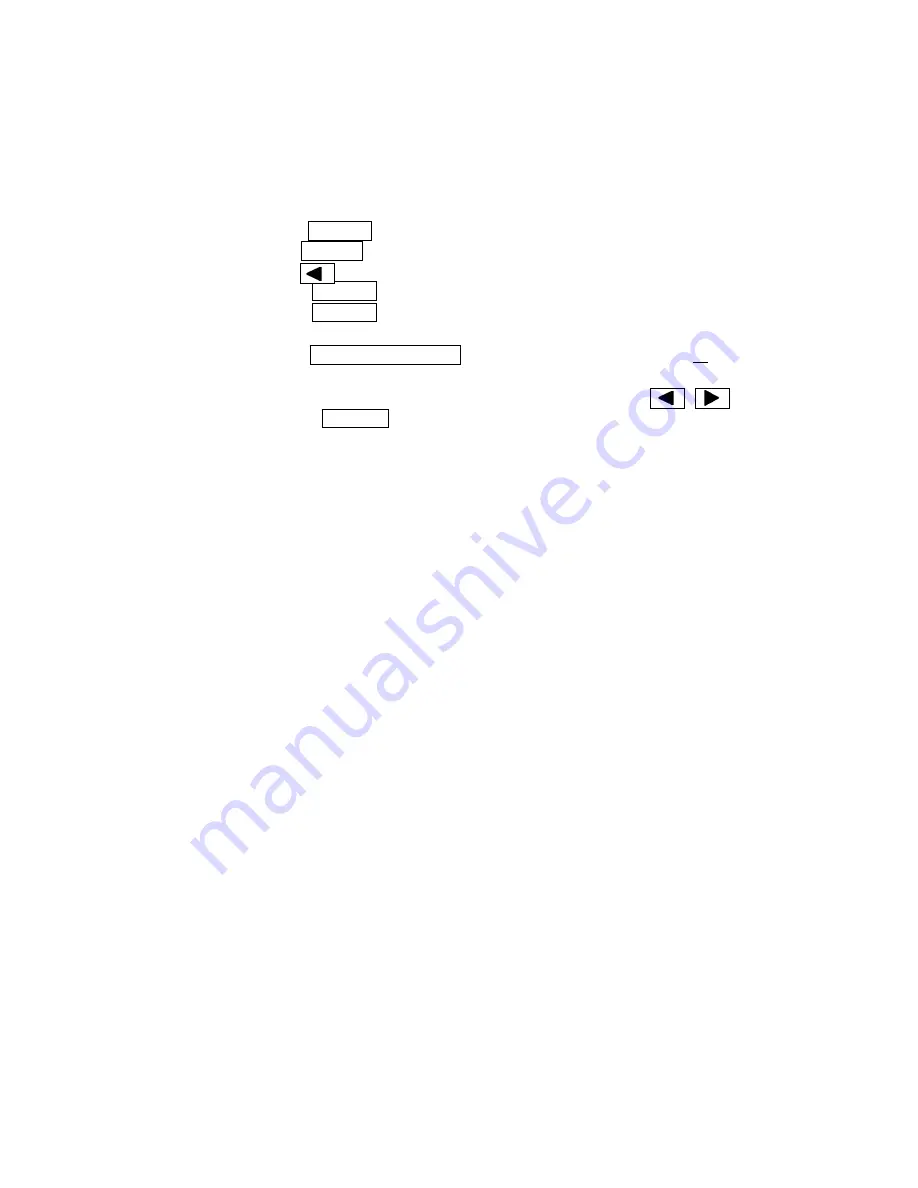
3) Change ‘Label Type’ from ‘Continuous’ to ‘Die cut’ by front panel.
A) Press PAUSE to show ‘Pause’ on LCD.
B) Press MENU several times to show ‘Label Type / Continuous’ on LCD.
C) Press to select ‘Label Type / Die cut’.
D) Press ENTER to fix. The LCD will displays ‘Measure Label / Manual’.
E) Press PAUSE to show ‘Pause’ on LCD.
4) Execute HP level adjustment and calibration.
A) Press CALIBRATE LEVEL to show ‘Learn Gap Level / Sensing 60 mm’.
(Note : 60 mm is default value)
B) Change the value to the length of “Label 20 mm) by
C) Press ENTER to execute the calibration. The printer start feeding
several labels for the calibration and goes back to ‘Ready’.
Note : Please refer “Chapter 6 Errors” in case of error occurrence.
8) The printer starts printing as it receives data from host PC.
Note : Please refer “3-7 Test Print” for executing the test print.
From next time, the printer will goes to ‘Ready’ as you turn on the power
switch as long as using same label.


