background image

maestro.idatalink.com

Automotive Data Solutions Inc. © 2016

5

PIO-RR(SR)-CHR01-DS-OG-EN

USING YOUR FACTORY SYSTEMS

HOW TO GET THERE:

uCONNECT PHONE

If you installed a Pioneer radio with Bluetooth and you have uConnect, there will be two 
hands-free phone systems installed in the vehicle at the same time. Only one hands-free 
phone system can be used to make phone calls.

Instructions for installing and setting up the selected hands-free phone are included in the 
installation guide of this solution. However, it is important to read and understand this section 
to prevent actions that will cause your system to malfunction. 

If you choose to use uConnect for phone calls, your phone must be paired to the uConnect 
system. A setting in the radio will disable the hands free phone portion of the Pioneer 
Bluetooth system. You may then pair your phone with the Pioneer Bluetooth, but only for 
audio streaming.

Once a phone is paired with both Bluetooth systems, it is possible to use either the Pioneer 
radio or uConnect for Bluetooth streaming, but only uConnect can be used for hands-free 
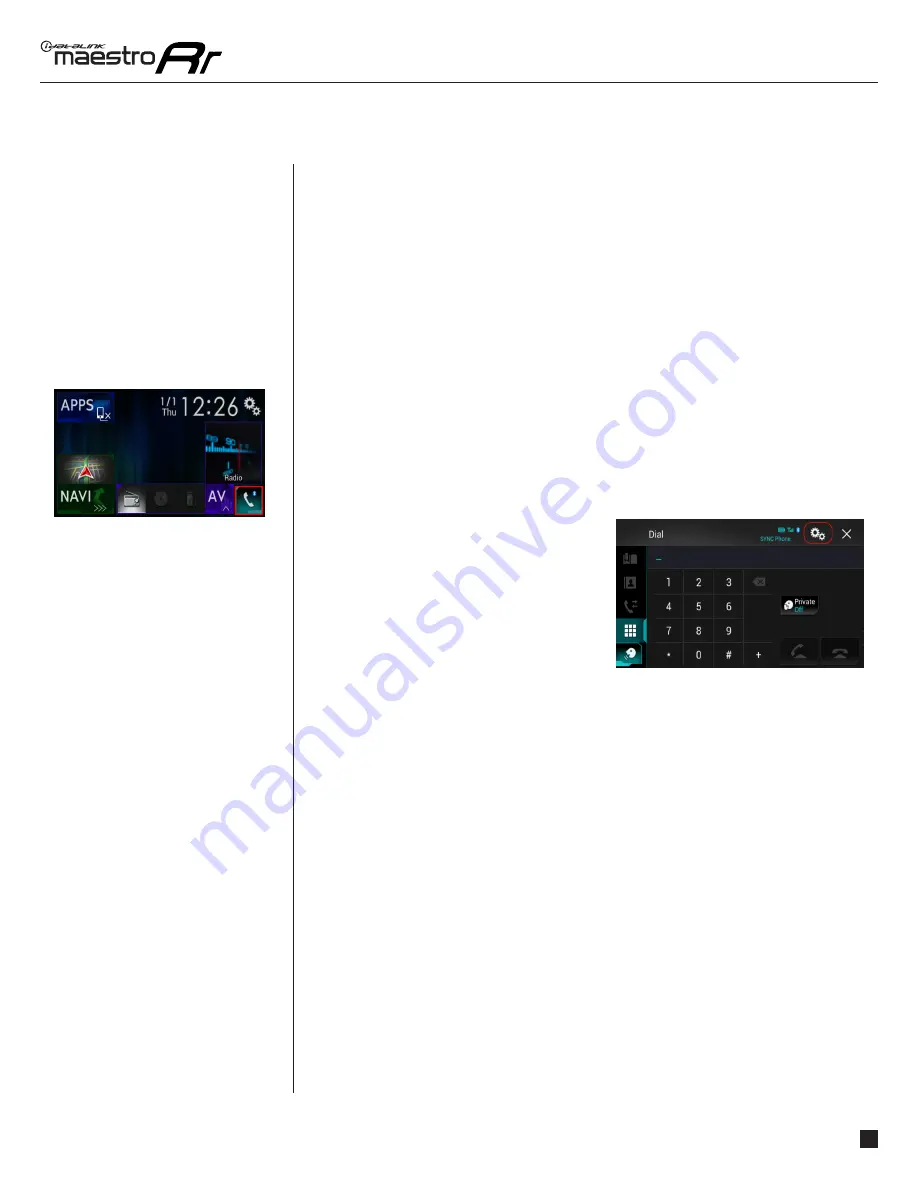
calls. The uConnect Phone button will open the phone interface.

The uConnect Phone system is almost entirely 
voice-command driven and most of the visual 
items in this screen are disabled. Pressing the 
microphone button will initiate a voice recognition 
event for making phone calls, fi nding addresses, 
and managing paired devices.

If you choose to use the Pioneer Bluetooth for 
phone calls, it is important to delete all pairings 
to uConnect from your phone. This will prevent 
your phone from pairing with both systems at the same time and creating a confl ict.

In addition, the uConnect BT and uConnect Phone icons will be unavailable, but it will remain 
possible to access the uConnect USB source.  It is important to not pair any phones new with 
uConnect as long as the Pioneer radio is being used for phone calls.  In addition, the phone 
button on the steering wheel (if equipped) should be re-assigned to control the Pioneer 
calling functions. The Pioneer provided microphone will be used for phone calls.

For more information about how to operate uConnect, consult the documentation that came 
with your vehicle.

USING YOUR

FACTORY

SYSTEMS 

(Continued)

Summary of Contents for iDatalink Maestro RR CH1

Page 1: ...ro RR Radio Replacement Interface CH1 Installation Harness CH1 Pioneer radio Owner s Guide RETAINS STEERING WHEEL CONTROLS UCONNECT AND MORE NOTICE Automotive Data Solutions Inc ADS recommends having...

Page 2: ...ROLS SEE YOUR QUICK REFERENCE CARD 3 RETAINING UCONNECT 3 USING YOUR FACTORY SYSTEMS UCONNECT 4 UCONNECT USB 4 UCONNECT PHONE 5 UCONNECT BT AUDIO STREAMING 6 VEHICLE ENTERTAINMENT SYSTEM VES 7 BACK UP...

Page 3: ...showing your con guration on the Maestro website If you had your product installed professionally ask your installer to print this card for you RETAINING uCONNECT When Maestro is programmed to retain...

Page 4: ...nalities with your new Pioneer radio For it to be functional this feature must be retained during the Maestro RR online programming with the Weblink Updater Three source buttons will be available in t...

Page 5: ...t for Bluetooth streaming but only uConnect can be used for hands free calls The uConnect Phone button will open the phone interface The uConnect Phone system is almost entirely voice command driven a...

Page 6: ...urrently paired for streaming press uConnect BT The uConnect BT screen and the uConnect USB screen are similar visually but are different when it comes to functionality From the uConnect BT screen you...

Page 7: ...headphones If desired you can fade your radio to the front to prevent audio in the rear speakers from interfering with the headphones To select the source that will be played on the rear screen s you...

Page 8: ...codes and attempt to reset them Access And Change Vehicle Info Settings Access the Maestro settings to con gure the alerts that can be generated These alerts will cause the Vehicle Info screen to come...

Page 9: ...in gray text with a number next to it the gauge is supported and is already assigned to another gauge on the screen Some gauges have options that can be set You will see these appear when you select a...

Page 10: ...scan tools and aftermarket programmers will not function when this option is enabled Disabled The module will not communicate with the vehicle s OBD2 system This option applies when using a scan tool...

Page 11: ...ilable if the Maestro detects that your vehicle is equipped a compatible factory parking sensor system Access And Change Parking Assist Settings In the Parking Assist screen press the Settings button...

Page 12: ...This feature must be retained during the Maestro RR online programming with the Weblink Updater The Gain setting will change the gain of the factory ampli er The Ampli er Retention setting is used to...

Reviews: